Why Hiking Saved my Sanity – and the 5 Hiking Benefits You Need to Know!

Hello and welcome to my LikeToHike blog. I’m PJ and I write about the hikes I take, giving you insight, photos, commentary, tips and tools so you can enjoy hiking and embrace the experience.

So, I bet you’re wondering, how did I start hiking, and more importantly, why do I keep doing it?

Well, the second part of that question is easier to answer than the first part, but let’s see how we go.

CAUTION

In this blog I’ll be talking a bit about my own hiking journey and life, some of of the personal things I discovered along the way and doing some “sharing”…..which I’m sure you won’t mind…if you aren’t feeling the vibe, skip and I’ll see you next time!

How Did I Start Hiking?

I used to be a runner. Not a lithe, lean, easy runner but a hot, sweaty, ungainly one. I thought that running was the only way to keep fit and healthy. And I did enjoy it. Somewhat. Apart from the chafing, sore knees, sore hips, constant bra issues and blisters.

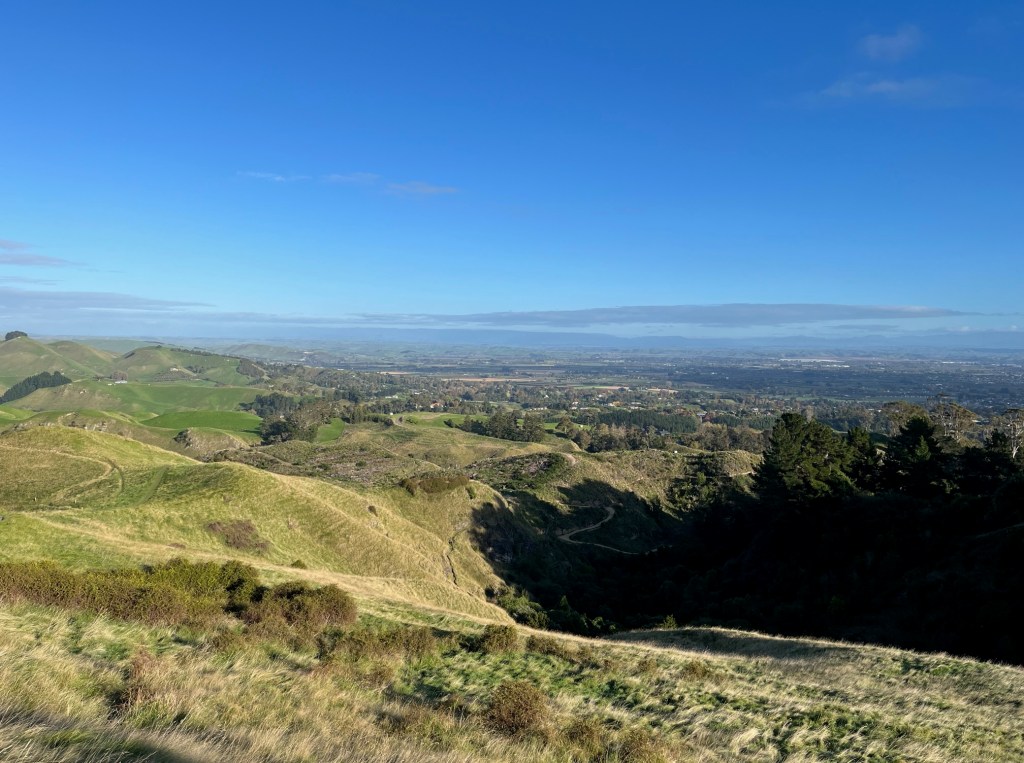
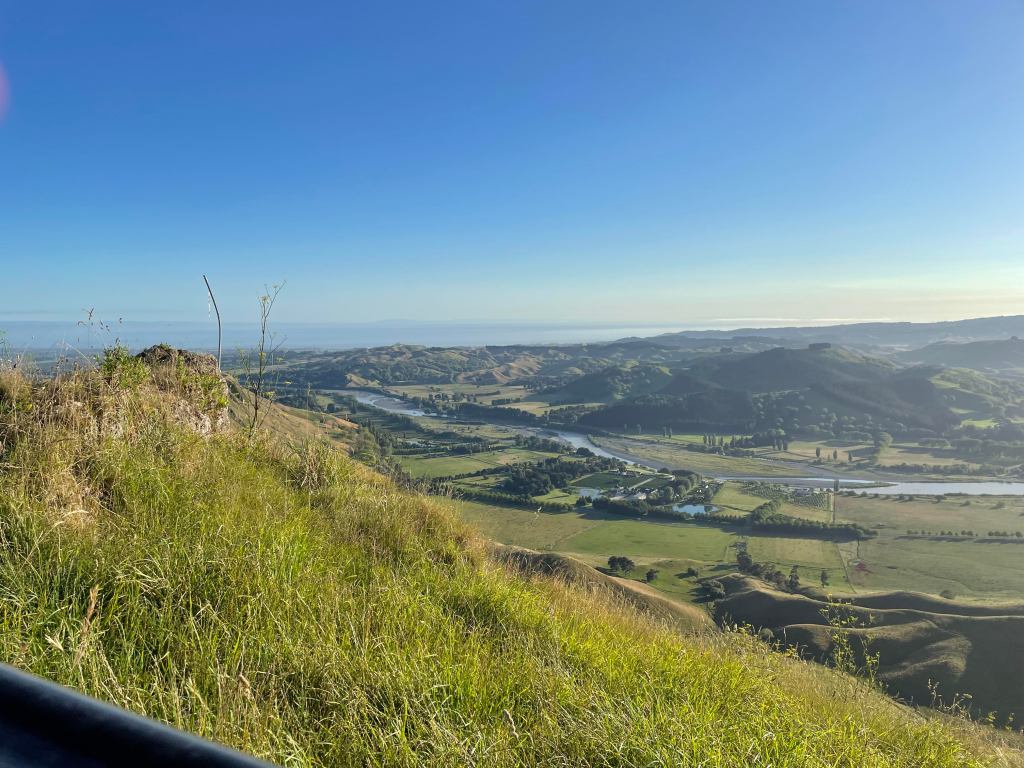
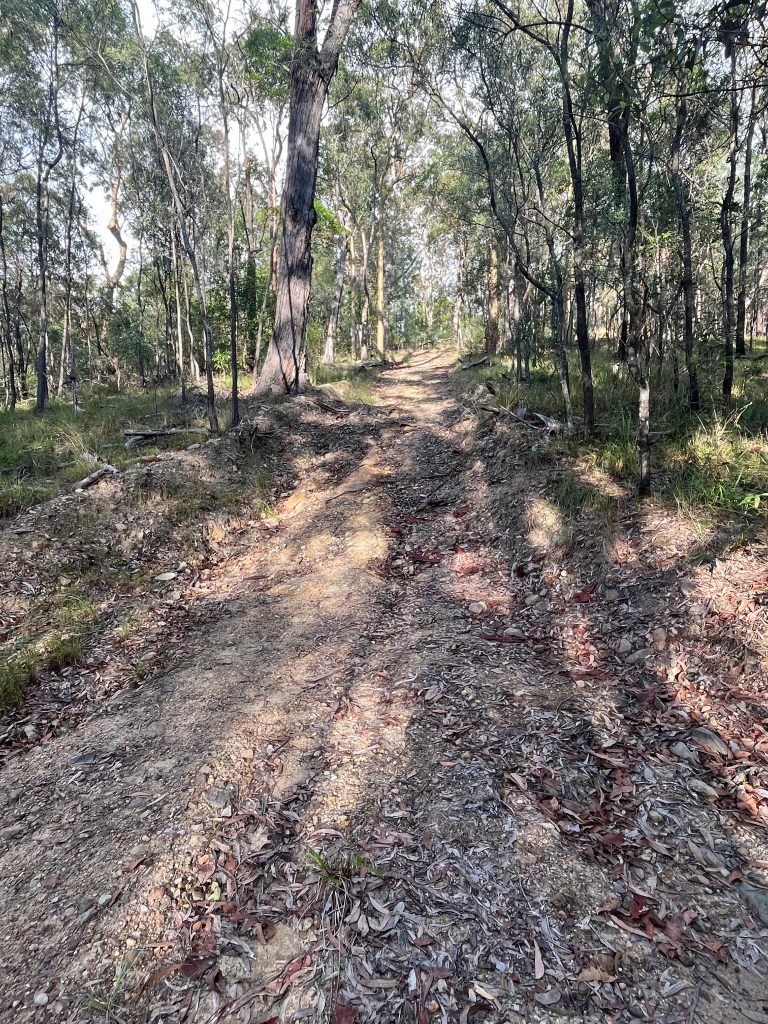
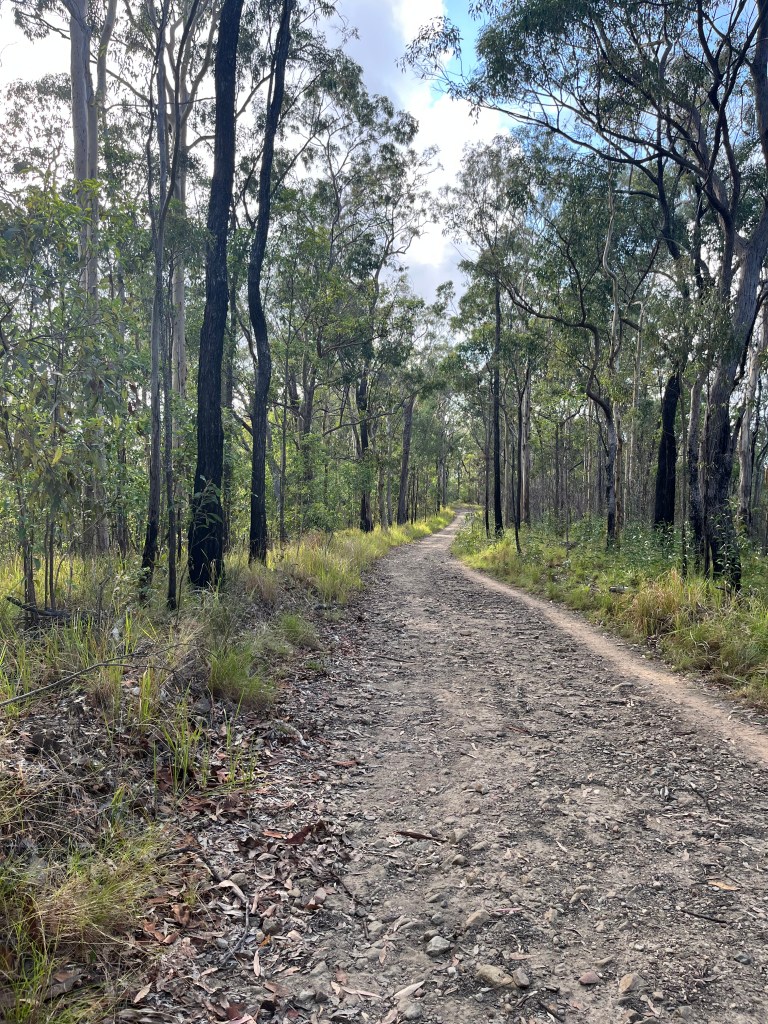
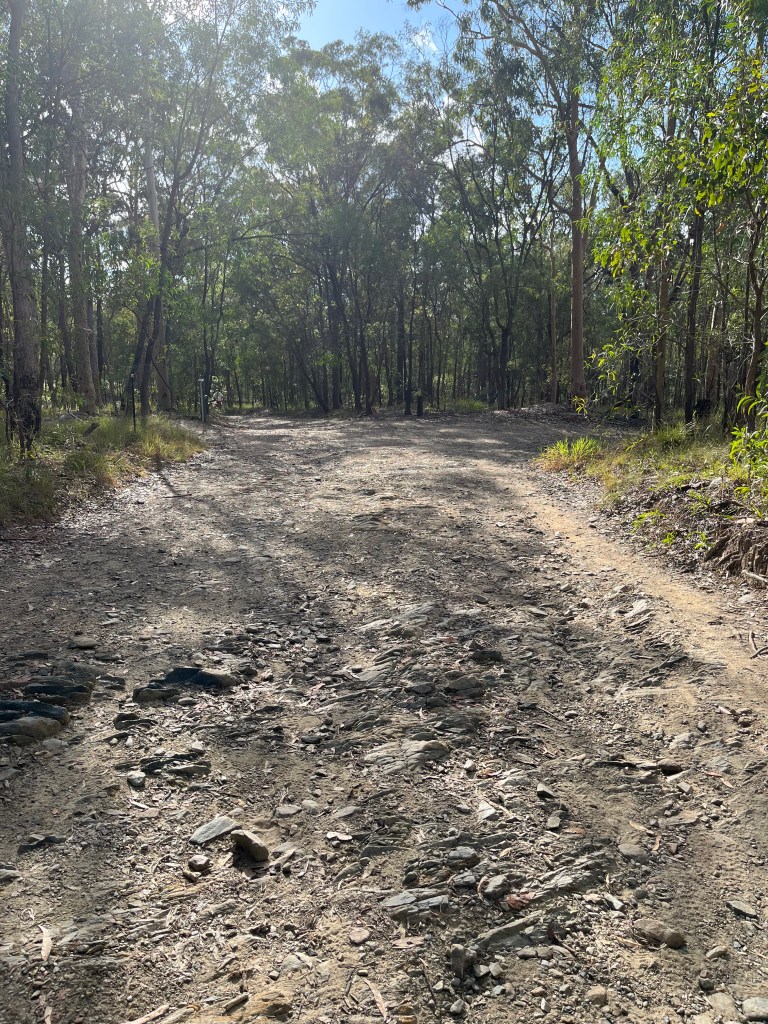
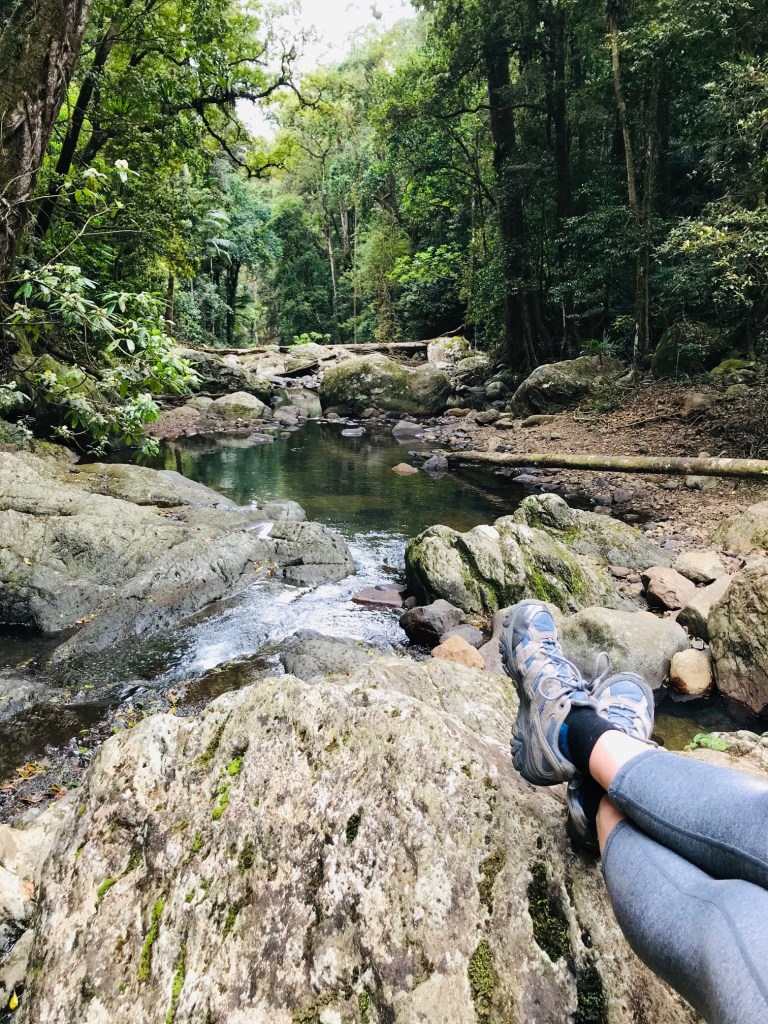
What really ticked the boxes was being outside, feeling the seasons, moving through different landscapes, having different terrain underfoot, seeing different people and things.

As I transitioned from my third decade into my fourth, I decided there had to be a better way to keep fit and enjoy the outdoors. So, I just slowed it down. I went from running (jogging!) to walking. Albeit fast walking. I found that I had more time to see, feel and experience what was happening around me.

It gave me time to reflect, to ruminate, to problem solve, to de-stress and to mentally and emotionally breathe.

TIP

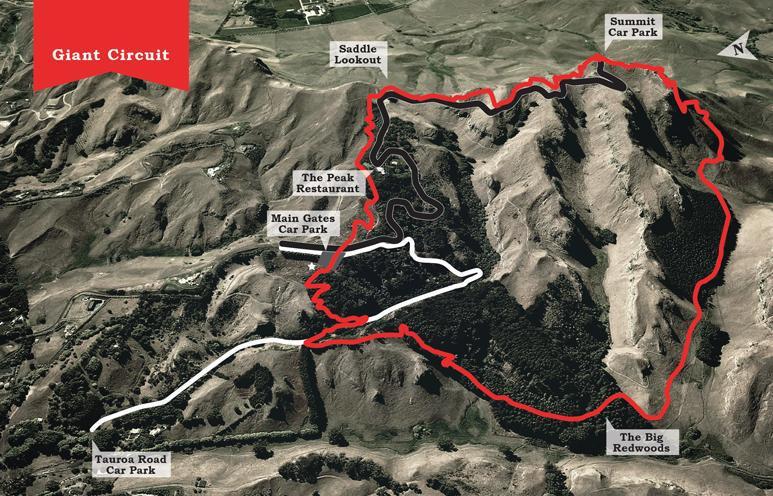
When you start walking/hiking, some of the apps and tools available make a big difference to your experience. I have used sites like AllTrails and TrailHiking, and apps like Strava and Relive to research and then track my hikes. It makes it feel “real” and in a way, validates what you are doing. If you want to go all in, most apps have a community you can connect with and exchange trails, hikes and performance data.

In the middle of my fourth decade I was travelling for work. A lot. Walking was my excuse to explore new cities and towns, to find the walking trails, the rivers, the beaches, the forests and the bush. Every time I packed my suitcase, I threw in my sneakers and my walking gear. So, now I was a walker. Note quite a hiker. Yet.

Clockwise – Canungra, Brisbane & Sawtell (Australia), Havelock North (NZ) and Berlin (Germany)

Hello Hiking!

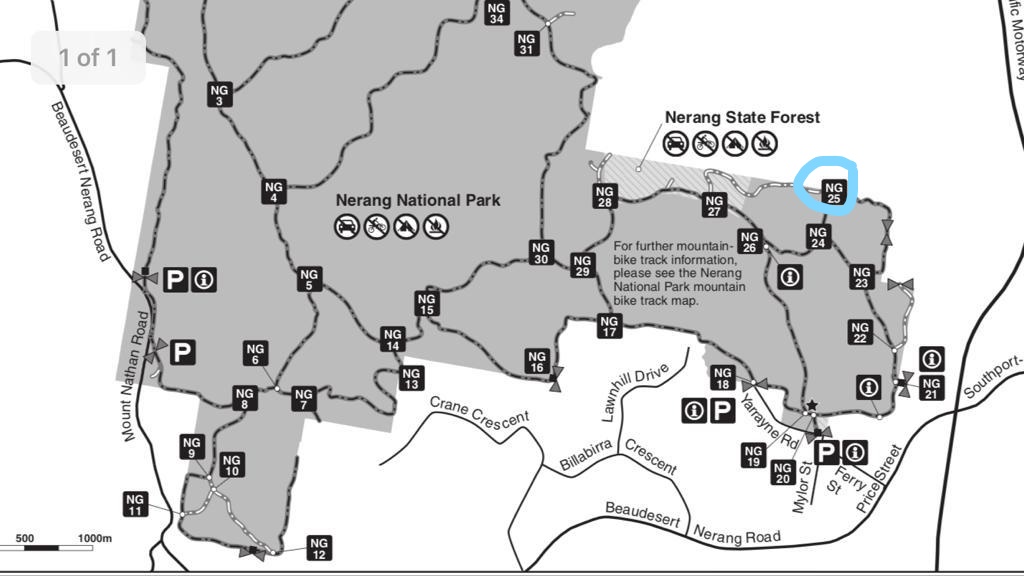
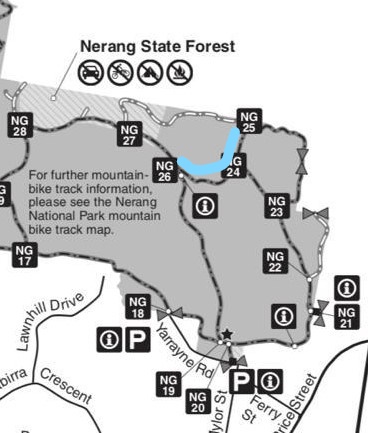
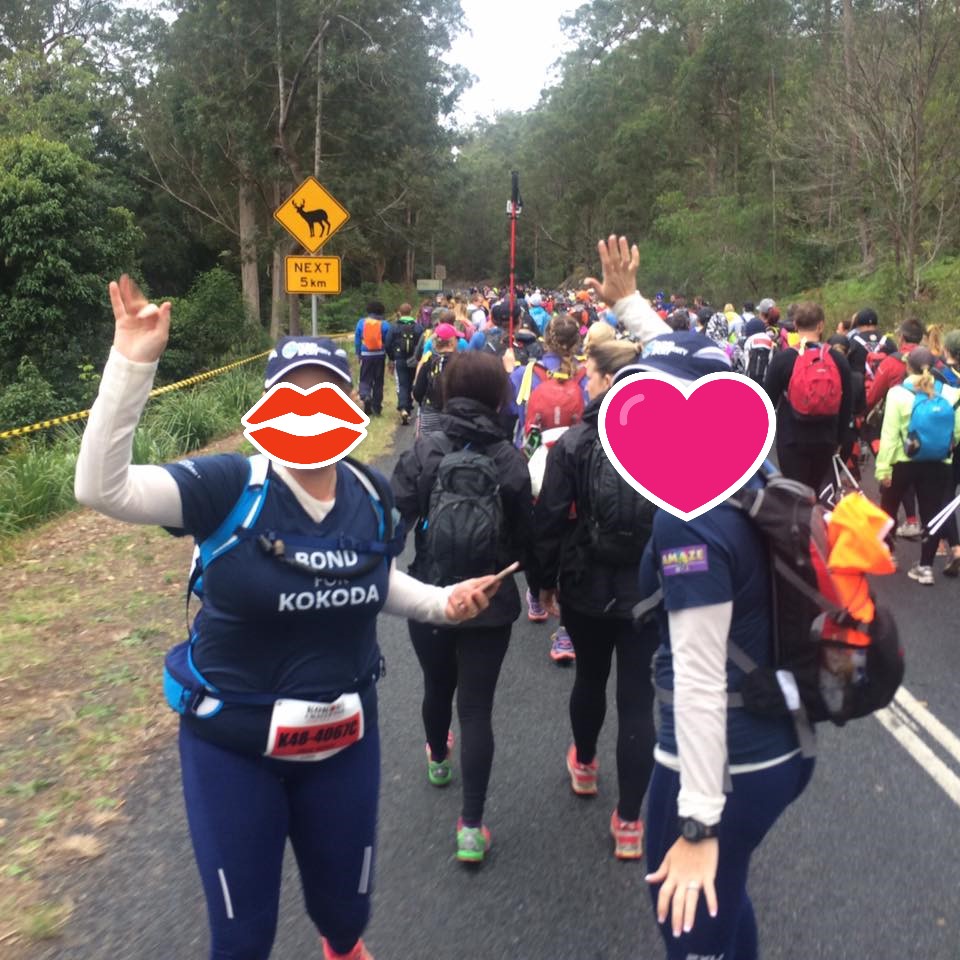
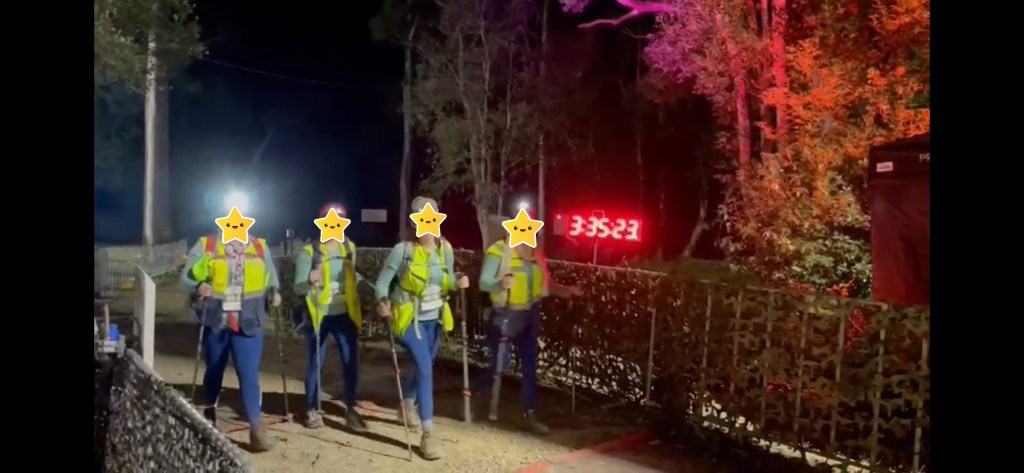
About eight years ago, a work colleague and I had the bright idea of putting a four-person team in for the Gold Coast Kokoda Challenge, which is an endurance event held in the Gold Coast hinterland.

Yes, it was about fundraising and developing professional and personal relationships, but it was also about committing to training and pushing, both mentally and physically. We trained as a team for six months – every weekend and sometimes during the week, all through a Queensland summer, then hiked 48km non-stop in July, starting at 11am and finishing at 3am the next day.

And it was FANTASTIC!

However, if you want to try hiking for the first time, maybe aim for something a little less hard core. But then again….there’s a lot to be said for jumping in boots and all…

So, Why Do I Keep Hiking?

When I went from my fourth decade into my fifth, some things happened. I got fat. Not super fat, but about 20kg worth. Some was diet and lifestyle, but most of it was age and stage. I was still walking, but hormones were dictating the direction, not me.

I did realise that if I wanted things to change, it was up to me to create the environment, the conditions and the outcomes.

So, what were the things in my world that brought me pleasure, and what were the things I really didn’t like? What did I want in my life? What were my non-negotiables?

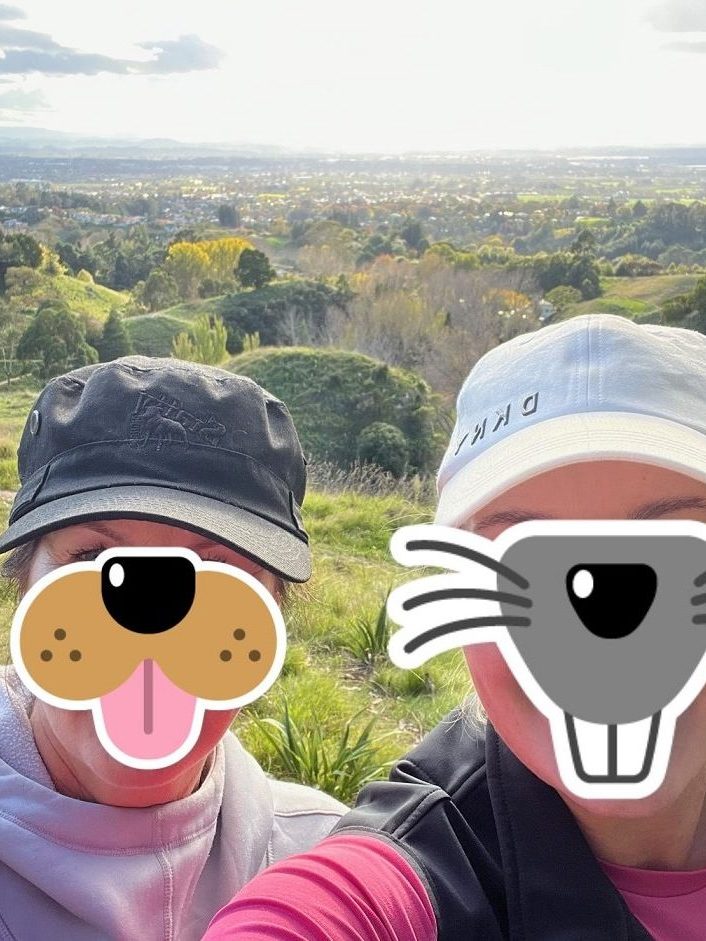
The good news? Husband, child and the two dogs made the cut. So did hiking.

The bad news? The unwanted weight didn’t make the cut. Neither did the job I didn’t like, the commute I hated, the stress, the gaslighters and the crappy food.

At the end of 2021 I made a commitment and embarked on the “year of me”. As this isn’t a self transformation blog I’ll park it there, but by the end of 2022 my goals were met – and hiking played a big part.

Back to the top five benefits of hiking that YOU NEED TO KNOW!

1. Self Esteeem

Nope, the first benefit isn’t weight loss. It’s actually about you. Your confidence, your self esteem. We live in a fast paced world, driven by social media and impossible standards which presume to tell us all the things we aren’t doing well. Or correctly. Or at the right time. Or the right way.

Hiking makes you feel good about you. You’re in charge of the hike. It’s all about where you want to walk, when you want to walk, how fast, how long, with whom and why. You’re in charge of everything. This provides an incredible push of confidence. Embrace the new experiences….

2. Shinrin-Yoku

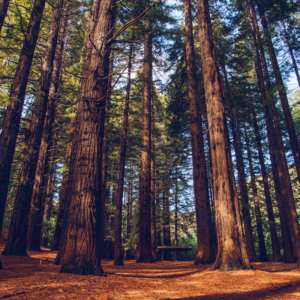
My favourite pastime. Forest bathing. A phrase coined in Japan about 40 years ago to describe the process of taking in the forest atmosphere to combat tech burnout and reconnect with the natural environment. I love embracing the calm and quiet in the bush, listening to the sounds and just being. Everywhere I hike has a soundtrack, and I love tuning in.

The best part? You don’t need to hike 20km to enjoy the benefits of shinrin-yoku. Try the park down the road. Sit. Listen. Enjoy.

Forest Bathing in a park in Melbourne, Australia

3. Stress Reduction

Told you, weight loss probably won’t make the top 5…

A common by-product of our busy lives is stress. In Australia right now, we have cost of living and mortgage stress as inflation creeps and a recession may be on the horizon. Job security, job performance, family, relationships, being perfect. Its a tough ask.

Hiking gives you a reason to park all that for a short while. Boots. Backpack. Hike. Rinse and repeat. Concentrating on a hike means your brain has less time to worry endlessly about the above. When I hike I’m focussed on my feet, the trail, the trees, the map, my poles, hydrating, saying hello to people and generally what’s happening around me. I unplug from all the “things”.

Less stress. It works.

Springbrook National Park, Queensland

4. Muscles and Bones

It’s a fact of life that as we get older, muscles and bones age also. Strength, density and tone become more important, especially for women. Toned muscles support bones. How many times have you heard about that nana who tripped and broke a wrist? Or that auntie who rolled an ankle? Good muscle tone might not prevent the fall, but it will help minimise the damage.

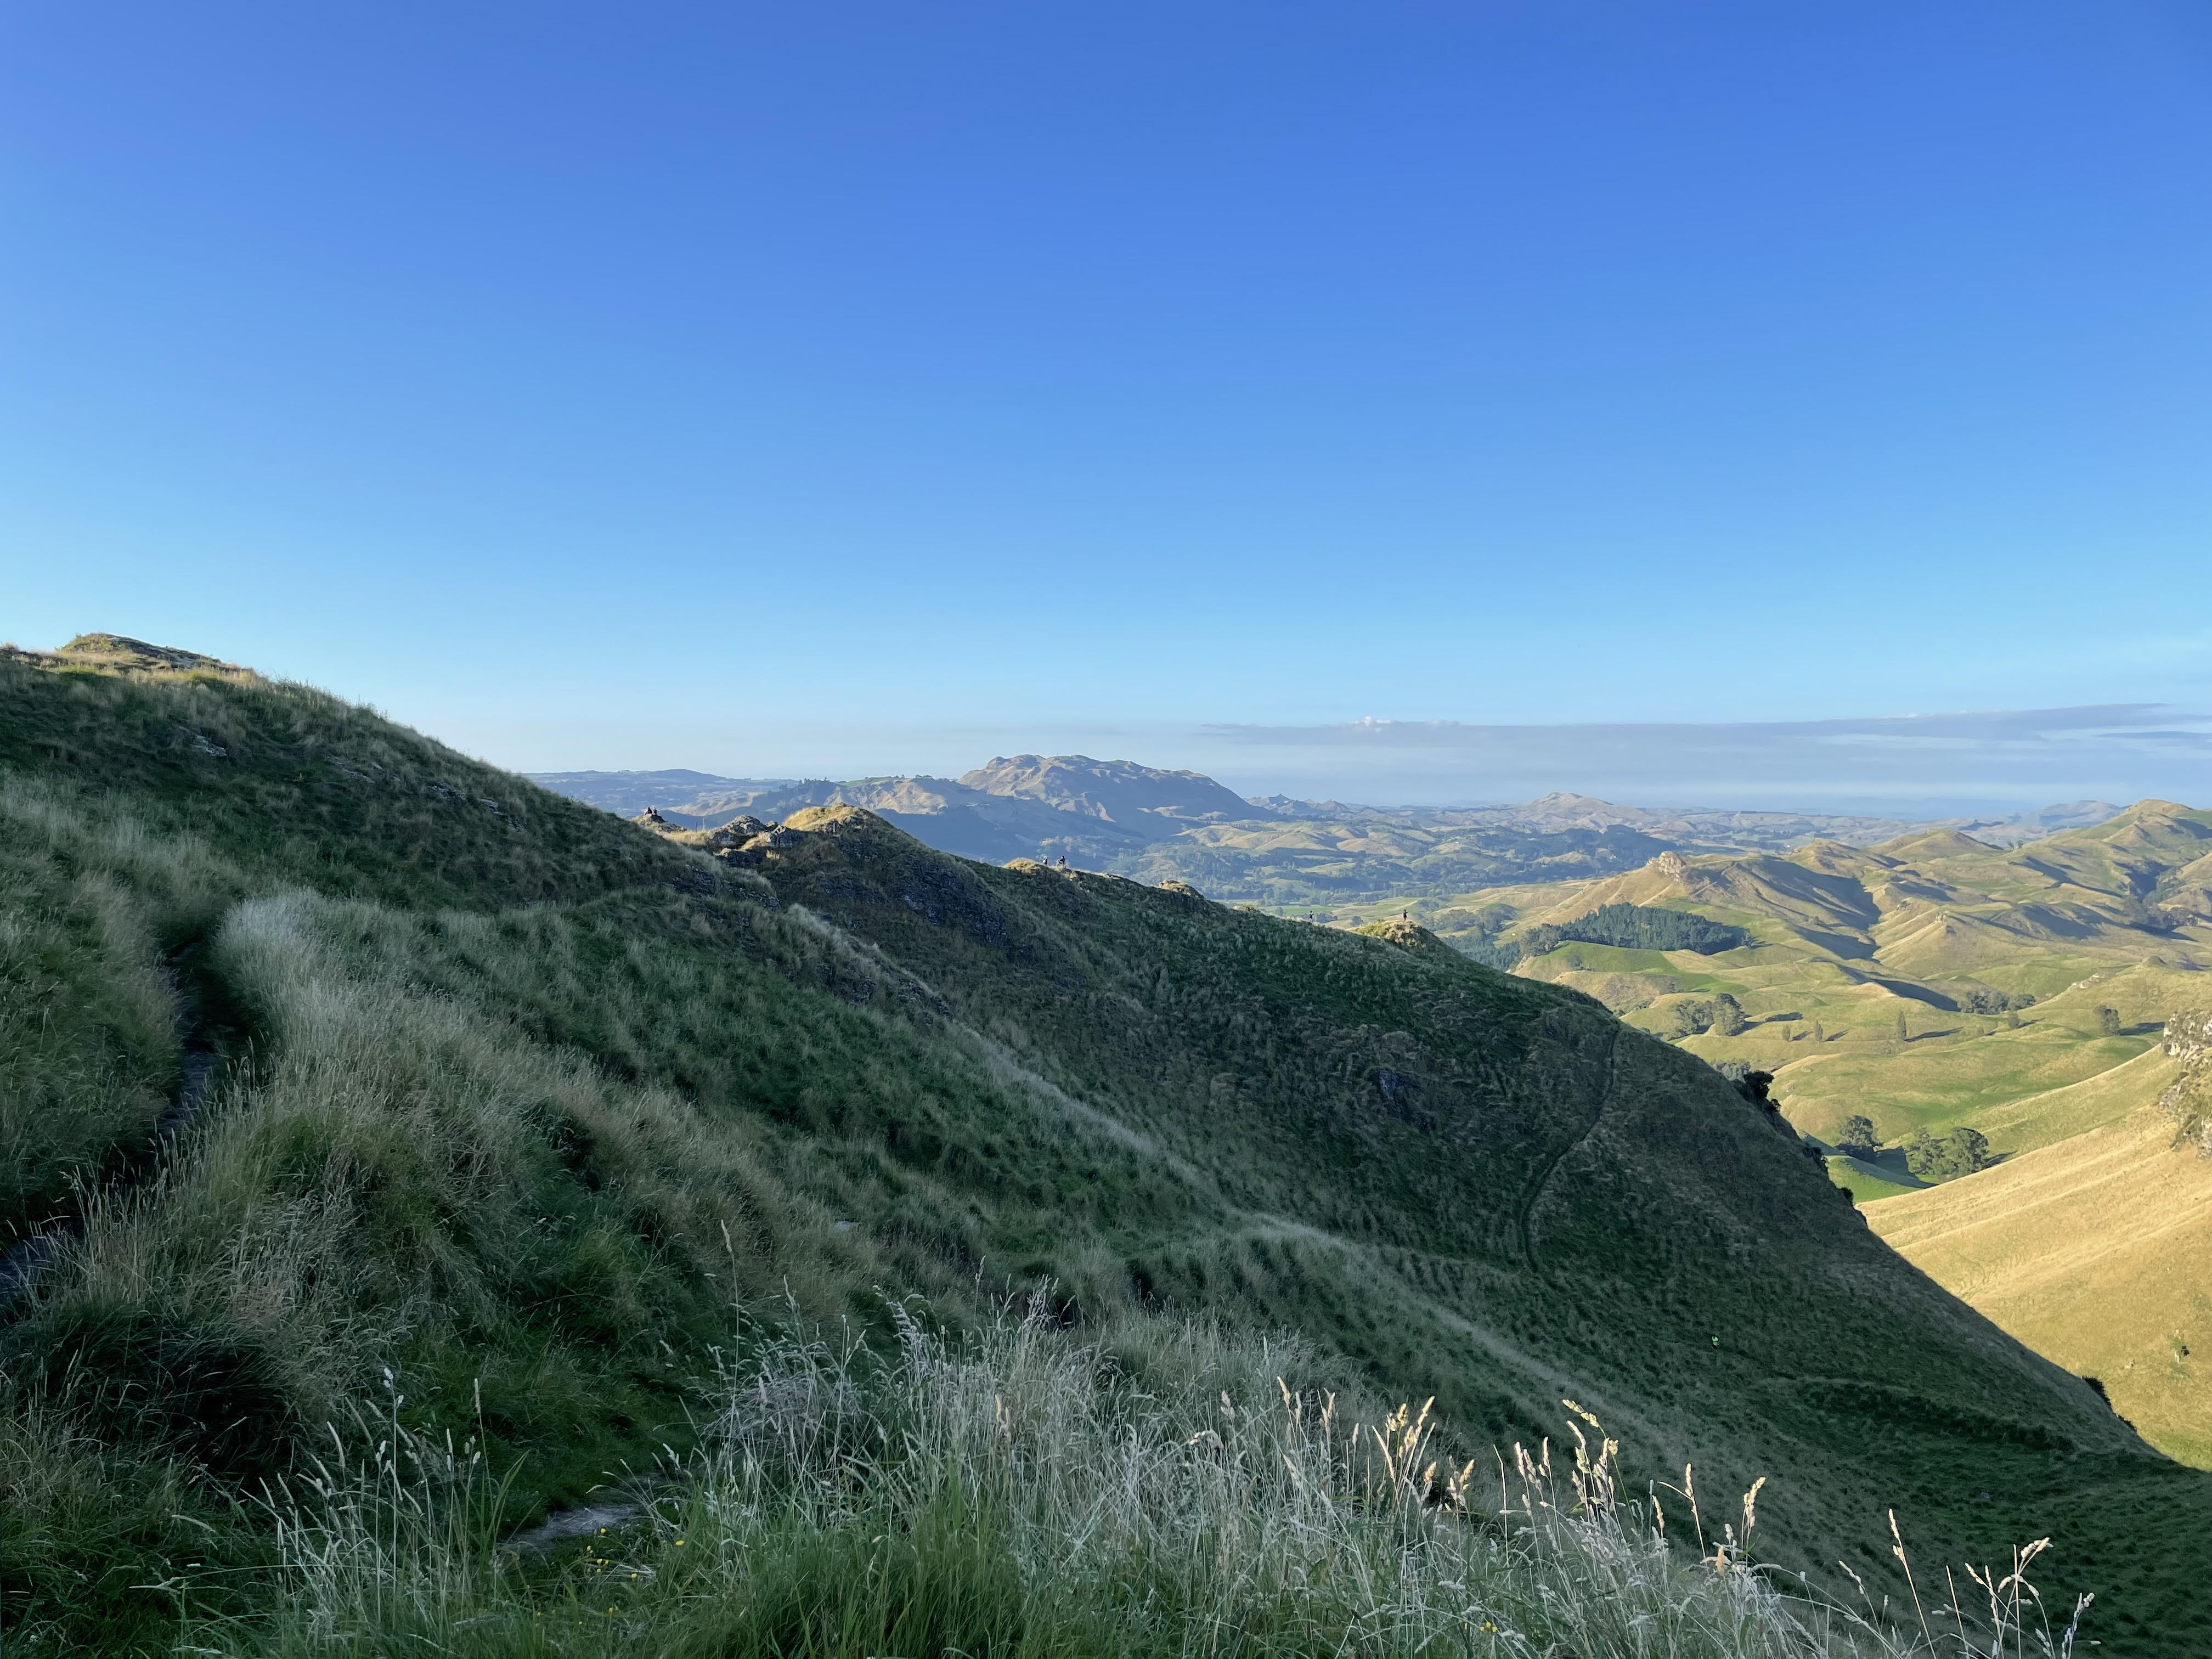
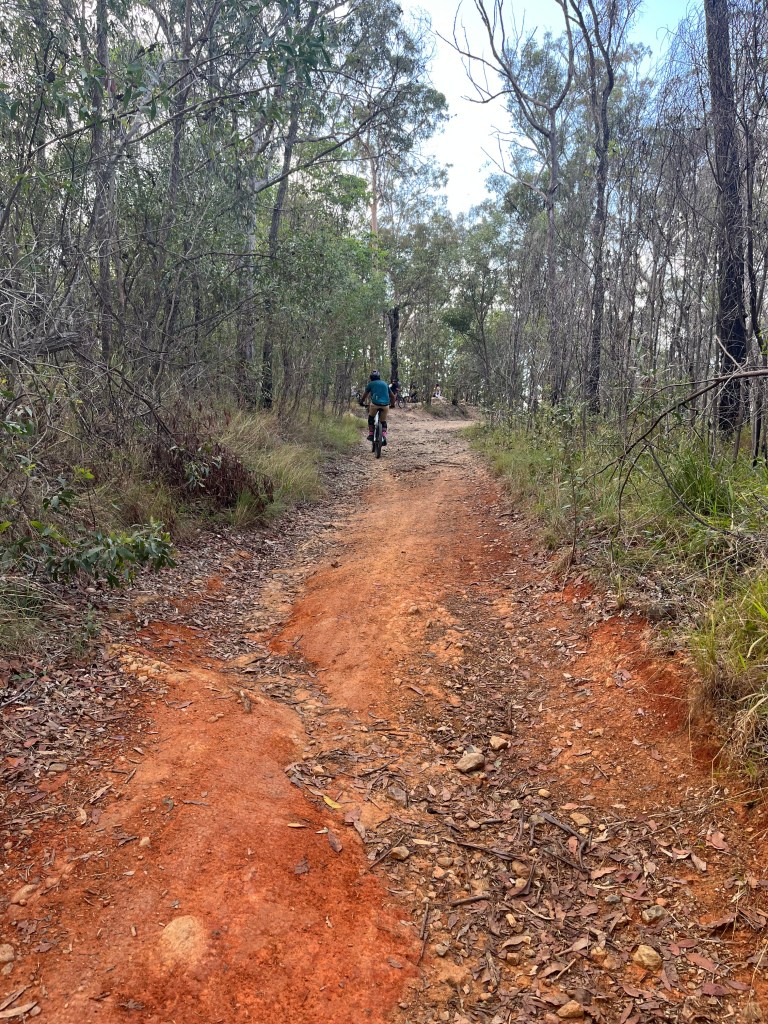
Hiking is an activity that encourages good muscle development and maintenance. Uneven terrain, hills, slopes, valleys, steps, rocks – they engage and encourage muscle tone in legs, arms, back, feet and core. All the good places.

5. Sense of Community

Rounding out my top 5 benefits of hiking is a sense of community. A sense of belonging to something bigger than you.

Hiking is a popular pastime and offers some incredible events and opportunities on a global scale. You can hike Everest, slog the Kokoda Challenge, shinrin-yoku the Nakasendo Way or commit to the Camino Trail – there’s a hike for you and a fantastic network of like-minded individuals who will be cheering you on. If you haven’t participated in a hiking event, I can highly recommend it., Having a shared purpose and common experience is something very special.

Hiking gives you entry into a community of people who not only accept you and your goals, but actively encourage and support your endeavours. Pretty cool huh?!

Wrapping It Up

So there you have it.

My top 5 benefits of hiking that you need to know. Keep in mind, this is my top 5, and have come from my hiking journey of discovery. Everyone has a different journey with different experiences and milestones – which is the fun of it.

See you next time out on the trails.

PJ.

PS – weight loss is definitely a benefit – but it’s a result of hiking – not the reason 🙂

CONQUERING THE TE MATA GIANT – ONE SCARY STEP AT A TIME

Hello and welcome to my LikeToHike blog. I’m PJ and I write about the hikes I take, giving you insight, photos, commentary, tips and tools so you can enjoy hiking and embrace the experience.

Today we are tackling one of the more ‘interesting‘ hikes I’ve done, located in the North Island of New Zealand. It’s not a long hike but wow, it was challenging – and not in the way you would think.

Welcome to the Giant Circuit on Te Mata Park, located in the beautiful Hawkes Bay. This is a 5.5km trail that will have you smiling, smug, surprised, suffering, swearwording and satisfied all within a two hour timeframe.

Before you grab your backpack and boots, have a look at the Te Mata Park website at http://www.tematapark.co.nz. There are a lot of resources including maps of the trails through the park and some handy information.

Upon Arrival

First things first. To access the trails in Te Mata Park, make your way up Te Mata Peak Rd from the charming cafe village of Havelock North. The road is twisty and narrow, so take your time. You’re looking for the Main Gates Carpark.

Like many popular hiking spots on weekends, just follow the stream of cars and outdoor enthusiasts. There are some great info boards up at the carpark to assist you with planning your hikes.

Map at Main Entrance

CAUTION

I hate to be a Debbie Downer, but this carpark area is very well used, not only by hikers but day trippers and people just out for a cruise. As a result, petty theft from cards tends to be a frequent occurrence. Take the usual precautions and don’t leave valuables in sight in your car when you depart. This rule applies to every hiking carpark you frequent.

Starting The Giant Circuit

I was lucky enough to have a hiking companion with me for the Giant Circuit., which is always nice when exploring new trails. It was also a godsend as I got really stuck on a section of the Circuit with a “frozen legs my god its steep” moment. But more of that later…

I hiked this trail with my sister – TB. She’s a great hiking partner as we are about the same age (give or take), fitness level and generally the same enthusiasm for hiking.

Technically you can hike the Giant Circuit either way, but it’s recommended to hike counter clockwise. We hiked in the afternoon in early autumn which is a fantastic time to be in New Zealand and outdoors – a balmy 16 degrees, no humidity (!) and a slight breeze.

Te Mata Peak makes the most of its natural surrounds and has a strong Ngati Kuhungunu importance. Ngati Kuhungunu is the local iwi (tribe) traditionally centred in the Hawkes Bay region and also Wairarapa which runs south of the Bay. It’s important to acknowledge the land, the culture and the history and embrace the overall experience as you hike Te Mata. Being surrounded by such rich history makes a hike that much more enjoyable.

Easing Into It

Several of the trails run concurrently and then split at certain points in the park. The trails are clearly marked with their respective colour and you’ll see the red market for the Giant Circuit as you hike. Another fun fact is that the whole of the park is an ‘off leash’ area for dogs. Which is unusual. So don’t be surprised if you’re greeted by a groodle or surprised by a staffy…

Who are those masked hikers?!

TB and I set off counter clockwise and the first section of the trail takes you gently down into a gully, past some great vantage points for views over Havelock North and Hastings.

The shorter trails are all in this initial section which is a densely wooded gully, with lots of lovely twists and turns, and loops back to the carpark. You can start on one colour, intersect with another and take a new direction. They myriad of trail colours on the main map brings a sense of anticipation of what may unfold.

TIP

Take advantage of short trails and circuits to introduce hiking to your family, your kids, friends or colleagues. Short hikes of 2km or less are not so intimidating and give hikers the chance to try new equipment, clothing or shoes with minimal risk. My son loved bush walks when he was young – it gave him the opportunity to express his sense of adventure and be “in charge” of our destination.

The Big Redwoods (Te Hau Valley)

About 1.6km into your hike, welcome to the Big Redwoods copse.

The redwoods were planted almost 100 years ago and make for an ethereal section of the Circuit. They provide natural shade and you’ll see some cute huts and lean-tos made by kids playing in the area. The Te Mata Park website mentions the Redwood copse being used for weddings, events and even plays! When you enter it, the vibe is rather incredible.

If you continue walking in a general southerly direction toward the opposite side of the redwood copse and keep your eyes peeled, you’ll spot the Giant Circuit red marker. You will feel its taking you away from the park and into farmland, and you’d be somewhat correct. Part of Te Mata Park is farmland. Complete with sheep. And fences. And more sheep.

The Gully

So far, the Giant Circuit was a gentle, pleasant hike. TB and I were walking, chatting and enjoying the outdoors. Our pace was pretty quick as the terrain was mostly either downhill or flat.

The beauty of walking in New Zealand is the incredible terrain scupted by eons of volcanic activity. A bird’s eye view of Te Mata Park shows the land pushed together like ruffled fabric, resulting in rugged peaks and valleys. Think Lord of the Rings! Hiking in these areas means you’re either on the top of a peak, or walking along the floor of a valley, or traversing between the two.

Had studied my maps more closely, I would have realised where the gully was heading. And possibly turned around…

TIP

I always take a photo of the information panel when I arrive at a hike. Regardless of mobile coverage, I then have a photo of the map which I can blow up and scrutinise at my leisure. I also take a print copy of the trail map. Call me old fashioned but a printout is a great backup.

‘Snakes and Ladders’

You will arrive at the base of the Snakes and Ladders about 4.5km into the hike. Now I’m not sure of the origin of the name, I remember reading somewhere that the park ranger who created the track named it – and TBH – you need a ladder to get up the blimmin thing! It actually starts off quite gently, and after all, the hillside was scattered with sheep, how hard could it be?

It’s about now I will apologise. I didn’t take many photos from here, I was concentrating more on the track, my feet and balancing….then recovering!

It’s a steep, sharp switchback climb up the side of the largest peak in the Park. This track takes you up the southern face to the Summit, where the views are unrivalled.

Here’s where things got a bit hairy. I’m not amazing with heights. You know that prickly, hot, clammy feeling you get in your hands and feet? Yep, that’s me.

As the track narrowed from a comfortable width down to one that was only about 25cm wide, I knew I was going to struggle. Thankfully it didn’t phase TB at all. One of us kept her cool…

So, I didn’t look back/down, and used the vegetation to balance my climb. I think I zoomed up this section in a time to rival an Olympic runner. I just wanted it over and done with.

TIP

If you find yourself on a section of a hike that you’re not comfortable with, take a moment to centre yourself and make a decision to focus forward. If you don’t like super steep climbs and feel nervous, focus upward, and lean into the track. I use strong vegetation as a tool to balance. Not to pull myself up, but as reassurance that I’m grounded and stable. KEEP MOVING!! The hill isn’t going to get any smaller and you magically won’t float to the top. Every step forward is an achievement and when you’re done – breathe…

Summit and Saddle Lookout

The view from the Summit almost made Snakes and Ladders worth it. If you google Te Mata, most of the imagery is from this vantage point. This is why hikers and trekkers LOVE New Zealand. It was quite windy on the day TB and I hiked, so be prepared for some gusts as you walk along the Summit toward the Saddle. There is also a carpark at the Summit, so don’t be surprised when you heave yourself over the last couple of rocks, you are greeted by five curious tourists watching your efforts. The view from the Saddle Lookout is again – spectacular. You’re on the homeward section now, so spend a moment, have a sip of water and drink in the vista. *boomtish*

CAUTION

The section of track from the Summit to the Saddle Lookout runs adjacent to the road. Don’t be tempted to walk on the road (as many day-trippers do). You’ll be competing for space with a constant flow of cars going both ways. Enjoy walking on the track and continue with your Giant Circuit hike.

Interesting to see that the road really hasn’t changed in 100 years….

A Quick Peek at Peak House

The final section from Saddle Lookout to the Main Gate Car Park takes you through a lovely wooded area and past Peak House. Built as a destination venue in the late 1960’s, Peak House now offers coffee, meals and in the afternoons, a great bar and live music. As you can imagine, the views from their balcony make that glass of Clearview Reserve Chardonnay taste divine.

Nope, I didn’t stop but maybe next time…

After two hours of walking, climbing, sheer panic and recovery, TB and I arrived back at the car.

This is a great circuit to hike, not for the fainthearted (or those a little bit unsure of cliff faces) however the sense of achievement is worth the push.

Pat yourself on the back, you’ve just completed a fantastic hike, enjoyed the outdoors, perhaps tried some new gear for the first time. You’ve definitely done your steps for the day and embraced the experience.

Love and thanks to my bestest hiking buddy TB – and see you next time out on the trails.

PJ.

THE HIKE TO GET YOUR LEGS PUMPING & HEART THUMPING

Hello and welcome to my LikeToHike blog. I’m PJ and I write about the hikes I take, giving you insights, photos, commentary, tips and tools so you can enjoy hiking and fully embrace the experience.

Today I’m going to write about a cheeky wee 6km hike in the Nerang National Park on the Gold Coast, Queensland. The Nerang National Park is home to a great range of trails, and is popular with hikers, runners, bikers, families, training groups and everyone in between.

This 6km circuit is one I do regularly, simply because its a great, snappy cardio workout with four dry creek gullies, a short sharp climb and a gradual descent back down to the finish. You can knock this hike off in under 90 minutes depending on your fitness, and you get to experience some lovely scenery.

There are some map resources on the Queensland State Government website here, and below is the official map of the area. It’s not the best for hiking detail, but gives an overall picture with my lovely blue overlay. My pic on the right shows where the hike is in relation to the map.

Let’s get into it!

Upon Arrival

The Nerang National Park is very easily accessible from Hope St, Nerang. Parking is plentiful outside the velodrome, which signals the access point into the park. On the weekend, just follow the stream of hikers and bikers – you can’t miss the entry. If you’re lucky enough to be hiking during the week, here’s a couple of pics of the hiking entrance.

Starting Your Hike

I walked counter clockwise. I find that most hikers naturally turn left, so I turned right…

First thing you’ll notice is the tree cover. Thankfully there is an abundance of high trees in this section of the park, and sun protection is needed hiking in Queensland. I started around 6am – and it was already 26 degrees with relative humidity at 88%. Thank you trees!

Second thing you’ll notice is the trail is quite rocky. This section of the National Park is perched on shale, so basically compacted silt and clay stone. It can be hard going on the soles of your feet, so hiking footwear would be the best option. My first hike here many moons ago was in sneakers, my feet were sore for about a week afterwards.

Navigating the Section Names

The trails in Nerang National Park have both names and numbers. The numbers are prefixed by NG – and you can see them on the trail map I loaded above. There will be small plates attached to poles as you walk along the trails detailing the NG and the name of the trail.

So, navigation is pretty easy using maps and the trail signs. The other good part about Nerang National Park and this 6km trail is it runs adjacent to the park border, so you’re in line of sight of roads and some houses. For the new hikers (yay – welcome!) I think this provides a bit of security and peace of mind – we won’t take you into the wilds just yet…

You will also see some of the mountain bike tracks which criss-cross the main hiking trails. Here’s an example of the signage you’ll see around the trails.

CAUTION

Don’t walk on the biking tracks. They’re not for hikers, they’re for bikers, and they clock some serious speed! I’ve found the bikers extremely polite and respectful of me when I’m hiking, so I extend the same courtesy. Nerang National Park is an area designed for hiking and biking so let’s play nicely together.

Turn Right and Enjoy Coolibah Break

After a brisk trot up NG22 for about 1.6km, you’ll be making a right hand turn at the NG23 marker. This is the Coolibah Break. Coolibah has four dry creek bed crossings, so prepare yourself for 1.5km of leg pumping and heart thumping! I like this track for two reasons. 1 – you get to explore, which is what hiking is all about and 2 – you get some serious exercise.

CAUTION

Don’t walk the Coolibah Break after heavy rain. Dry creek beds have a habit of filling up quickly, and the creeks can rise to over 2.5m in the blink of an eye. We have a saying in Queensland – if it’s flooded, forget it.

Turn Left and Enjoy Castle Hill

You’ve conquered the ups and downs of Coolibah Break and have arrived, around the 3km mark, at a T junction. This is Castle Hill, or NG25 on the map. Today we are going left and heading back toward the main trail.

You will meet mountain bikers on this section, they’re coming back up the main trail to start their crazy descents. This section of the trail is sandy underfoot , and in the shade so quite a pretty part of the walk. Slow down, enjoy the birds, the cicadas and the vibe.

TIP

I hike with a camel pak for fluids. I find I can’t juggle a water bottle from my pack – it’s on – it’s off – it’s on again – I drop the water bottle in the sand – argh. Remember to hydrate regularly, before you get thirsty. I take plenty of small sips when I’m walking downhill or on the flats. I also add electrolytes if I think I’ll need them on longer hikes.

Back on the Main Track

Congrats, you’ve completed the Coolibah Break! You will notice that the track widens and at NG24, Castle Hill continues to the right. We’re going a little deeper into the park, not much but enough to see some lovely vistas to the north and south. Before we turn for home, we do have one more hill climb, but you’ve got this. Your legs are warmed up, you’re in the groove and you power up the hill.

Castle Hill section, including the hill climb up to NG26!

TIP

I find going down a hill far harder than walking up. I think it has a bit to do with balance, and a bit to do with confidence. Lean slightly forward when hiking down a steep hill. This reduces the risk of jarring and sliding, especially on gravel. So, stick your butt out, tilt forward from the waist and own that descent.

Information Junction and Turn Left

Finally the top. This is NG26, and is home to an information panel, hence my name for it. It’s the only info panel out in the trail areas, so a good place to commit to memory.

TIP

I always take a photo of the information panel when I arrive at a hike start point. Regardless of mobile coverage, I then have a photo which I can blow up and study at my leisure. I also take a print copy of the trail I plan to walk. Call me old fashioned, but if you’re hiking, you need maps!

Information Junction is also the marker for the final 2km of the 48/96 Kokoda Challenge, an endurance event held each July in the Gold Coast hinterland. I’ve done Kokoda 48 twice, so this location is burned in my brain as the “we’re almost home” point.

Turn left and we are now on the descent back to the car. You have a strong visual red clay section which goes slightly uphill, then it’s a leisurely 2km back to the parking area. This section is called Centre Road. I’m not the expert but I understand that many of these main tracks are also emergency service access roads. The Gold Coast does have occasional bushfires in the dry periods so access to the forest is critical to manage fires and backburns.

You can see that bikers are going gangbusters to the left of the track. When walking on these larger tracks you’ll be sharing with other hikers and runners, and also bikers as they come back up to throw themselves down another bike track. I usually stick to the bike groove in the track as it’s a smoother descent and more stable underfoot.

CAUTION

Be alert as the bike trails cross the main track and bikers can come out at speed. They are quite noisy so you can hear them coming and 99.8% are incredibly considerate, but if you hike with ear buds, you may be at a disadvantage….and the 0.2% have no mercy….

To Pole or Not To Pole

I was trying out my new Macpac telescopic walking poles when I took these pics. I’ve started hiking prep for Kumano Kodo (future blog – keep an eye out), and I want to take poles but they need to be travel appropriate. I also managed to colour coordinator with my boots – well done me!

I wasn’t a fan of poles when I started hiking. I figured it was hard enough juggling boots, backpack, water, coat, hat, gloves, snacks, lip salve…why complicate life with two more bits of equipment?

I then did the Kokoda Challenge for the first time. Without poles.

I now get it. Walking poles are a great extension of your body. Great for balance, for fatigue management, to haul hiking buddies up that final hill and to bat away the spider webs you walk into. I’ve walked with one and two poles and find that two poles creates a good walking rhythm for me. One pole just felt lopsided.

So, what’s the verdict on the Macpac telescopics? I got them for a great price on clearance so that’s a plus. They are easy to extend and retract. Another plus. I’m undecided on the knobs and grips, so I’ll need a couple more hikes to break them in.

TIP

Shop around for gear if you’re new to hiking or buying for the first time. Decide how many times you’re going to use it, and what your budget is. I don’t quibble over key items like boots and a backpack. I like what I like and need to have the quality gear that works. If you’re buying extra gear to use sometimes, like poles, then be a bit more flexible as the prices can range from $50 to $500 a pole – yikes!

Heading Home

The last kilometre of Centre Road will bring you back alongside a bitumen cycling track and a metal pipe fence. Keep to the large trail, there are a number of smaller tracks, we will explore those another day.

Watch out for bikers completing their downhill run at the exit gate – it’s fun watching them skid to a stop with literally inches to spare!

Pat yourself on the back, you’ve just completed a fantastic 6km hike, enjoyed the outdoors, perhaps tried some new gear for the first time.

Congratulations on embracing the experience, and see you next time out on the trails.

PJ.