Hello and welcome to my LIKETHEHIKE blog.
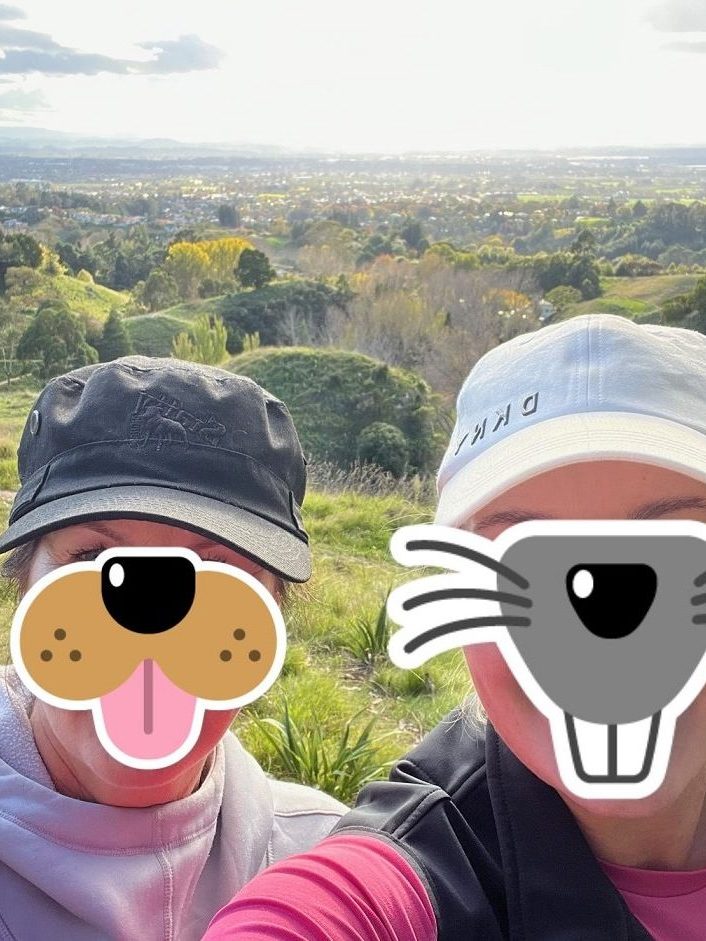
I’m PJ and I write about the hikes I take, giving you insights, photos, commentary, tips and tools so you can enjoy hiking and embrace the experience.
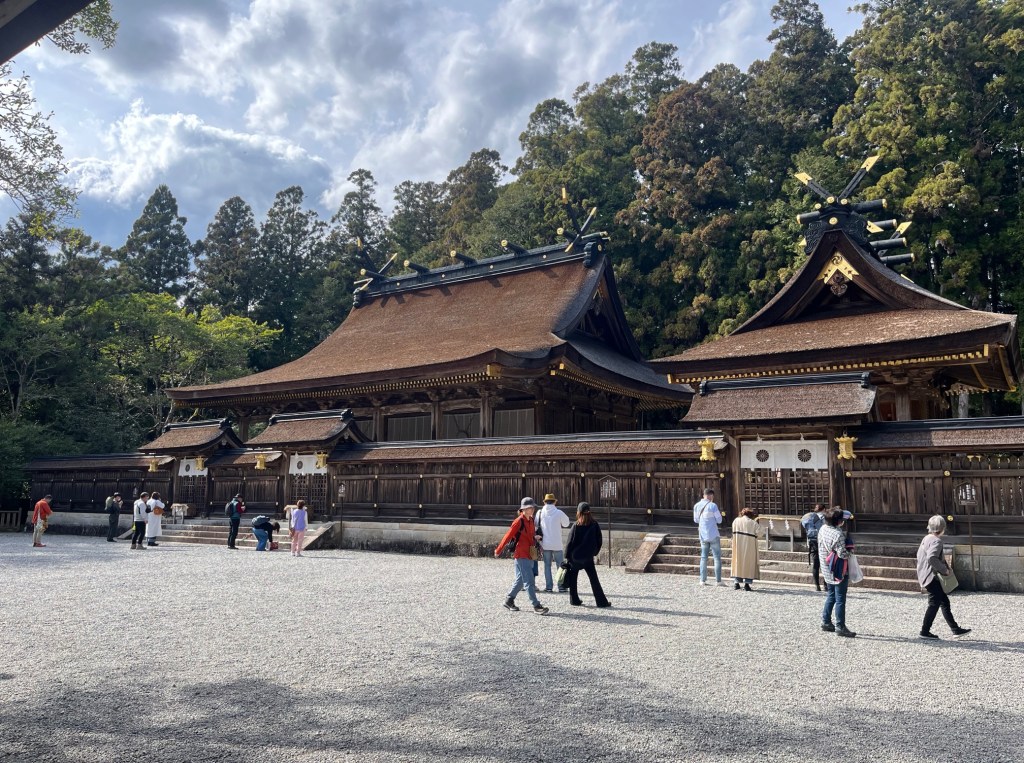
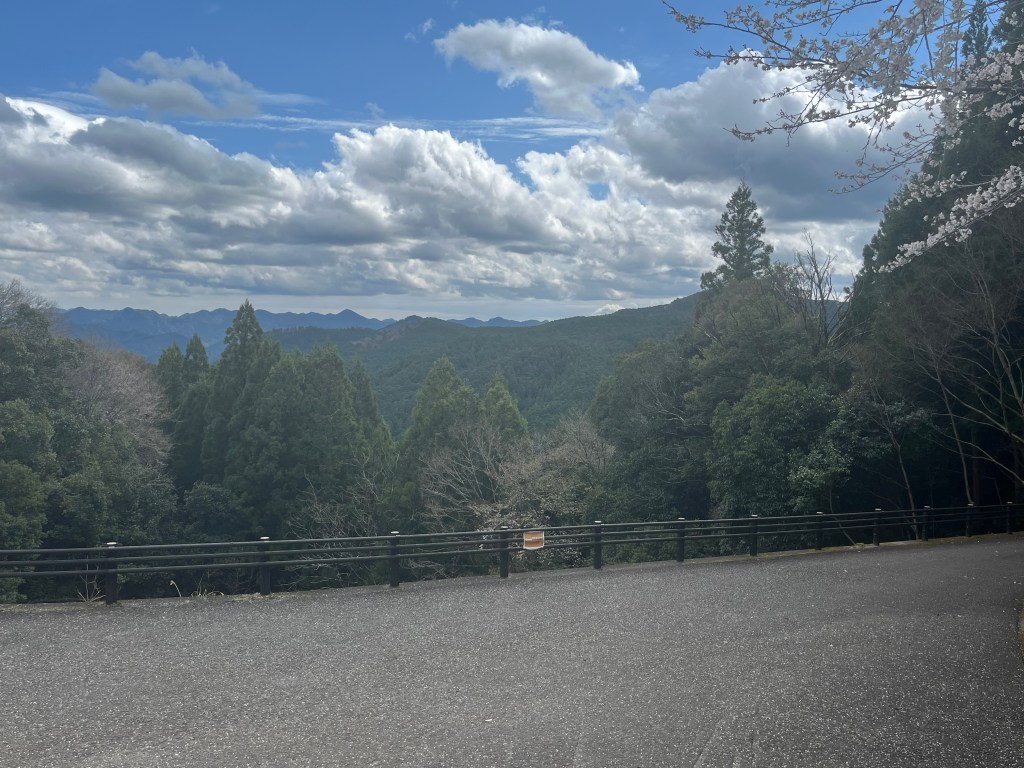
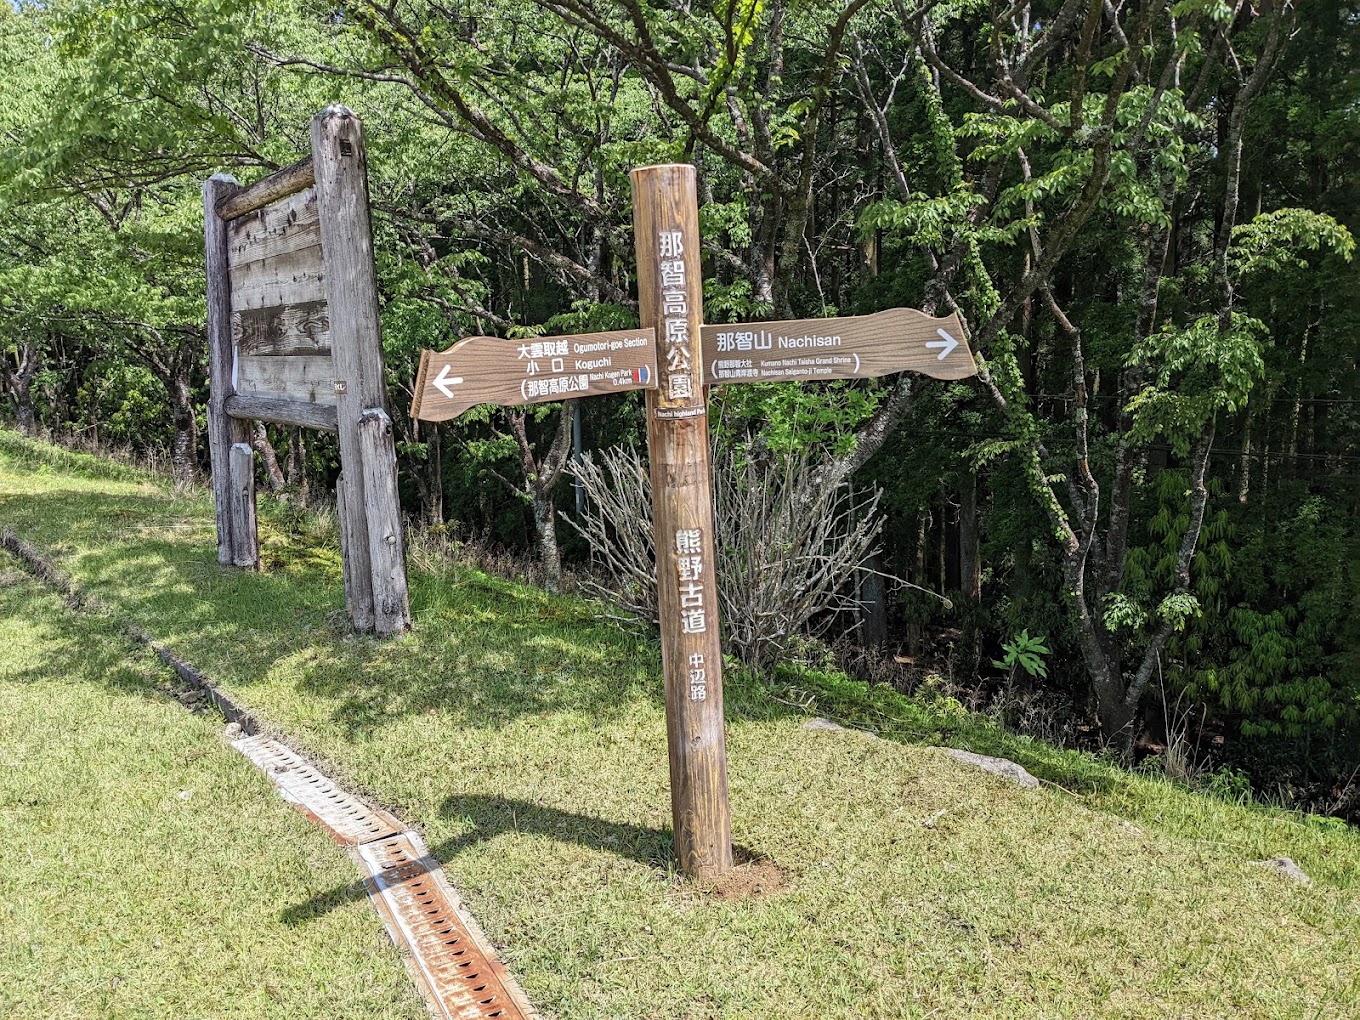
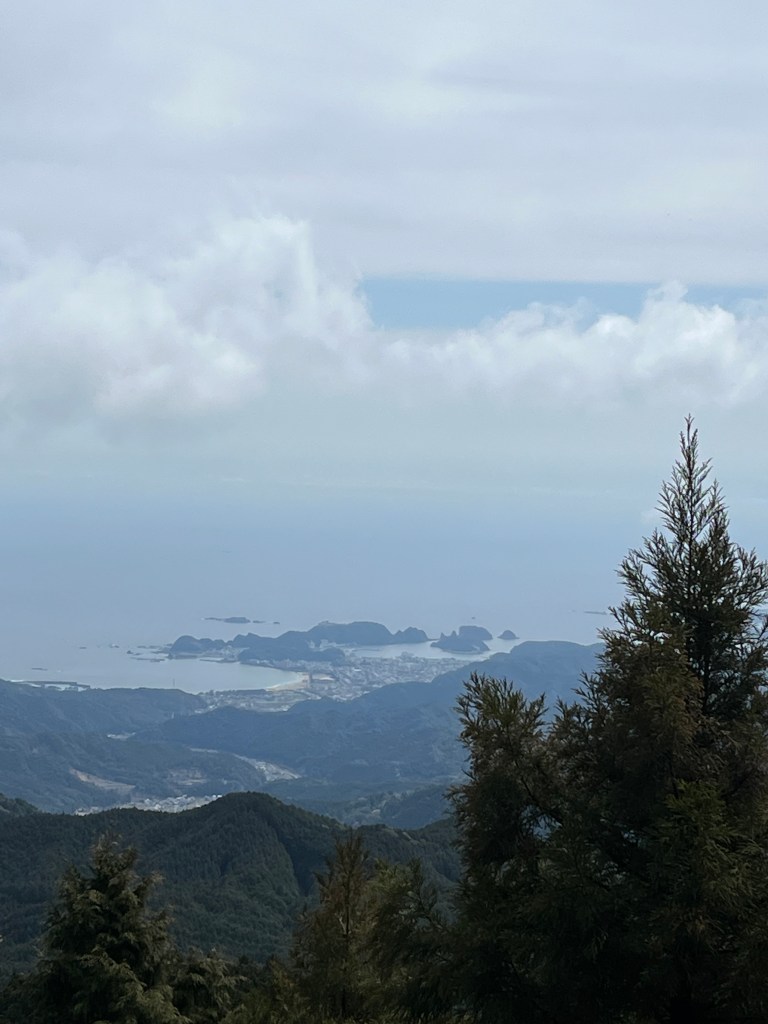
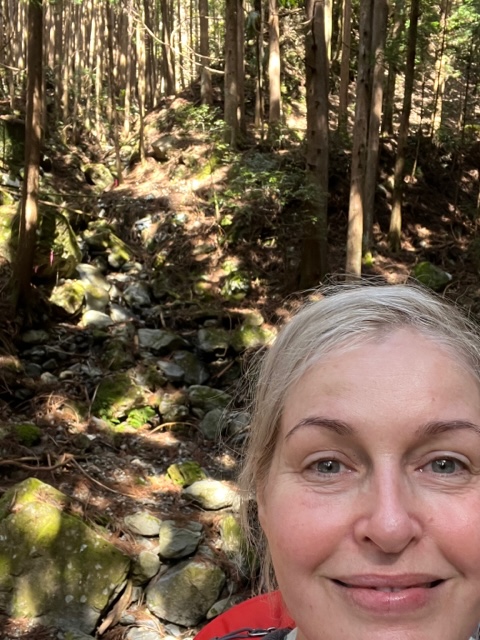
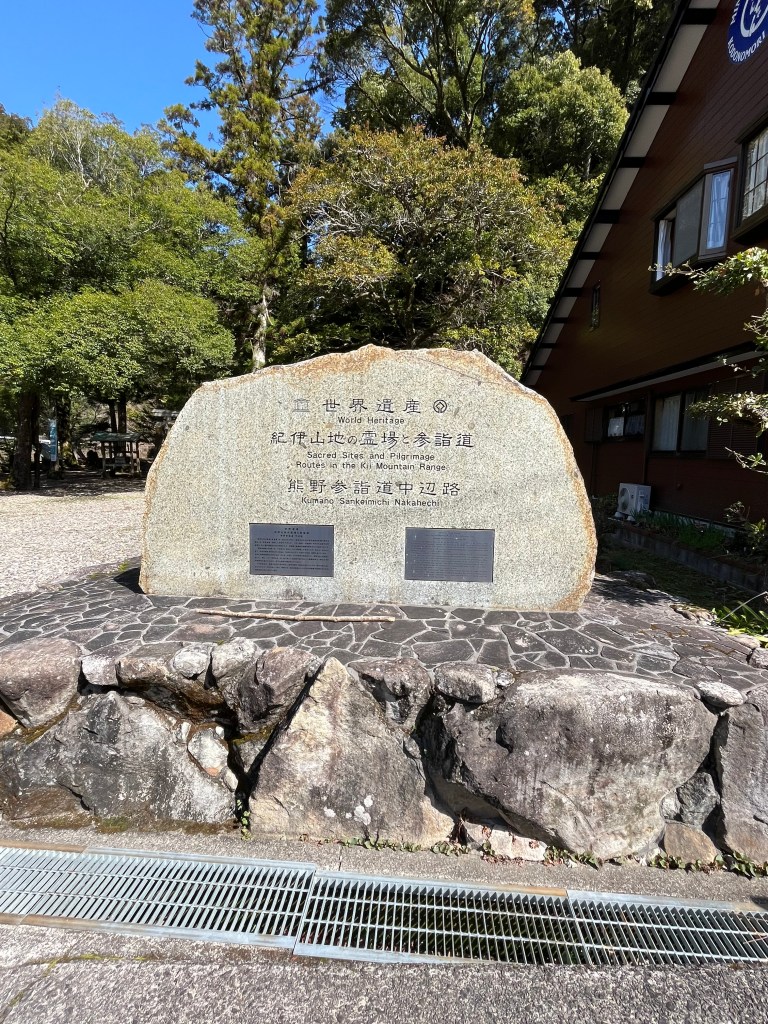
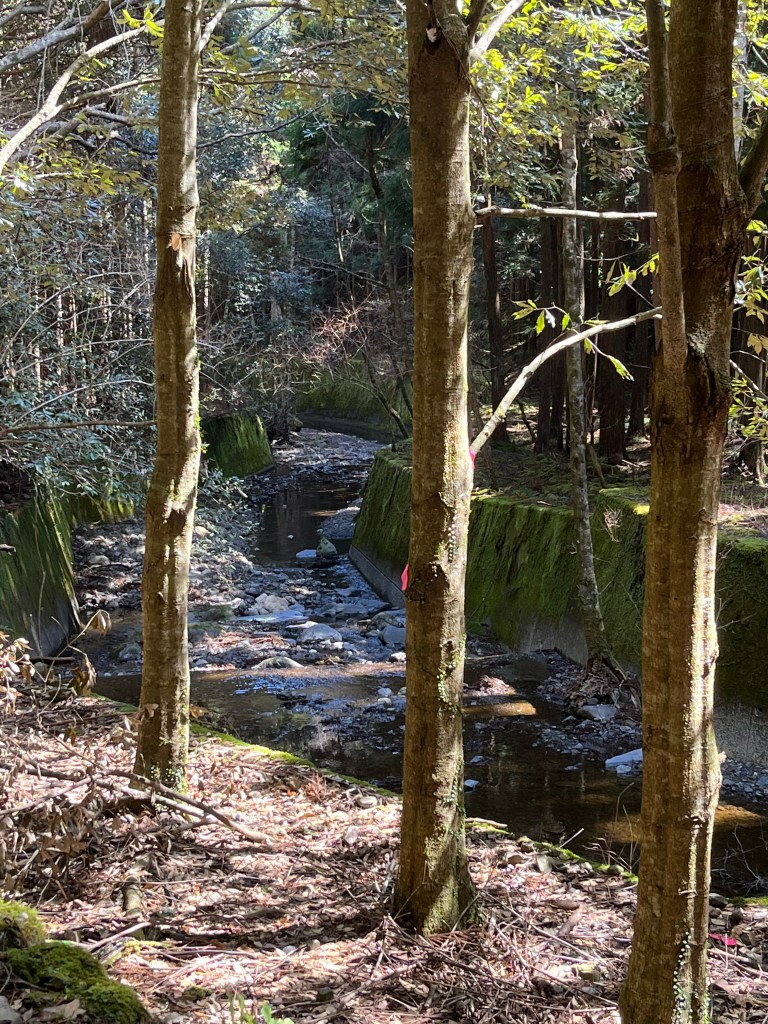
I’ve just returned from an amazing hiking experience on the Kumano Kodo and I thought I’d share with you my top 10 ‘must haves‘ to hike the Kumano.
So – you want to hike in Japan. You start by doing a bit of research. You google all the things, decide whether you will go through a company or plan it all yourself. You decide what trails you are going to experience, when you’re going and who you’re going with. You book airline tickets, you pay all your money and then the hard bit begins.
WHAT DO YOU TAKE WITH YOU??!
For a good place to start, have a look at my blog “What to Pack for a 10 Day Hike on Kumano Kodo” which I wrote before I went. Happily, I was pretty much on the money with what came with me, however, now I’m back I can, with absolute authority, tell you the top 10 ‘must haves‘ to take with you on your hike in Japan.
Let’s begin the countdown. You’ll be surprised at what came in at #1…
#10 – ANTIHISTAMINES
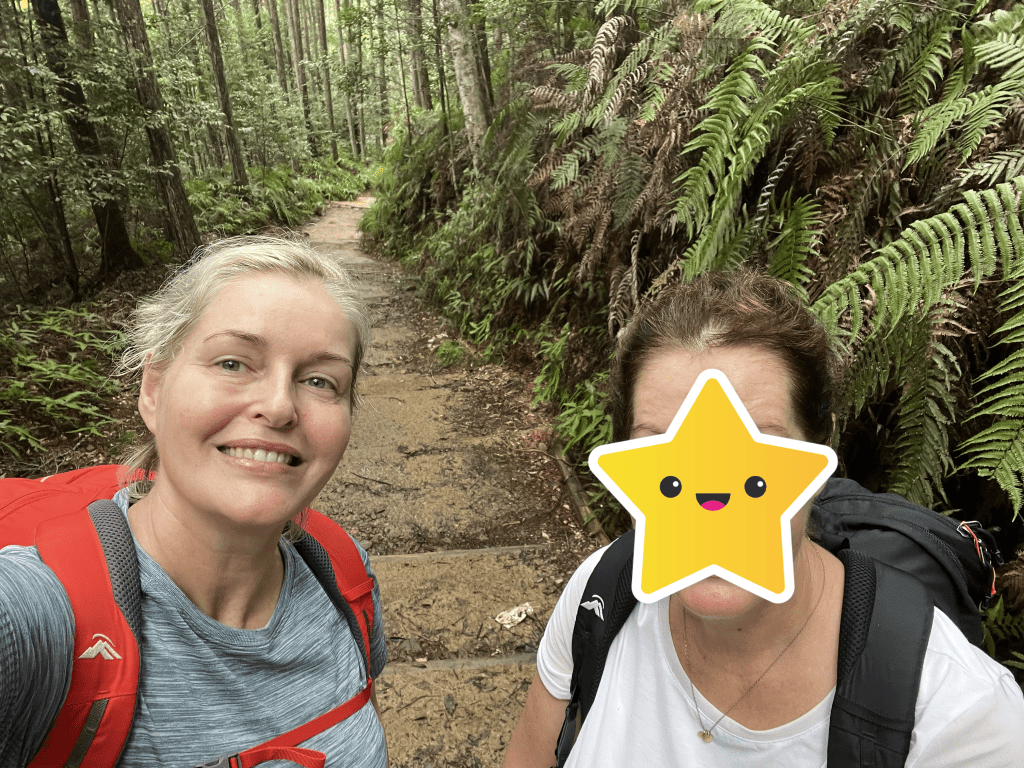
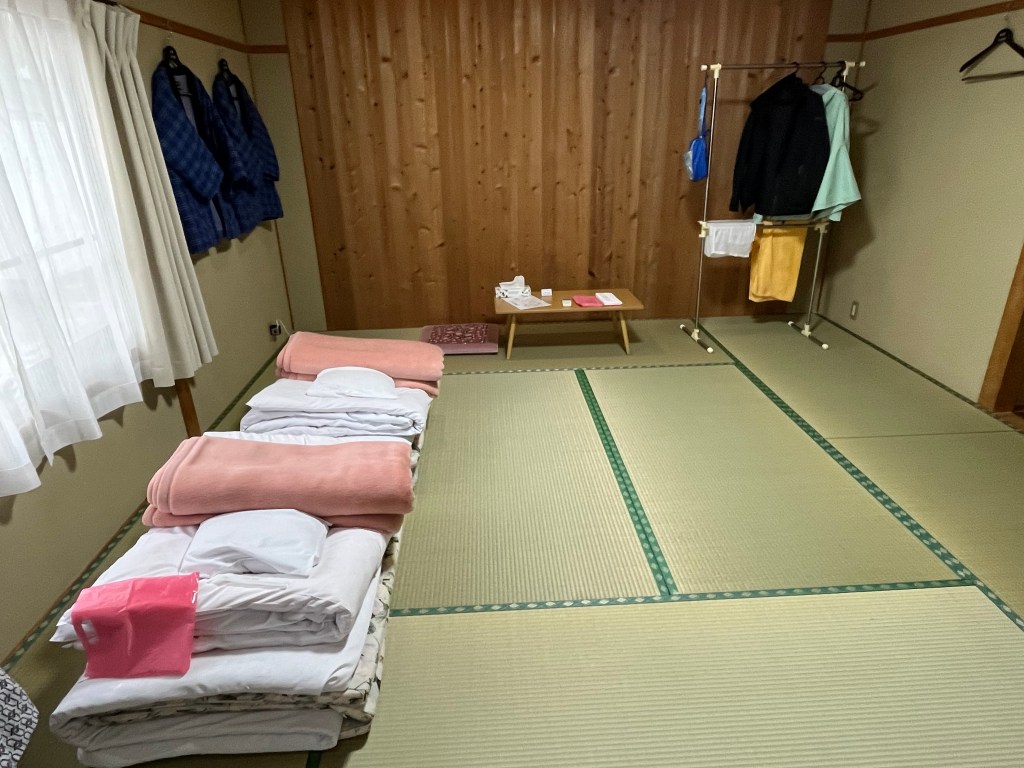
Seems an odd thing to have on a top 10 list, but I found them invaluable. We hiked through forests, paddocks, villages and up and down mountains – if you have allergies you will react at some point. Also, and this is something I didn’t expect, my hiking partner and sister TB had an allergic reaction to the tatami mats in the ryokan. Tatami mats are made out of woven sea rush and rice straw. After a couple of nights, TB’s eyes looked like she had gone ten rounds with Mike Tyson!

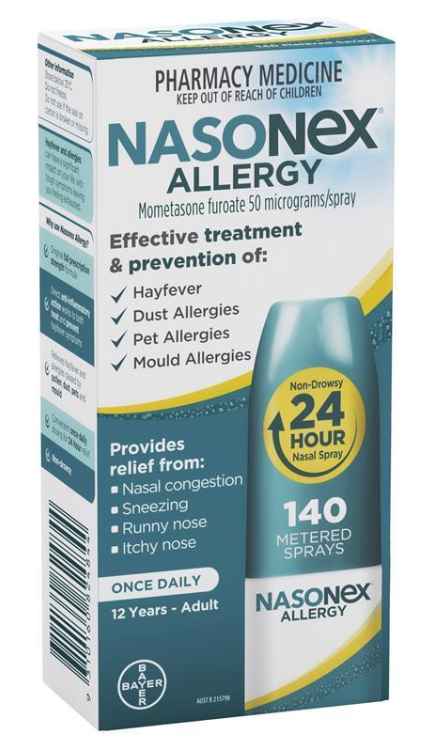
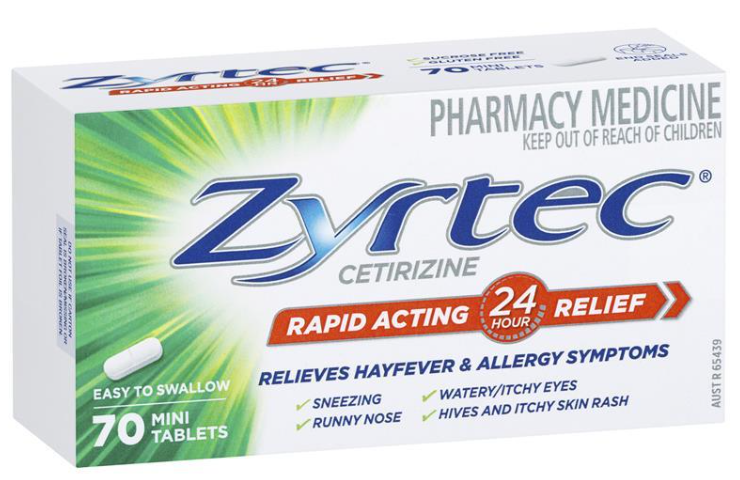
I packed a couple of different types of antihistamine just in case – Nasonex and Zyrtec. They did the trick.
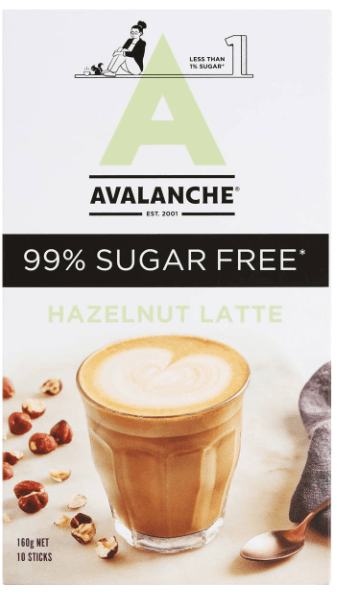
#9 – COFFEE SACHETS
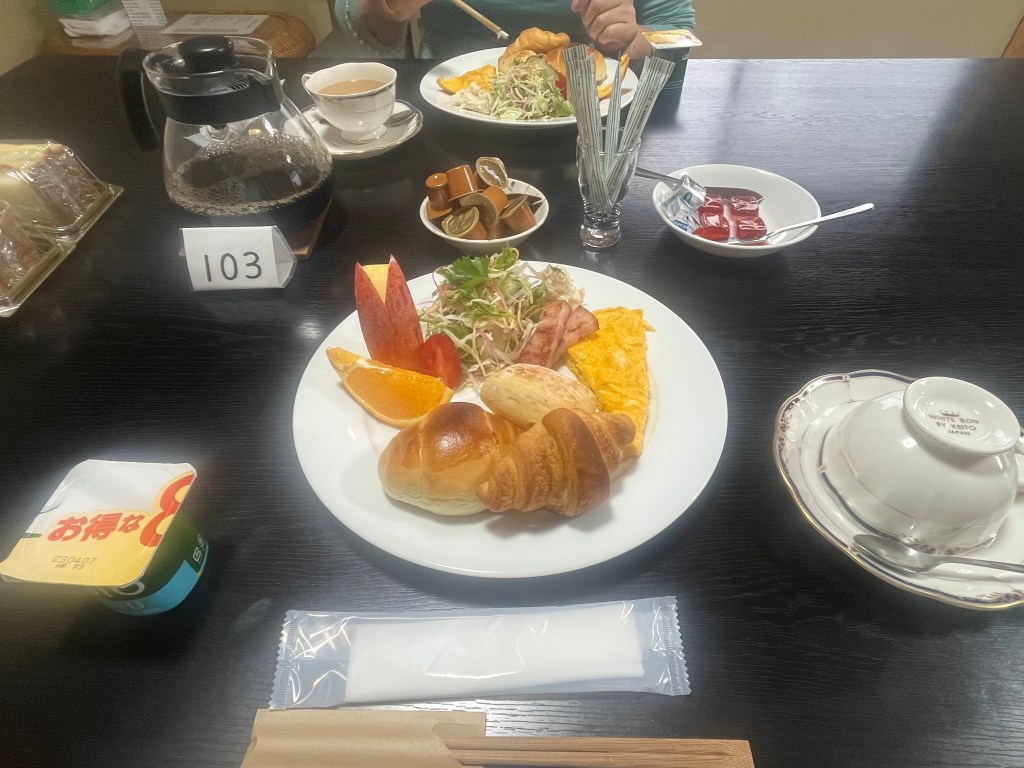
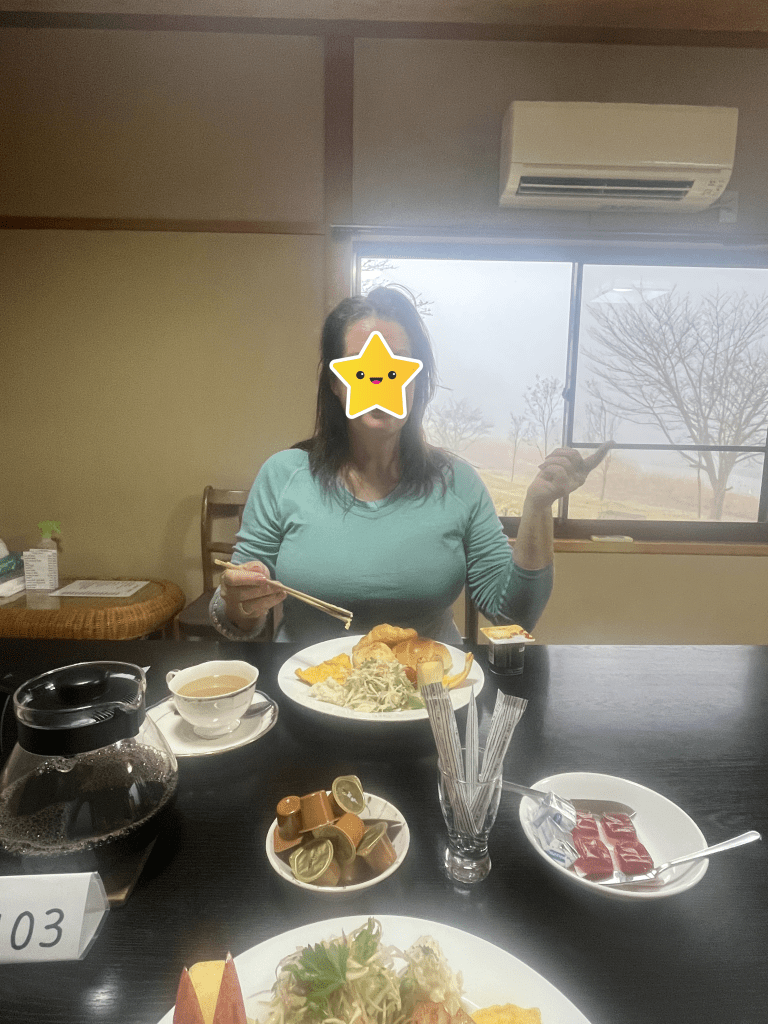
So, we heard through our research, that most ryokans don’t do coffee. And that’s absolutely correct. If they do, it’s not very nice. Definitely no skinny lattes or flat whites on order!
We decided to take some instant coffee sachets with us. And we used them every day. All you need is hot water. Admittedly, if you take your coffee without sugar they might not be ideal, but TB used half a sachet and combined it with a good old Nescafé instant sachet and boom – a halfway decent coffee.

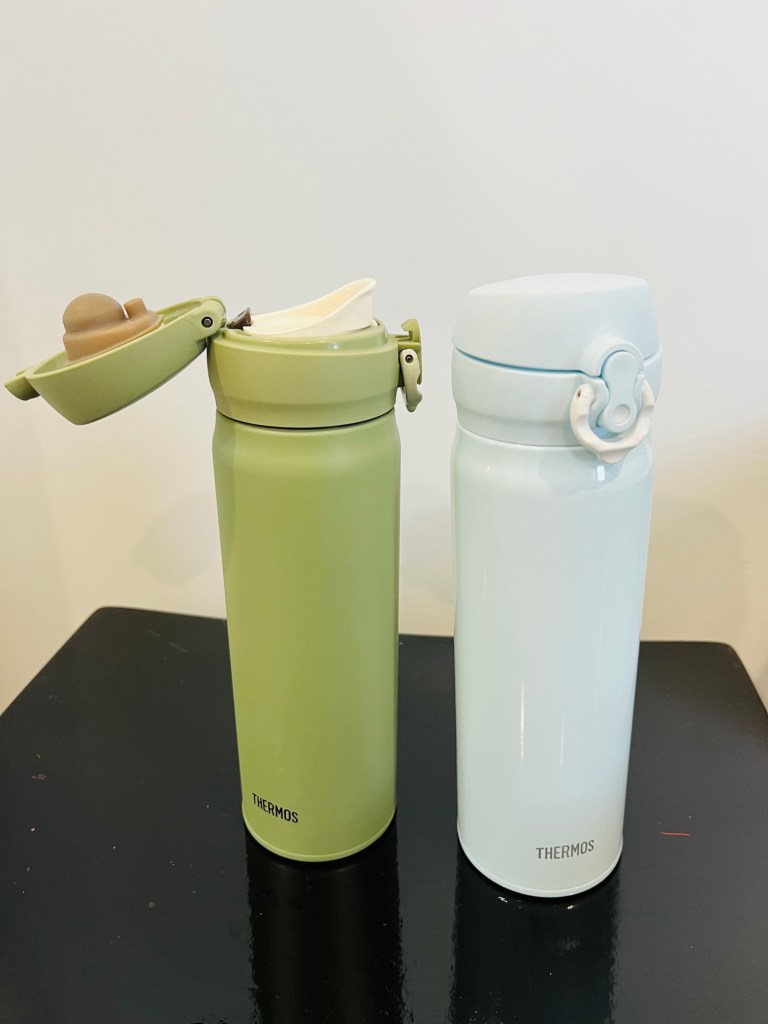
We bought some ridiculously cheap Thermos’s in Tokyo before we started hiking and then used them all around the Kumano – hot coffee for morning tea was just perfect.
#8 – CASH
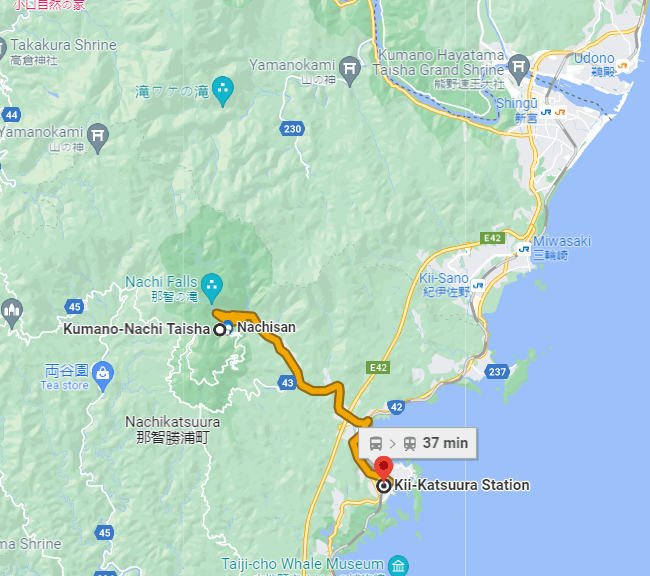
Seems obvious – right? Of course you take cash on a holiday, but mostly use a travel card, a credit card or apple pay etc….right? WRONG. Local buses all over the Kii Peninsula DON’T TAKE CARDS. The vending machines all along Kumano take cards but may not be secure and the little stores, village shops, and trinket places are pretty much cash only businesses. So not only is cash king, but coins are the king of kings as buses usually take exact change only for fares and Kapan has a 1,000JPY coin. Smart!
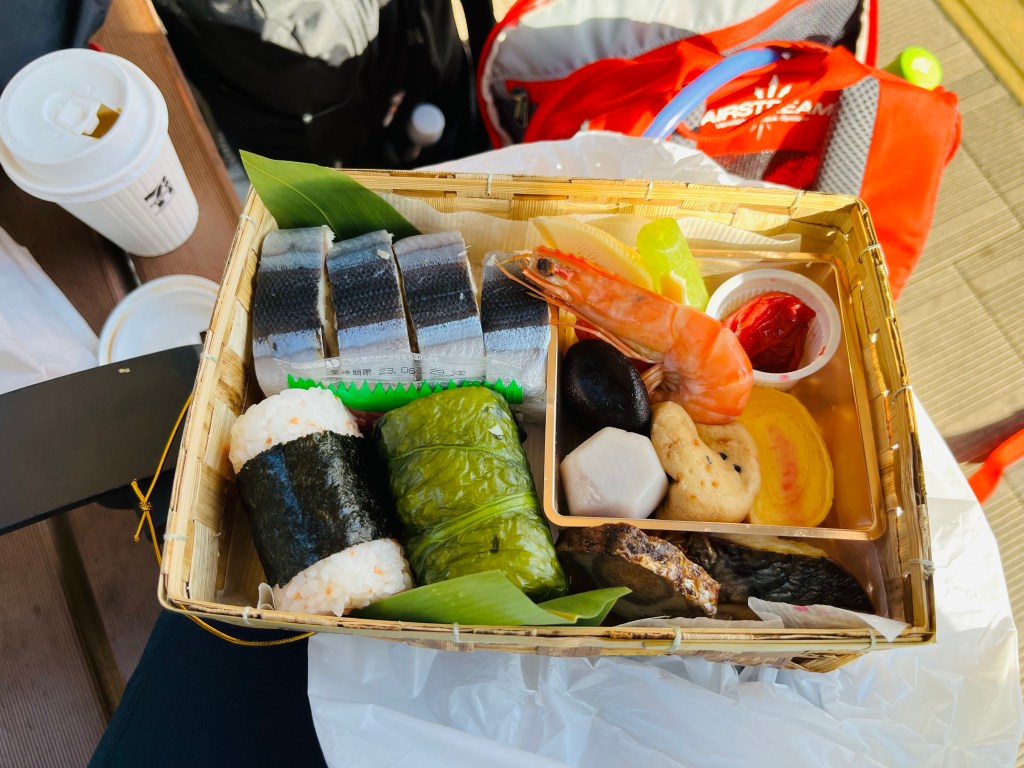
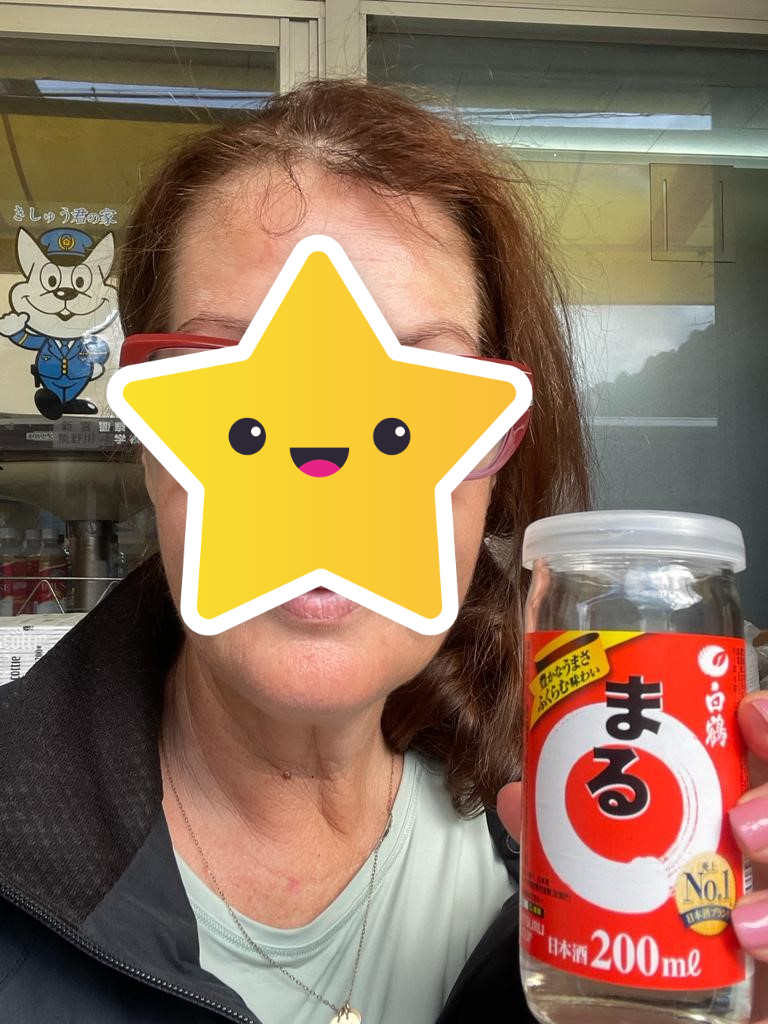
I even bought a lovely little coin purse to use because I was taking out my wallet multiple times a day to pay for things as we journeyed along Kumano. I was pleasantly surprised at how affordable Japan was, and we really enjoyed the $2AUD 500ml Asahi cans and the $2.50AUD ‘friend pot’ sakes. We found these two at a tiny grocery store in the middle of nowhere in Koguchi after hiking 25km. Yum!

Take a bit more than you think you will need, I allowed $60AUD a day (6,000JPY) and spent my last 4,000JPY at Haneda airport on the way home 🙂
#7 – BLOW UP CAMPING MATTRESS
I know, I know. But hear me out.
Traditional tatami and futon rooms in Japan can be quite firm. My family and I holidayed in Tokyo about four years ago and stayed in a traditional ryokan. The futon was QUITE FIRM.
So, I jumped online and purchased a camping mattress for less than $40. If I used it, happy days, and if not, then I hadn’t spent a fortune.
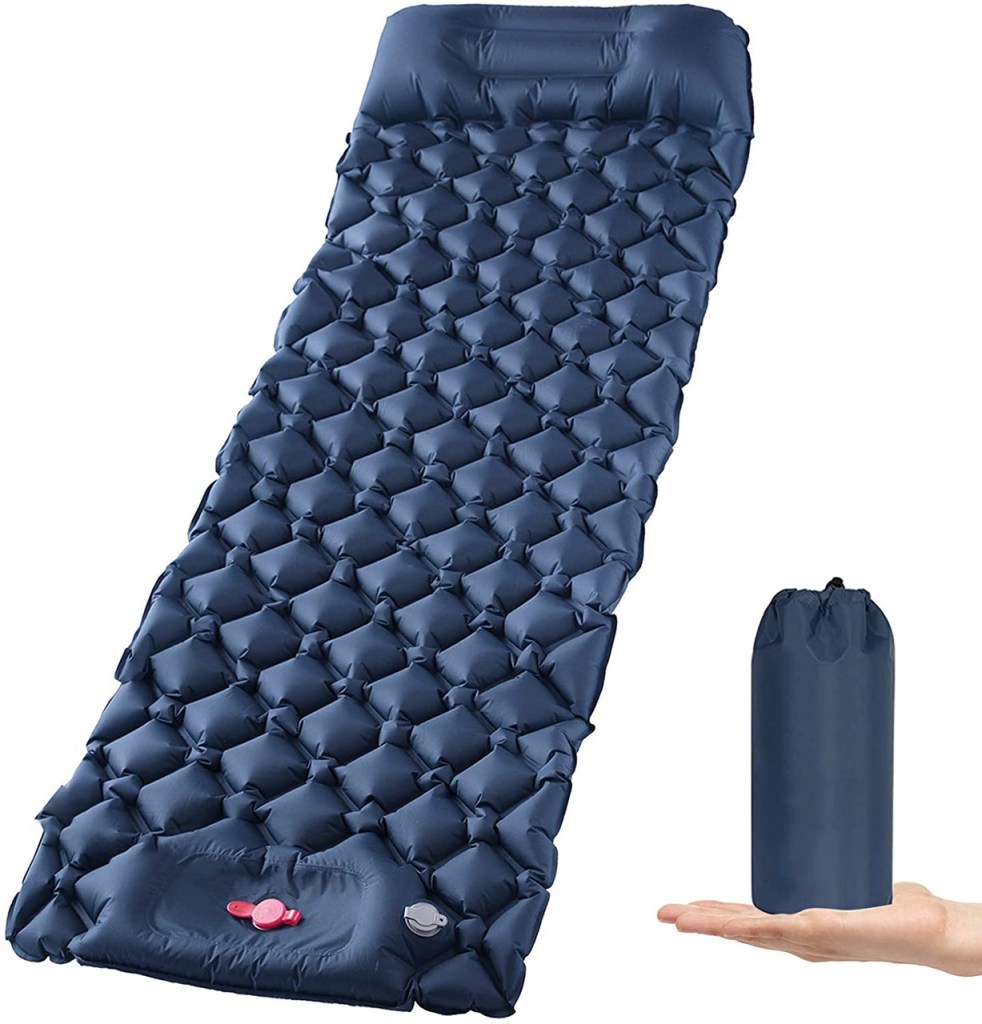
I used it every night we slept in a tatami room. Yep. Honest.
It had a foot pump, took 3 minutes to inflate and I just slipped it under the futon. It really did make a difference for me and I woke each morning well rested and ready to tackle the day.
#6 – WATER SUPPLEMENTS
I get leg cramps at night, often after prolonged exercise, so it seemed logical to take some form of magnesium with me. TB had a mineral supplement that her son, a competitive tennis player, uses so we took that and added it to our water each day. I had a protein supplement that I also threw in, which enabled to me to keep hydrated as well as fuelled without having to snack constantly.

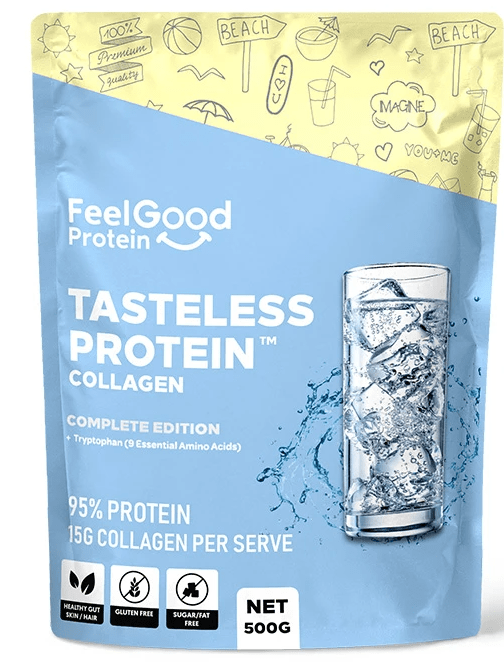
Both supplements worked really well – no cramps and good recovery each day.
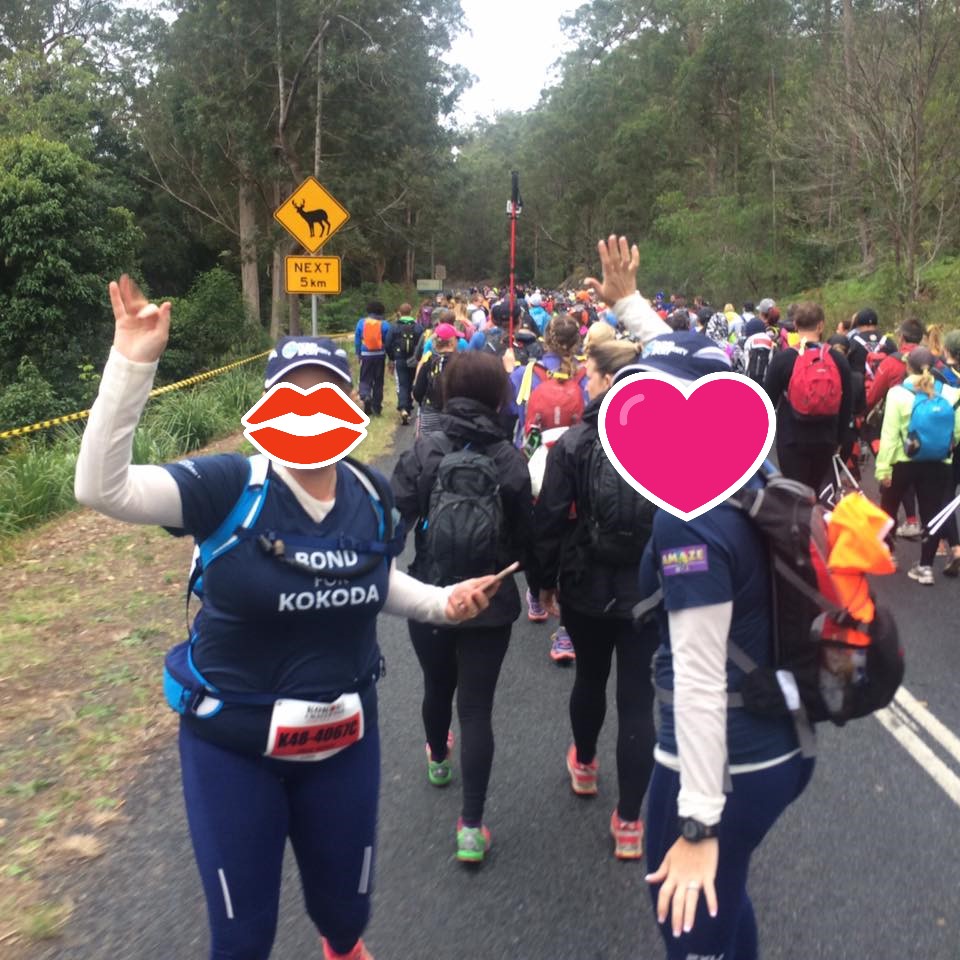
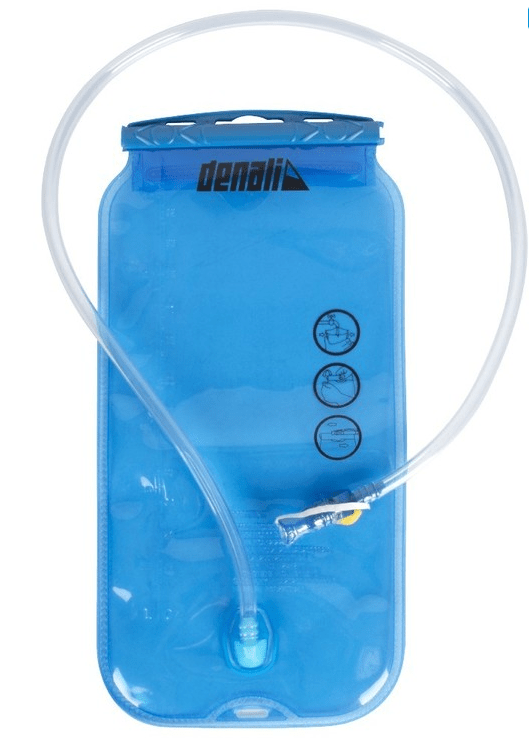
#5 – HYDRATION PACK
Speaking of water, rather than use a water bottle, I decided to use a hydration pack. I have a 3L one that I have used for long hikes like the Gold Coast Kokoda Challenge, and I like the style, easy to clean and easy to drink when moving. The tube sits across my shoulder so I don’t need to twist or take my backpack off to access water. It also means that I tend to drink more as it’s literally right in my face. Win/Win.
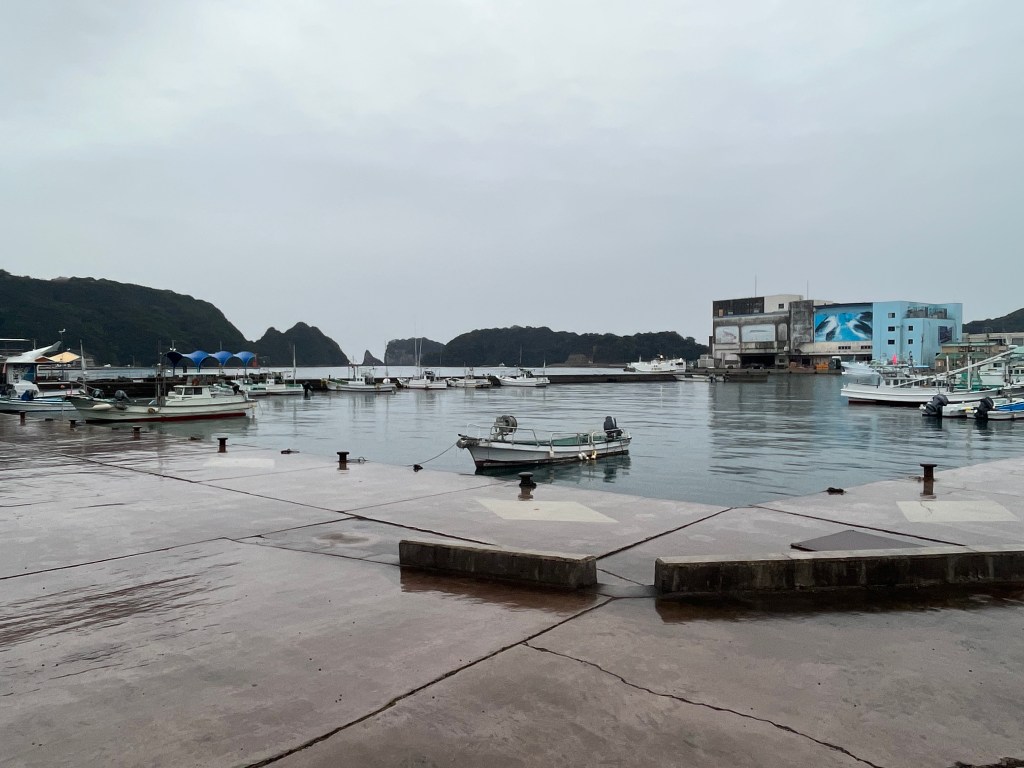
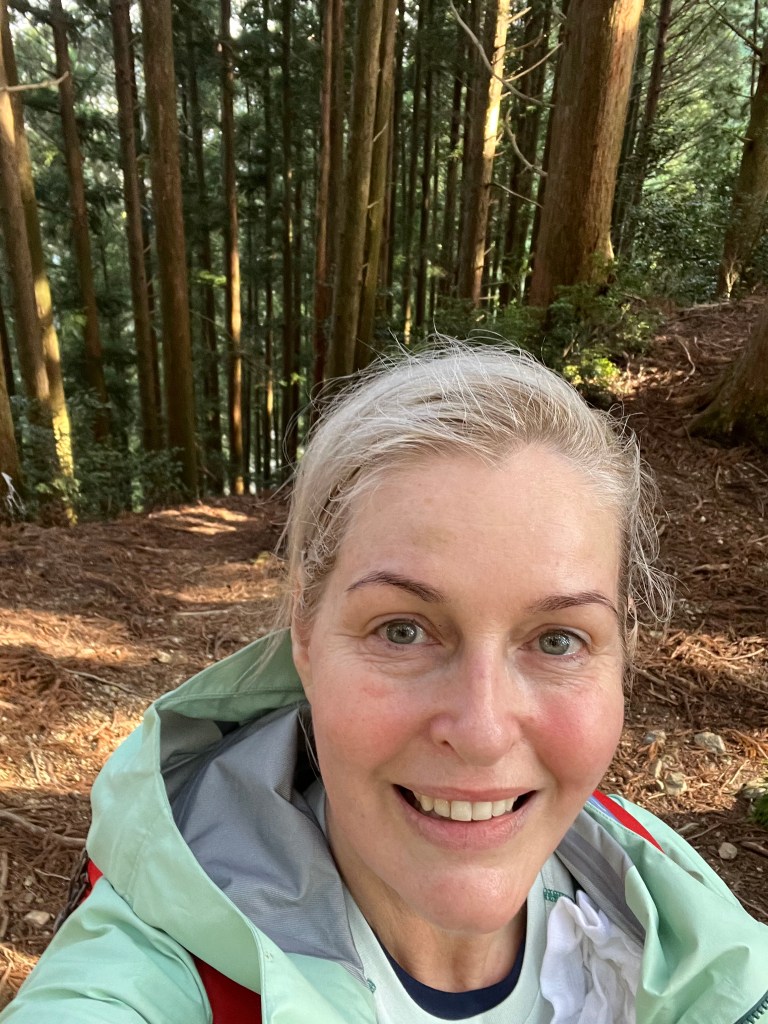
#4 – WATERPROOF RAINCOAT
And I do mean waterproof! I spent a lot of time shopping around to find the best possible, highest quality waterproof raincoat in my budget, and finally settled on a Kathmandu Flinders waterproof/windproof/breathable hiking rain jacket. It set me back about $200AUD but the fabric is the equivalent of Gore-Tex so I knew it would stand up. And it did. I wore it every day for warmth and then when the heavens opened for three days I was dry and happy. Fantastic value and wouldn’t hike without it – who doesn’t love a mint green jacket?!


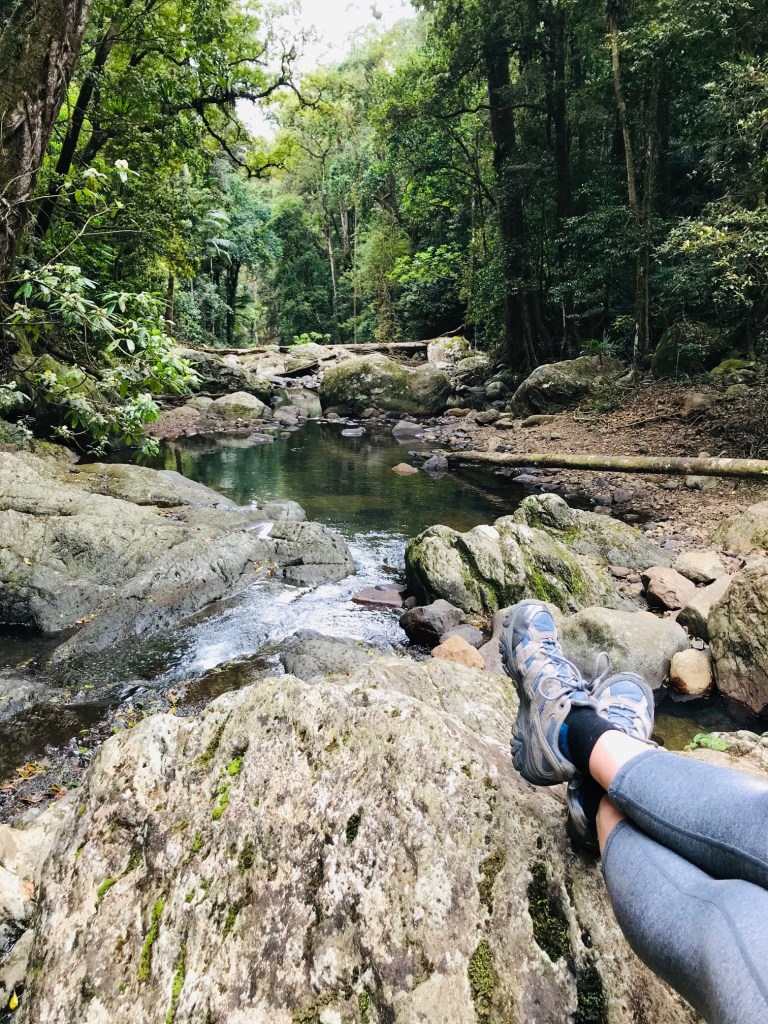
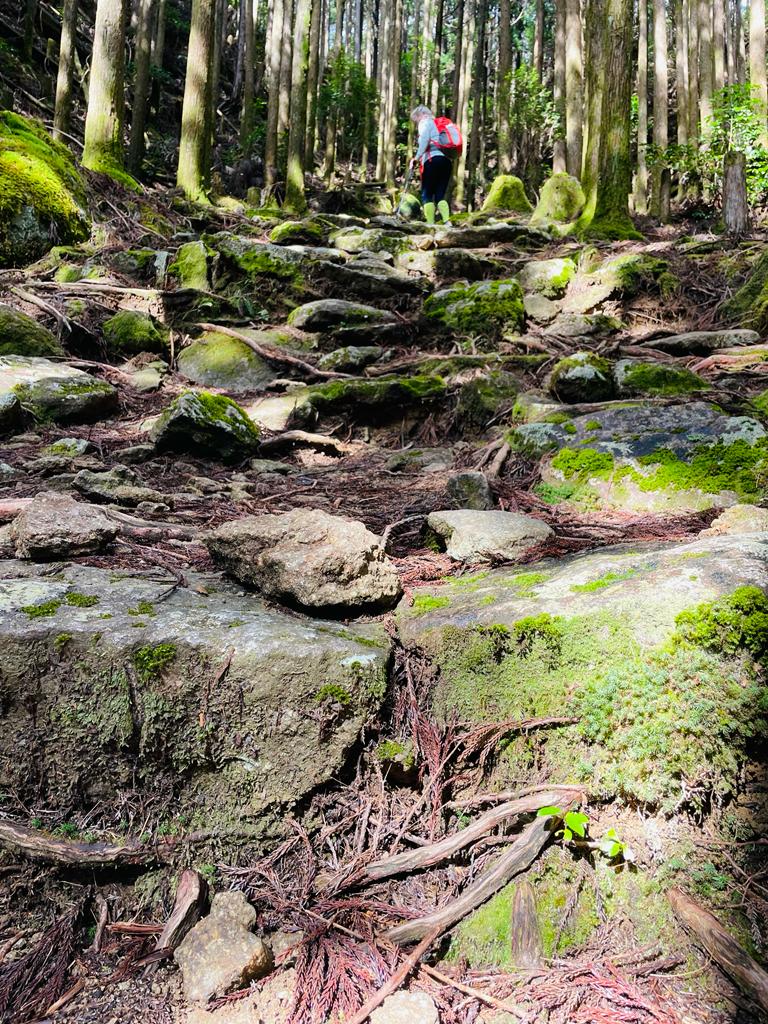
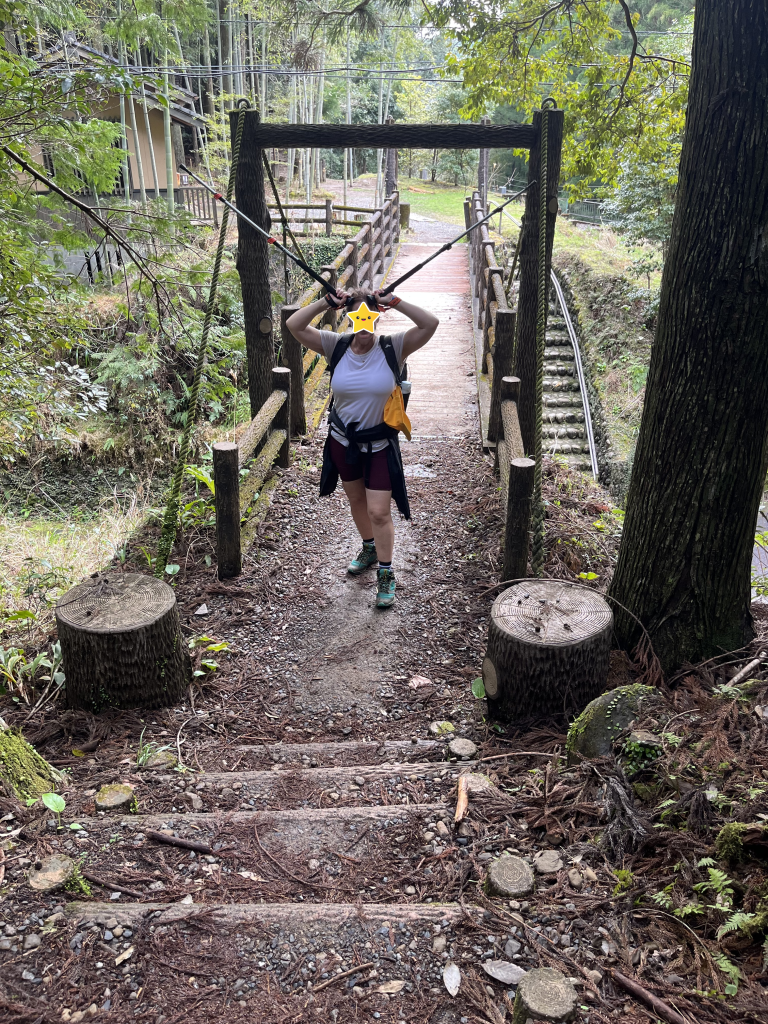
#3 – HIKING BOOTS
Not shoes. Boots.
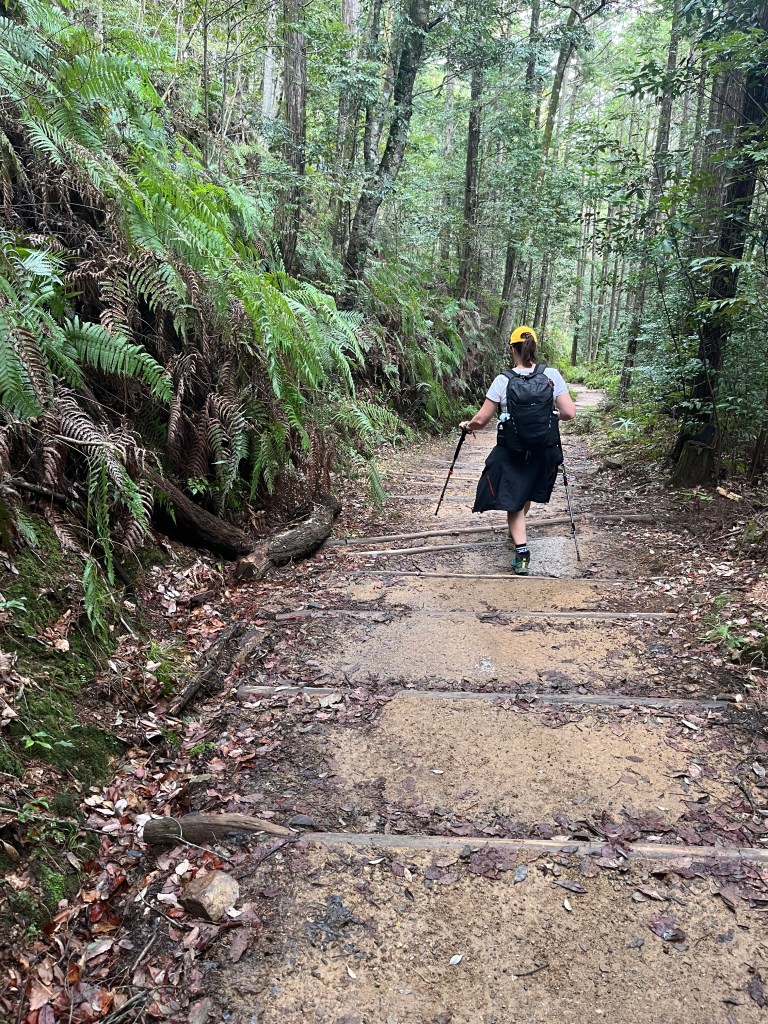
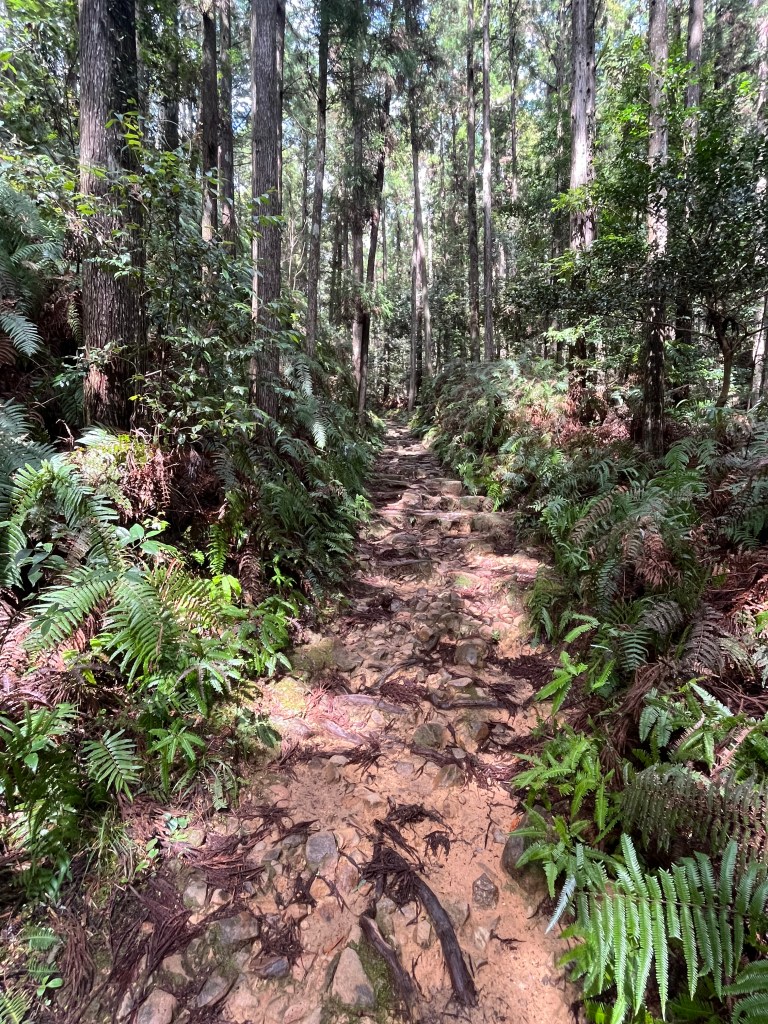
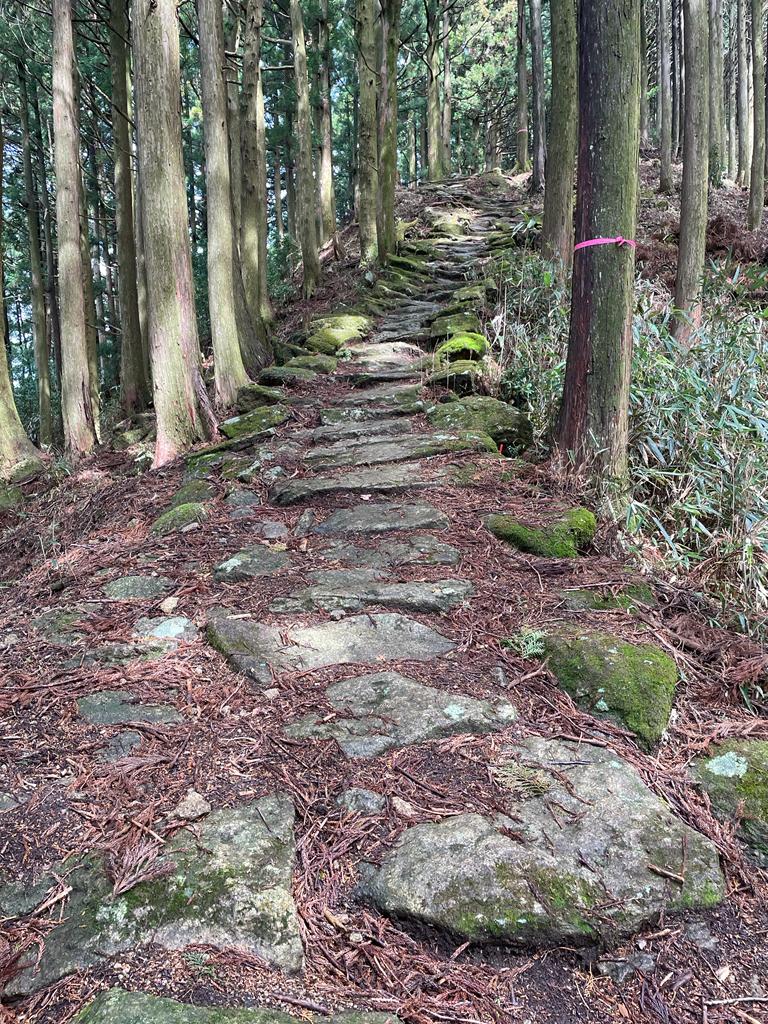
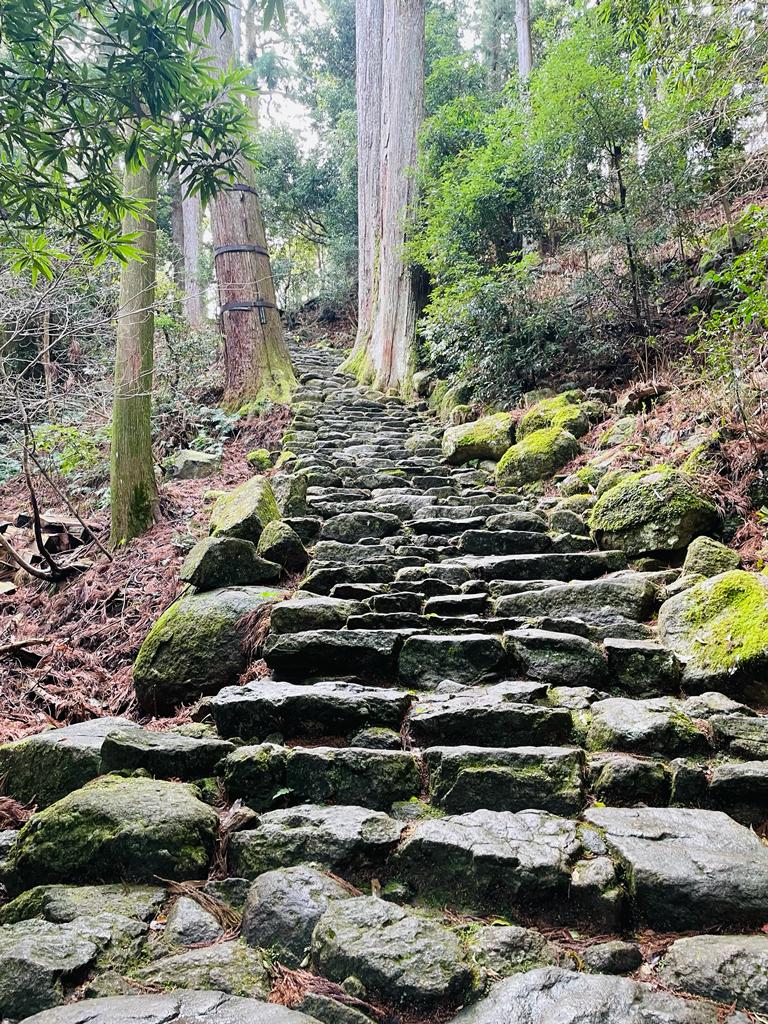
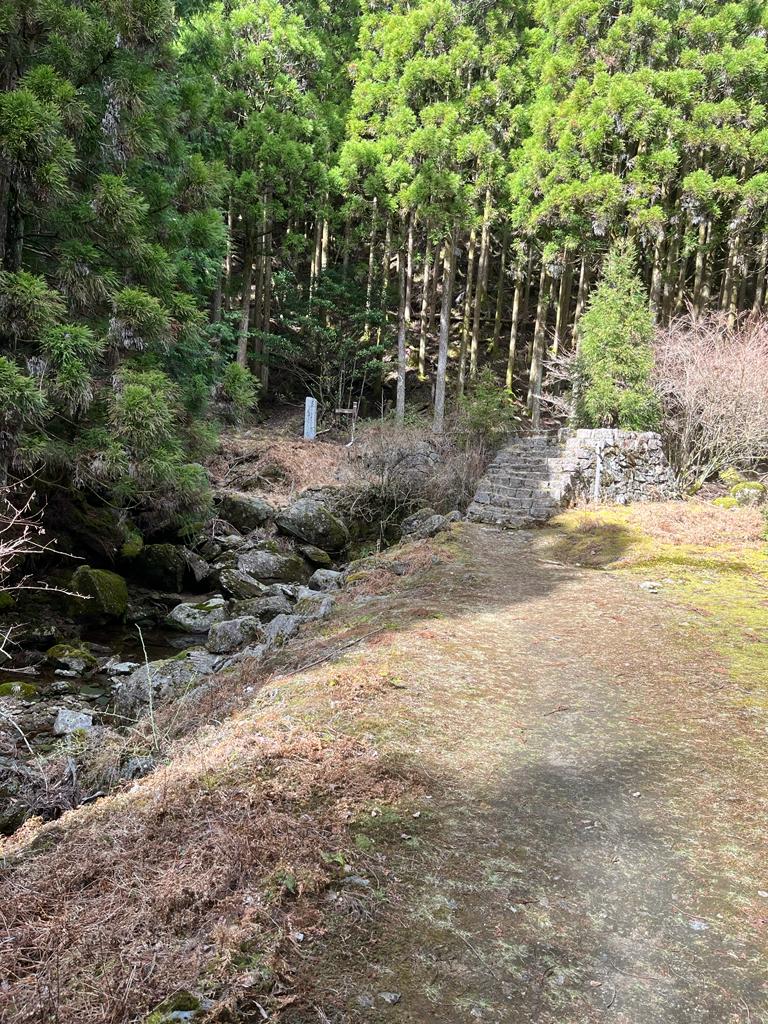
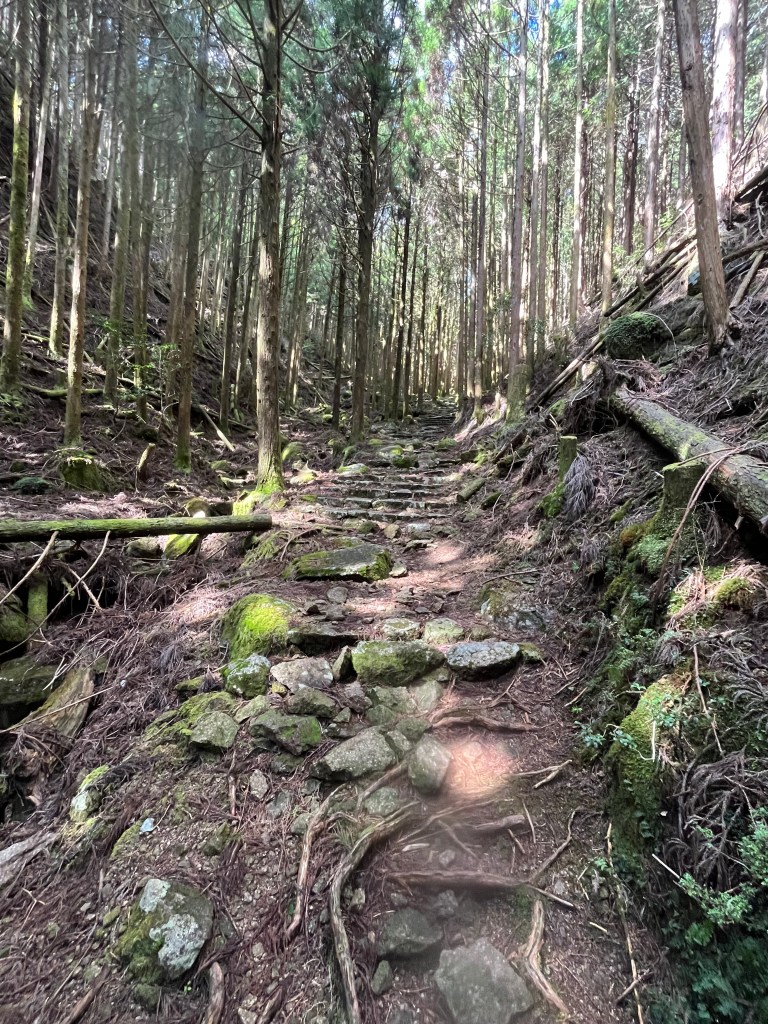
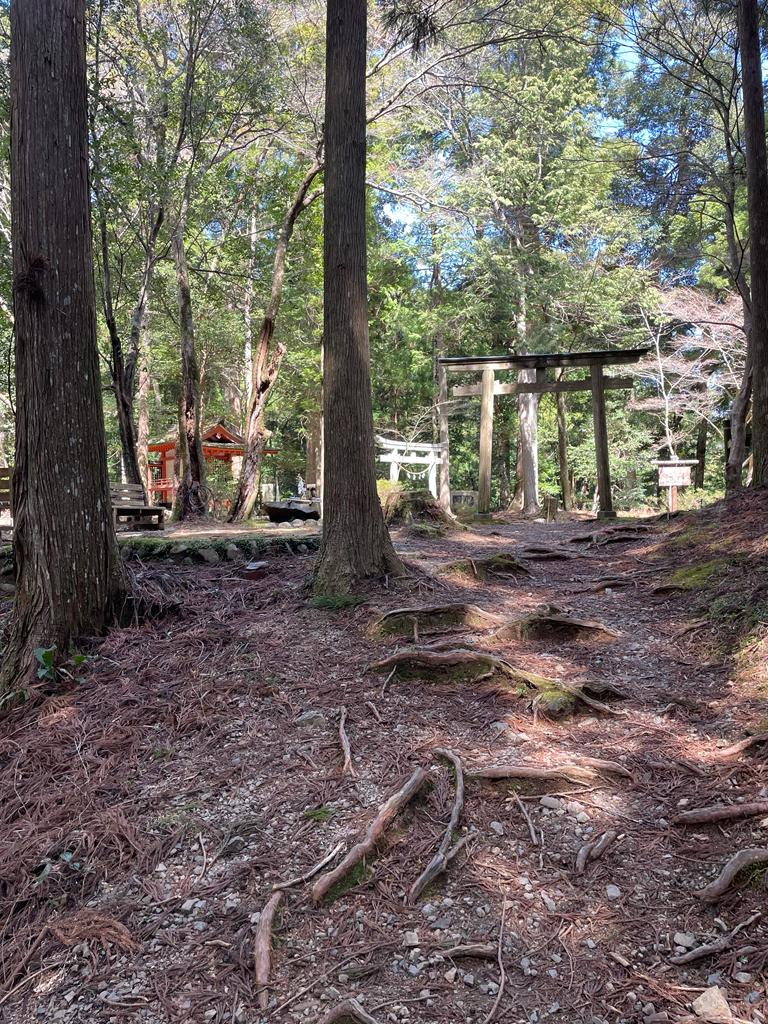
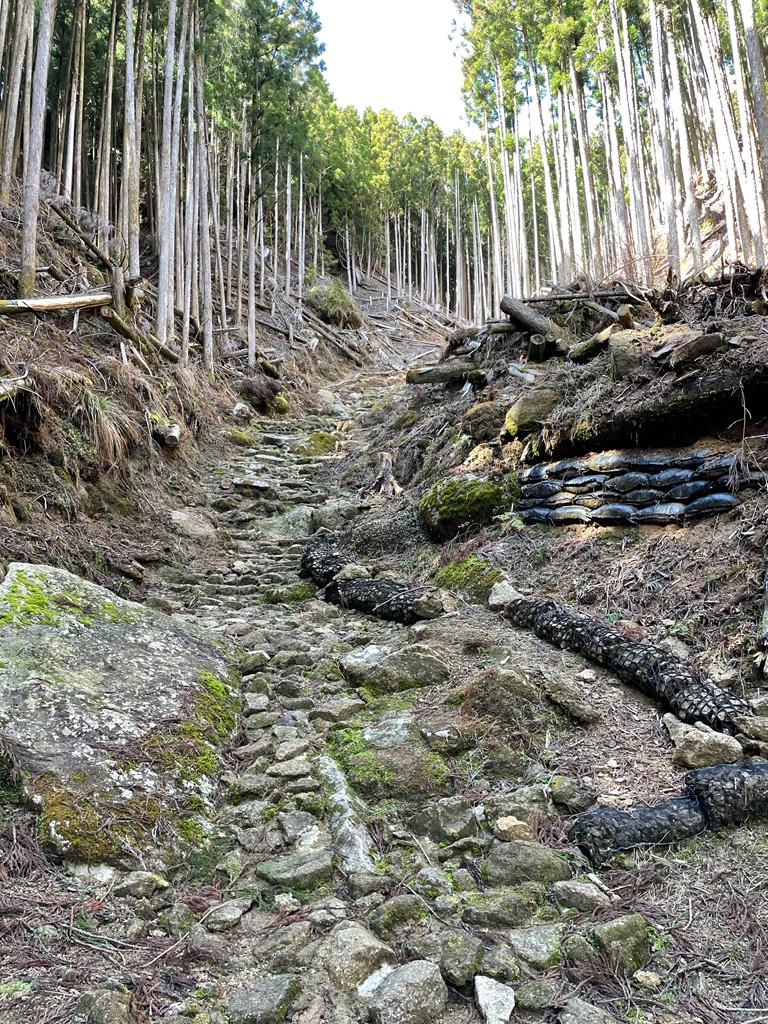
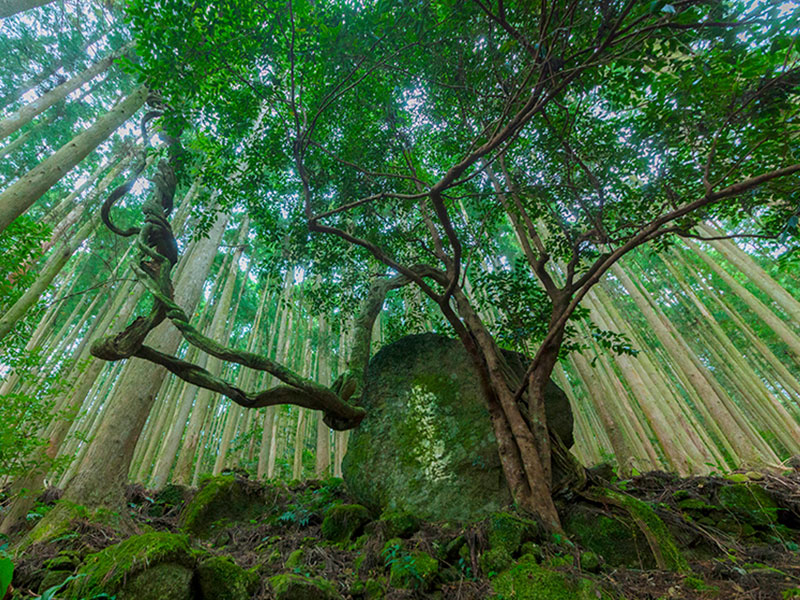
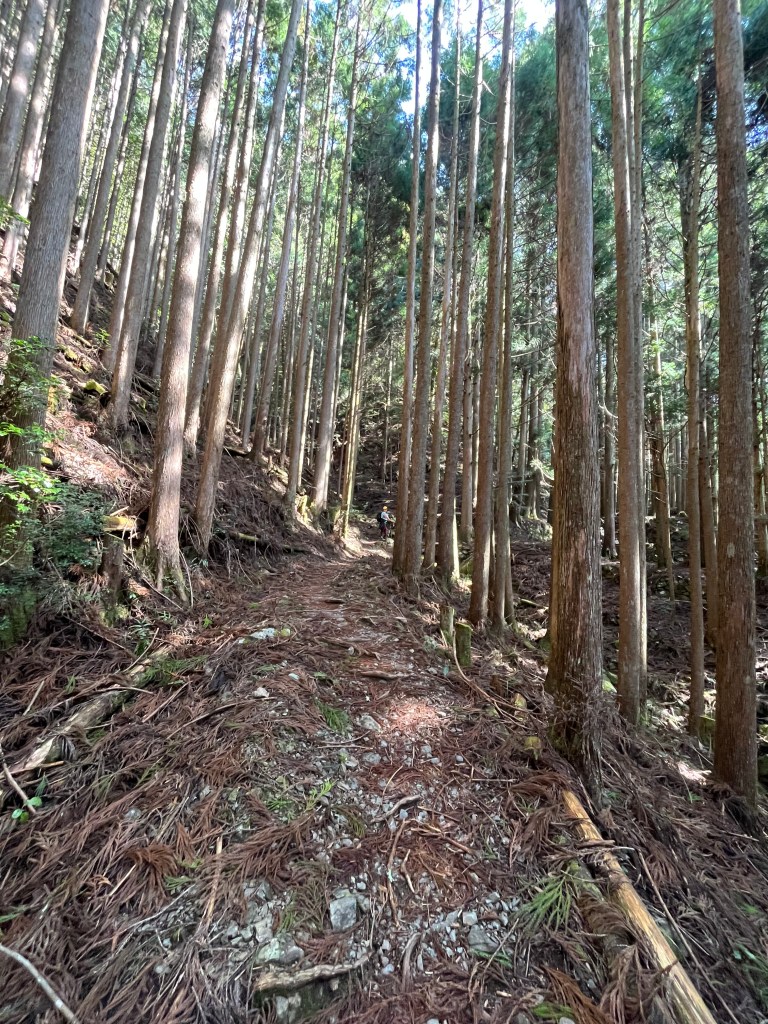
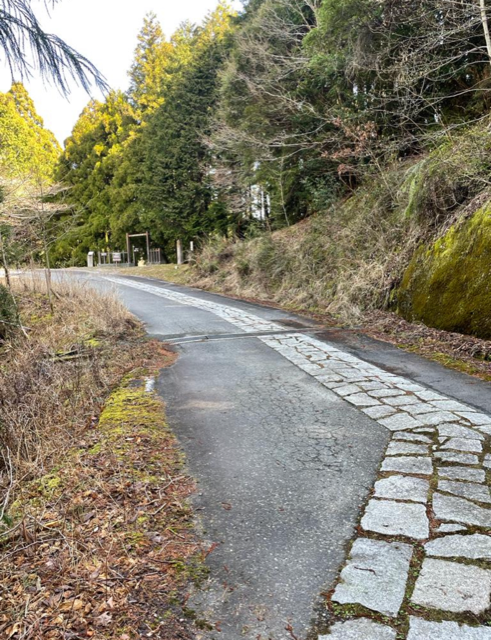
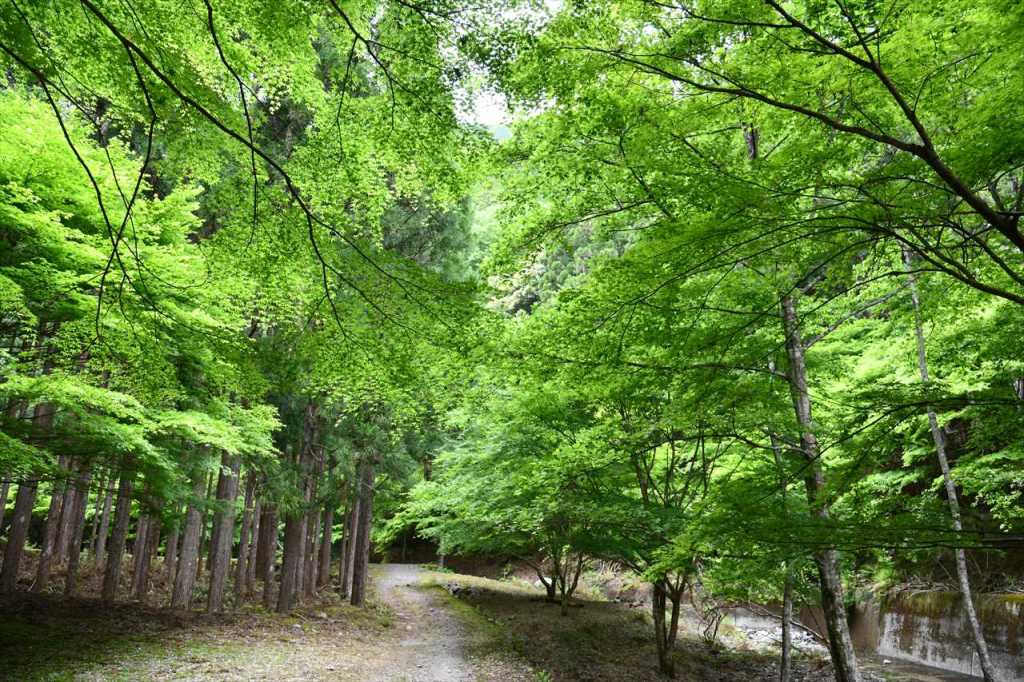
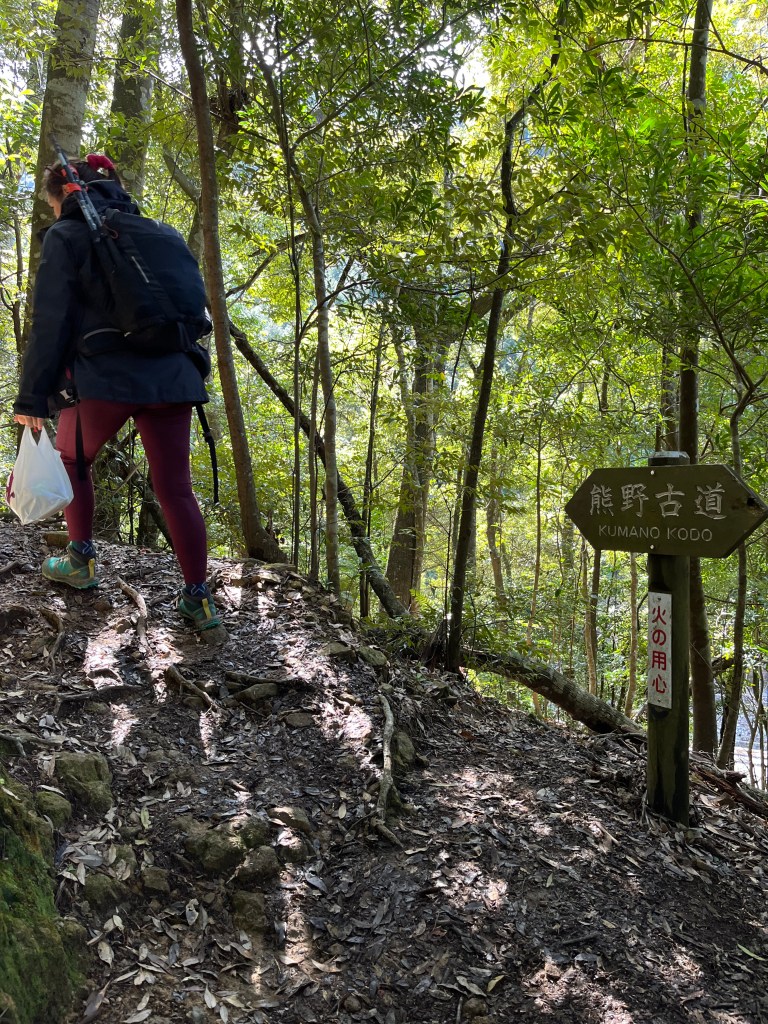
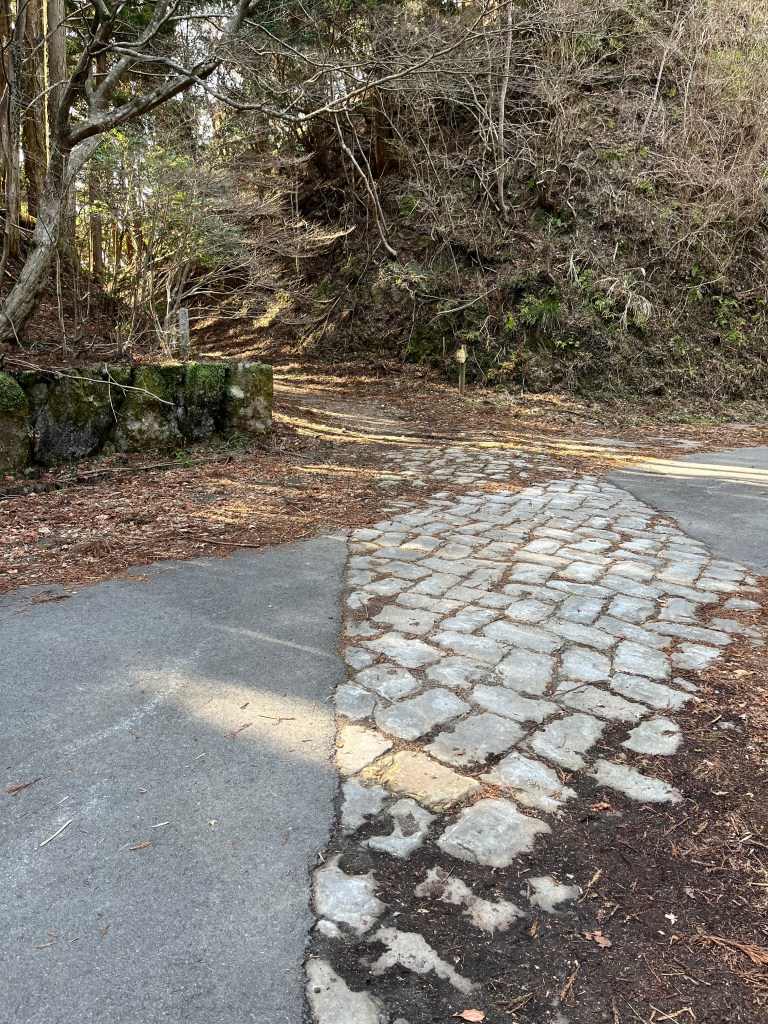
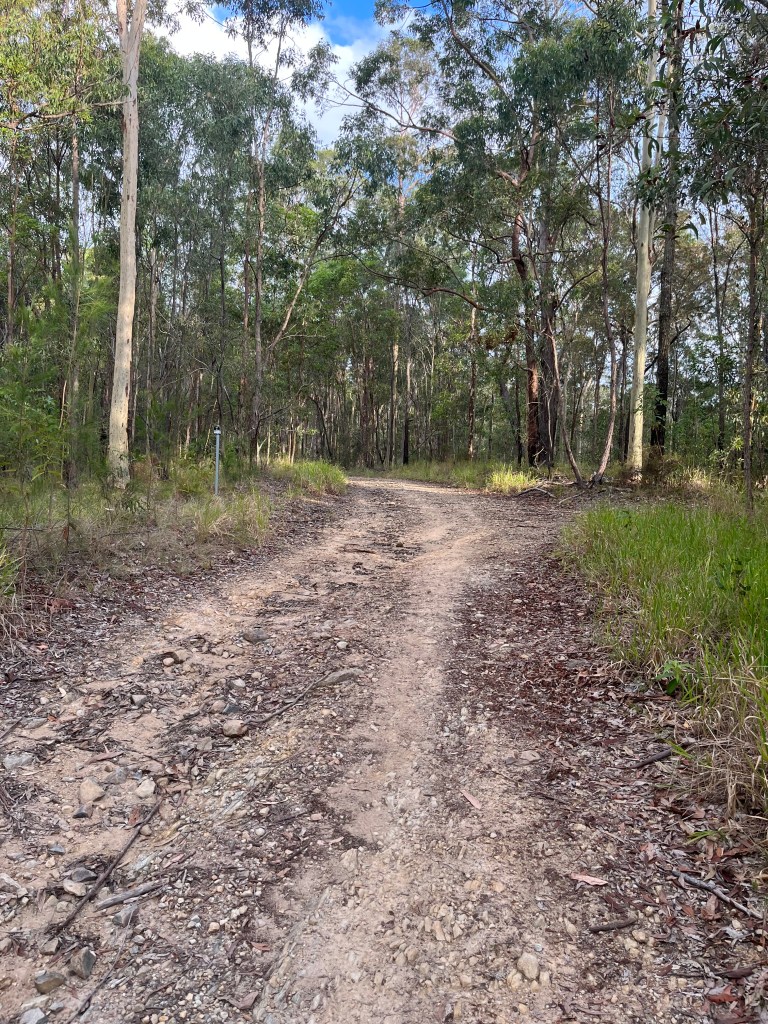
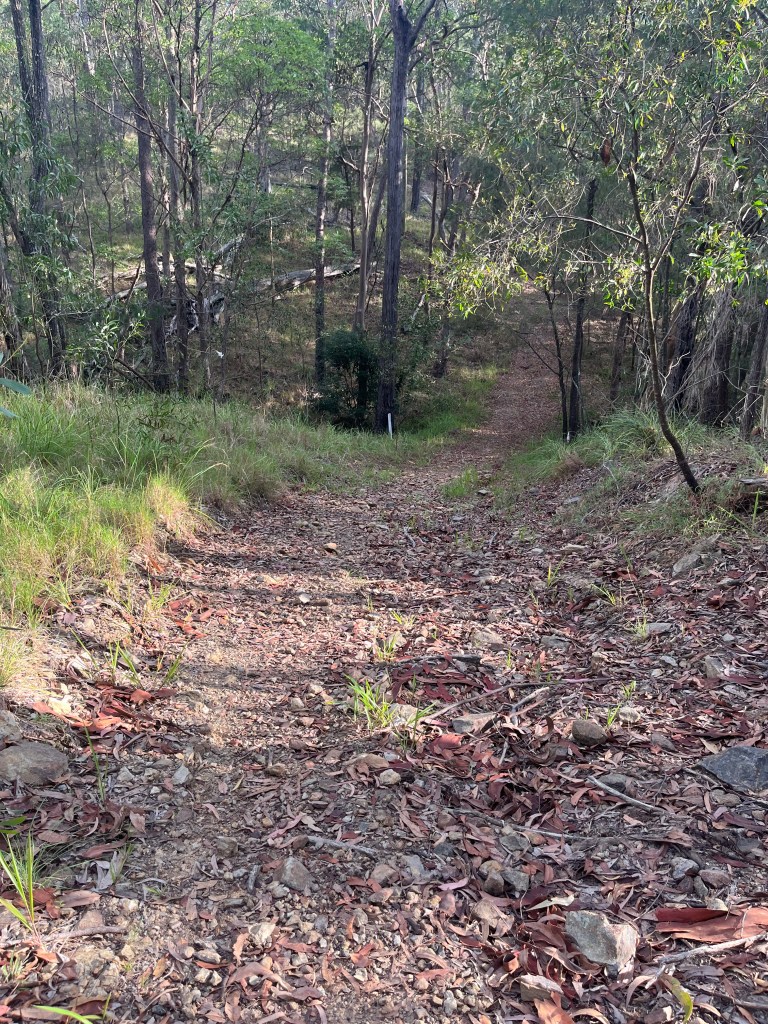
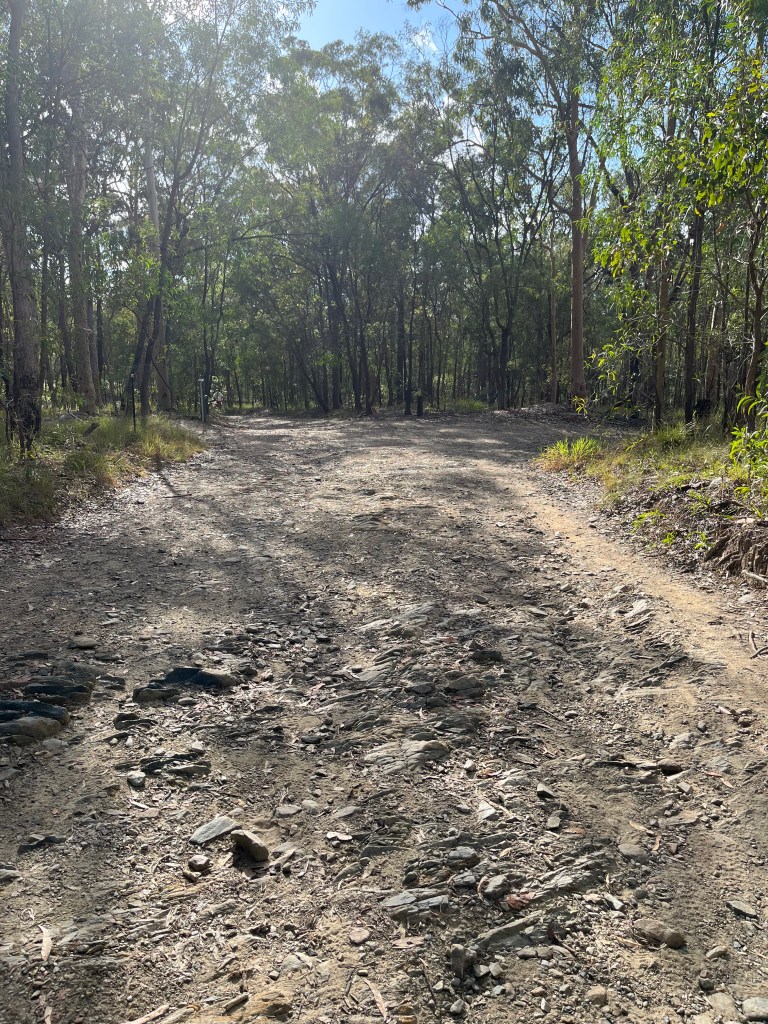
Kumano Kodo is a thousand years old, but that doesn’t mean that it’s a smooth and flat hiking trail. Sections of it are particularly challenging due to the use of large numbers of stones for stairs and paths. It can be slippery and treacherous even without rain. Having decent ankle support made such a difference – I couldn’t even imagine hiking Kumano in a shoe – EEEEEK!
My preference was a Merrell waterproof boot, pictured on the right. Didn’t put a foot wrong (*boomtish*)

Thankfully there were no spills but there were quite a few near misses, I’m not the most graceful biped at the best of times so firm ankle support was a must.
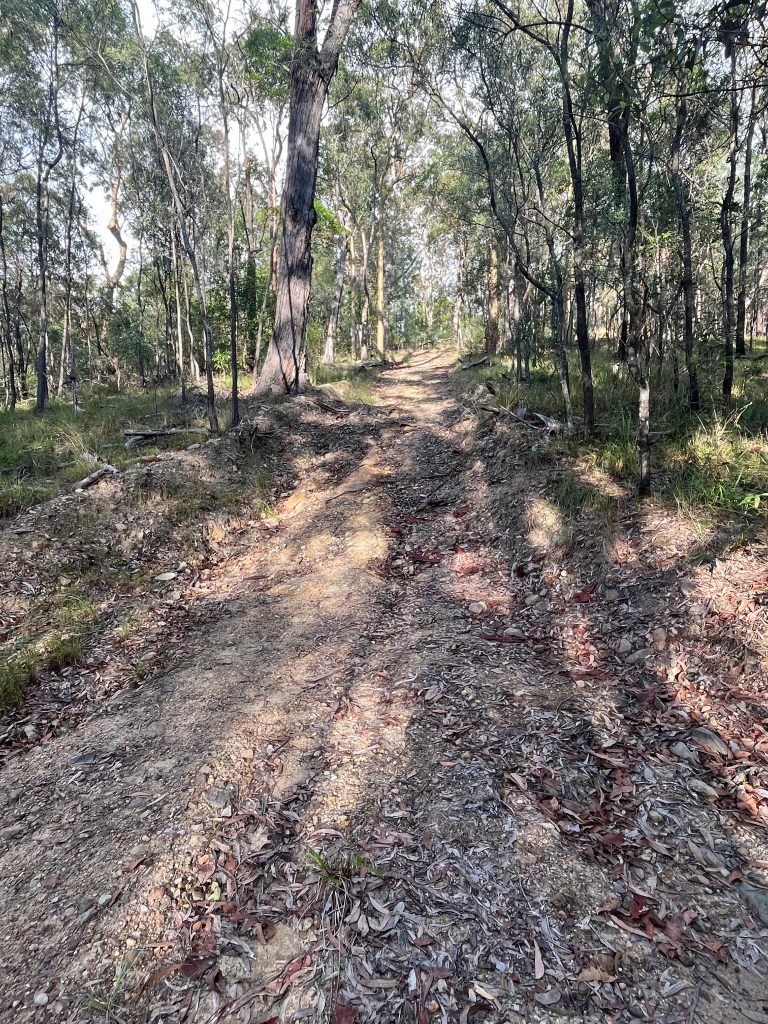
#2 – HIKING POLES
Almost at #1! And yes, poles are right up there with hiking boots. I must have blessed my little hiking poles a thousand times along the Kumano, mainly for downhill support as we traversed some serious mountains. There are two options with downhill. Firstly, you can slip, trip and scoot down, either on your butt or trying not to be. Or, you can use hiking poles to steady and anchor yourself. I found they increased my speed and confidence, and when you’re trying to get off the trails before dusk, they are incredibly handy. I chose collapsible for travel reasons, but it also meant that when they weren’t in use, they simply slotted into my backpack. Simples.


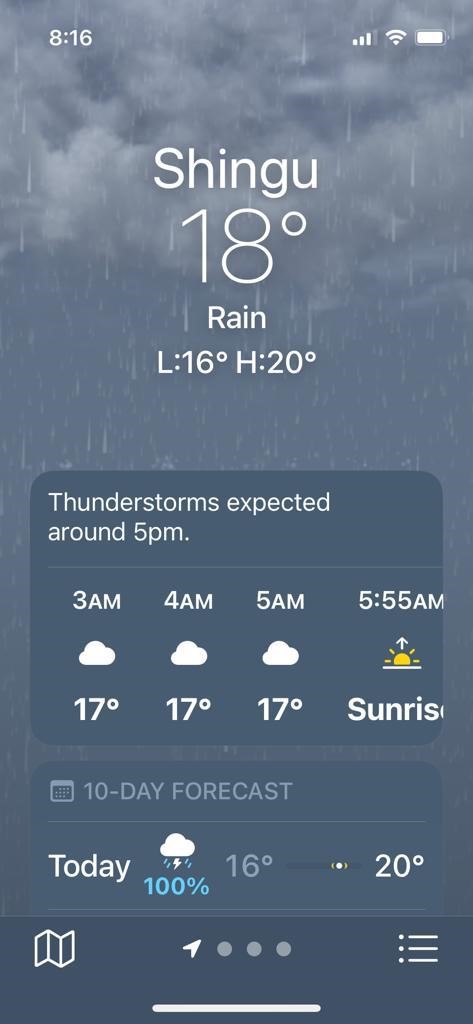
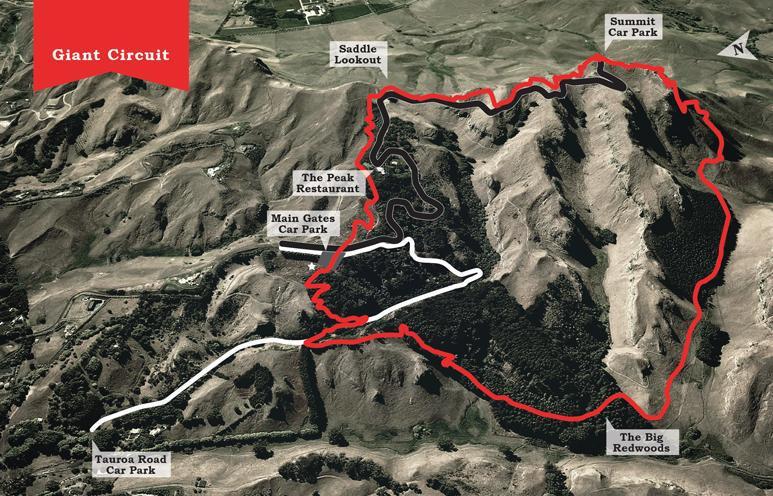
#1 – GLOBAL ROAMING/INTERNATIONAL SIM
Bet you didn’t pick this as #1!!!!
Can I say we would have been lost (literally) without access to Google Maps, Google Translator and a million other apps and ‘things’. Free wifi was great in the ryokans of an evening, but that’s not when we needed to see the ‘things’. We accessed mobile data constantly when out and about. On the trail, at train stations, in the villages, in shops, in Osaka, in Tokyo – everywhere for everything.
Knowing you can look something up gives an immense peace of mind, and when you’re in a new country, not speaking the language and no real knowledge of where you are supposed to be – it’s very reassuring.
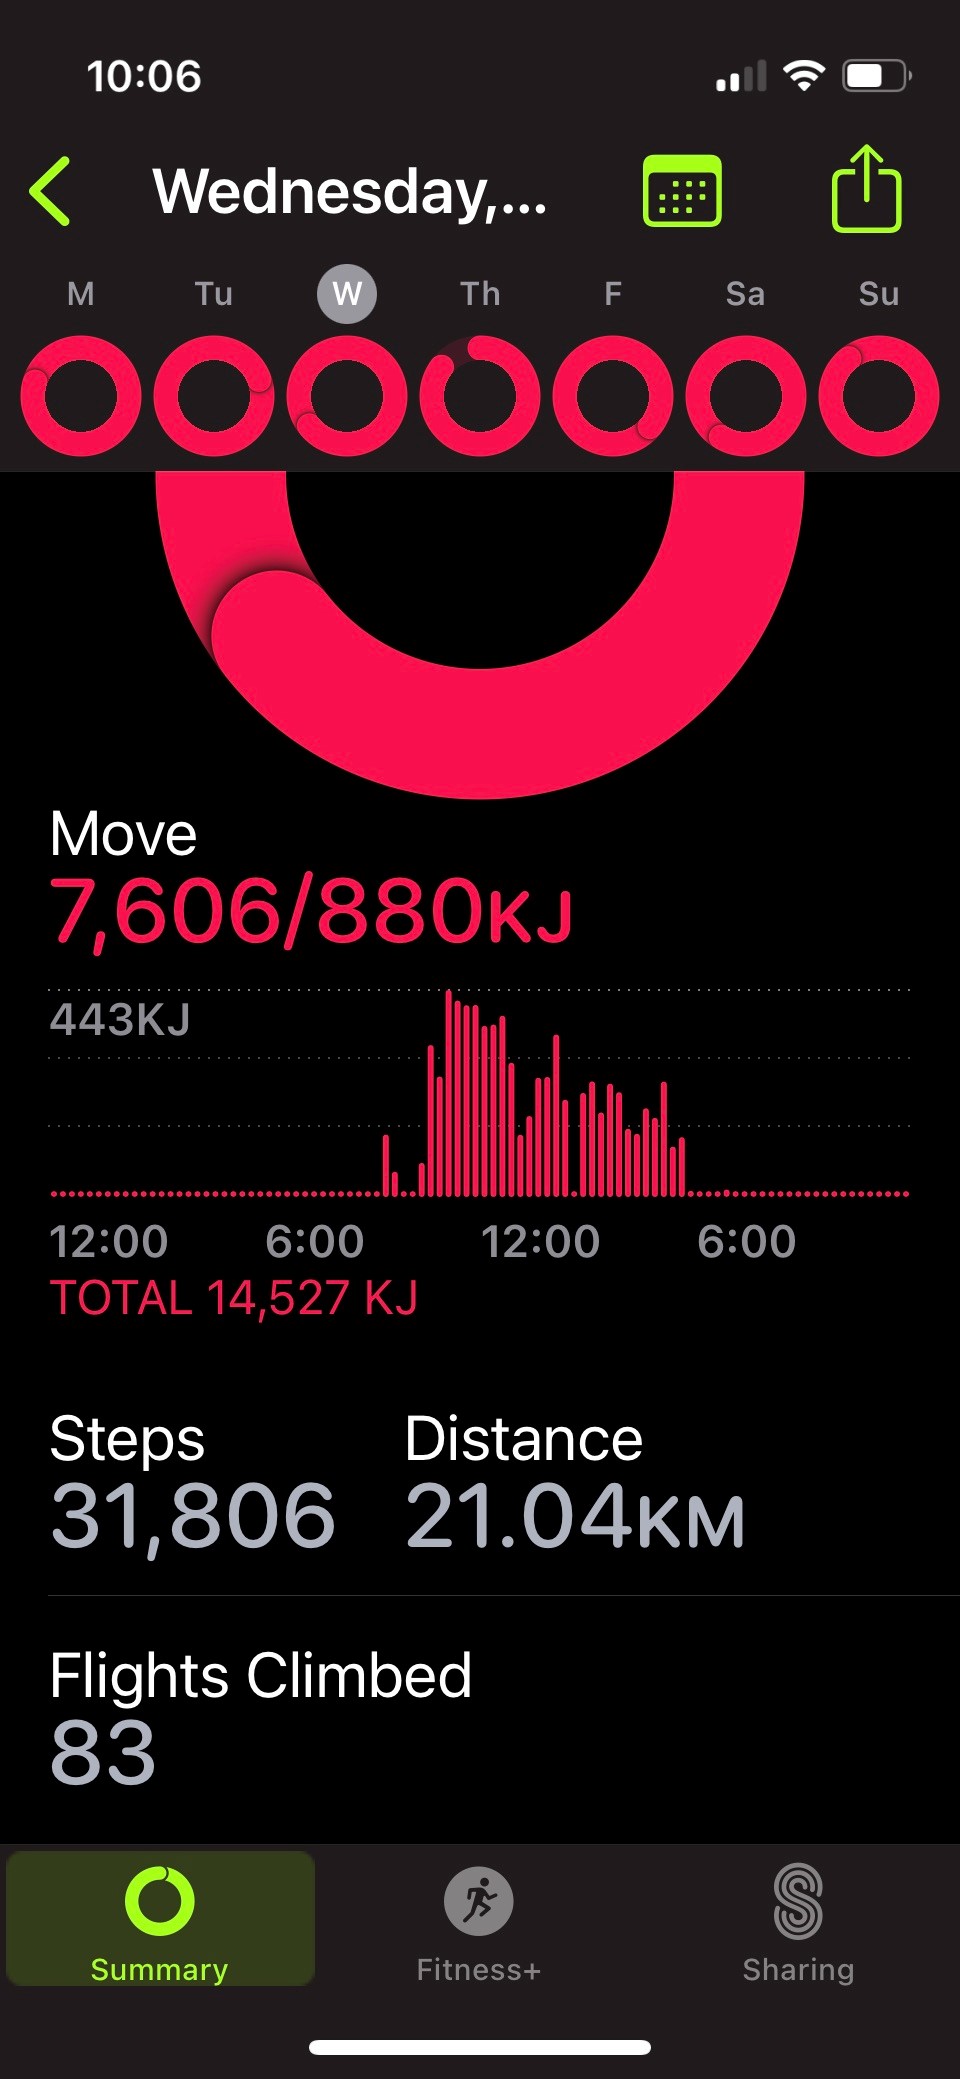
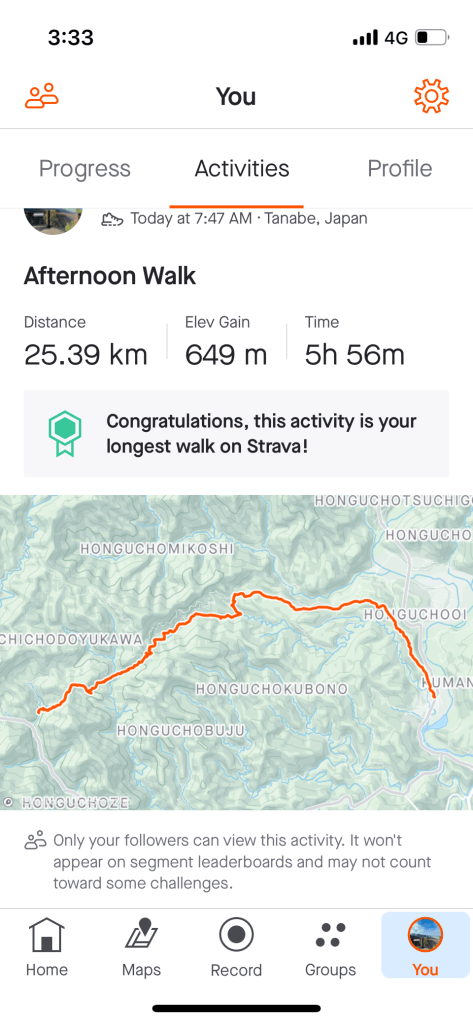
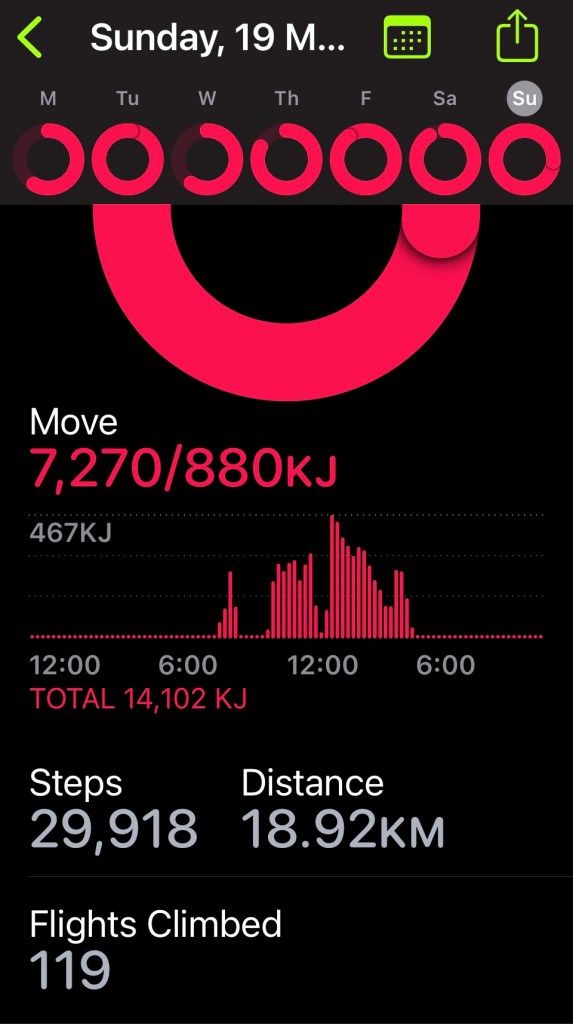
Hiking is all about maps and trails. Getting from point A to point B. Measuring distance and time. Tracking progress and achieving milestones. I loved the fact I could push the Strava button and in 8 hours, I could document my amazing achievement – but all in the background.
Invest in a daily roaming rate or snap up an international SIM deal. I paid $5 a day via Vodafone for my mobile data in Japan and it was money well spent.

So, there you have it.
My top 10 “must haves” when heading to Japan to walk the Kumano Kodo. I hope this helps as you plan, prepare, pack, pay and play!
Stay tuned for my next couple of blogs where I will Rate the Ryokans and Own the Onsens….. 🙂
See you next time out on the trails.
PJ.