One of the biggest lessons I’ve learned from multi day hiking isn’t about fitness, climbing hills or how many kilometres you can cover in a day.
It’s about your gear.
For our Shikoku hike in October, I’m making three significant changes: my backpack, my boots, and my hiking poles. These are pieces of equipment that will affect every kilometre we walk, so getting them right matters.
My Backpack: Smaller and Lighter
32L v 20LSame features$80 at Mountain Warehouse
My Macpac 32L backpack did exactly what I needed it to do on Kumano Kodo, but it also gave me plenty of room to carry things I didn’t actually need. And if there’s space in a backpack, I will apparently find something to put in it…
For Shikoku, I’m downsizing to a 20L pack. It’s smaller, lighter and should force me to be far more disciplined about what earns a place inside it. I’m not giving up the features that matter. It still has good back ventilation (which is absolutely not negotiable when you’re hiking for hours) as well as space for a water bladder and tubing, as well as enough room for all the safety and comfort essentials.
It just doesn’t have room for half my house.
The goal isn’t to have the lightest pack on the trail. It’s to have a comfortable, practical pack that carries everything I genuinely need, and nothing I don’t.
My Boots: A Scary and Different Change
My boots are probably the biggest change. Rather than sticking with a traditional hiking boot, I’m moving towards a lighter trail-hiking style while still keeping the ankle support of a boot. They have much more cushioning through the sole (handy when you have Morton’s Neuroma symptoms in one foot) and, importantly, more room in the toe box.
That extra space becomes incredibly valuable after hours on the trail. Feet swell, toes move forward on descents, and even a small pressure point can become a big problem after several days of walking.
Changing boots is very nerve-racking. My old boots are trusted friends. I know how they behave in the wet, where they might rub and how they feel after 8 hours on your feet. A new pair has to earn that same trust, so there’s absolutely no chance I’m waiting until a mountain trail in rural Japan to find out whether these ones are right.
My Poles: Smaller Can be Better
My new hiking poles aren’t necessarily much lighter than my current pair, but they pack down to a much smaller size. That might seem like a minor change, but when you’re travelling internationally and trying to keep your luggage compact, it makes a real difference.
They still need to provide the strength and stability I rely on, particularly on steep climbs, rocky descents and slippery trails, but they’ll be much easier to transport and store when they’re not in use.
Years ago, I thought hiking poles were for people much older than me. It turns out, those people were just smarter than me.
These days, I don’t hike without them.
Testing, Testing and More Testing
None of this gear gets an automatic ticket to Shikoku. The backpack, boots and poles will all be tested repeatedly during our training hikes before October. Not just one comfortable walk either. They need to prove themselves over longer distances, on hills, across different terrain and during back to back sessions.
I need to know:
whether the backpack remains comfortable after hours of walking;
whether 20L genuinely provides enough room;
how the boots feel once my feet are tired and swollen;
whether the cushioning holds up over longer hikes;
whether the toe box provides enough space on descents; and
whether the poles are easy to assemble, adjust, use and pack away.
Training hikes aren’t only about training my body. They’re where I test the entire system.
Because “brand new” doesn’t necessarily mean “better”, and Shikoku isn’t the place to discover that something doesn’t work.
Three changes. Plenty of testing. And hopefully, a lighter, more comfortable and much smarter setup for every step through Shikoku.
When people hear that TB and I are hiking around Shikoku in Japan this October, the first question is usually “how are you training for that?” The answer surprises them a little.
I’m not spending every weekend climbing mountains or running marathons. Instead, I’ve built a routine that fits around work, family, the doggos and life in general. Because I’ve learned that the best training plan isn’t the most impressive one, it’s the one you will actually stick to.
Shikoku 2026 is a multi-day hike, which means success isn’t about smashing out one huge day. It’s about being able to get up the next morning…and do it all again. Day after day. So, my focus has been on building endurance, strength and consistency.
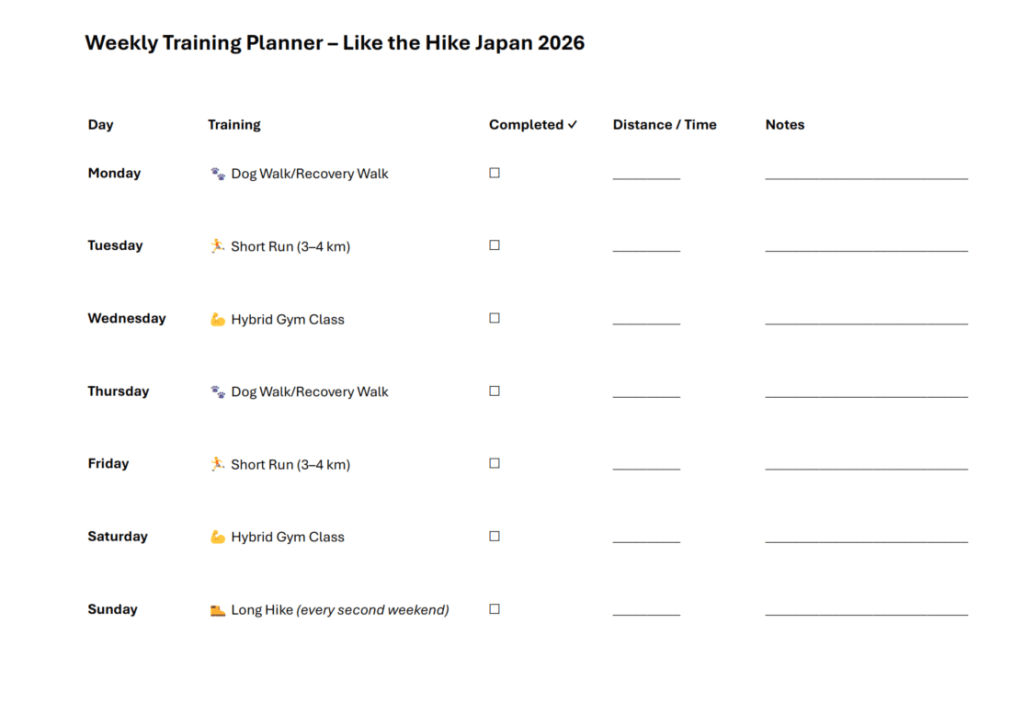
The Weekly Plan
My training isn’t complicated, but every session has a purpose.
1. Short Runs (3-4km)
A couple of shorter runs each week help build cardio fitness without taking up hours of my day. They’re long enough to get the heart rate up and keep the legs moving, but short enough to fit in before or after work. They’re also great for maintaining a base level of fitness between the bigger sessions.
Just to be clear, my ‘run’ pace is barely past a really fast walk pace, please don’t think I’m trying to beat a Gout Gout record!!
2. Hybrid Gym Classes
I belong to a local gym that offers a range of group classes, with slightly scary names like CC45, Body Pump, Core Fusion, WOW, and Team HIIT. What they all have in common is 45 minutes of strength training combined with cardio. For hiking, strong legs are important, but so are your core, back, shoulders and balance. Carrying a pack for multiple days (even if it’s only 5kg) places demands on your whole body, not just your feet and legs.
3. Long Hikes Every Second Weekend
Every second weekend is reserved for the most important session, a long hike of 10 km or more.
These hikes aren’t about speed. They’re about spending time on our feet (yep, TB is along, too!), learning what works, testing gear, wearing the backpack, experimenting with nutrition, and getting comfortable with being uncomfortable. We are mostly training in Nerang National Park for two reasons. 1) It’s close, so it works into a busy weekend, and 2) you’re either climbing up a hill or scrambling down one, so excellent conditioning.
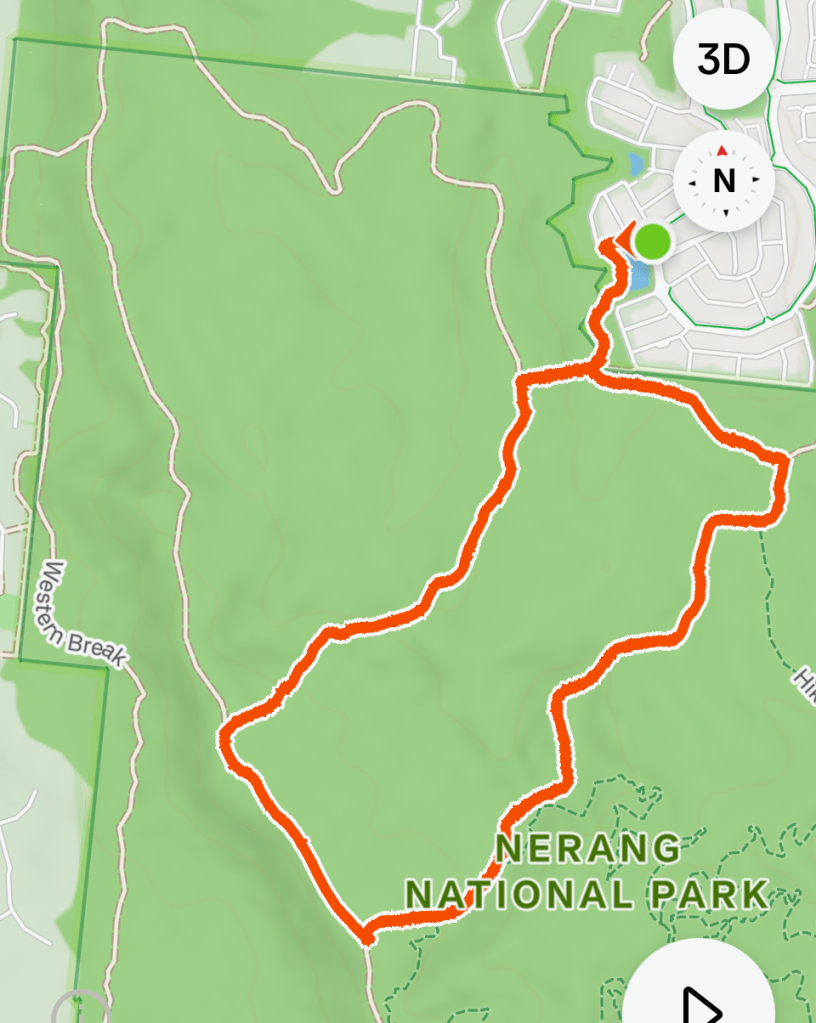
It’s easy to find a 10+km section and get the distance done before lunch. Last weekend was a cheeky wee 8km intro hike, doing one of the loops in the NW corner.
4. Walking the Dogs
The final piece of the puzzle is probably the easiest and most enjoyable.
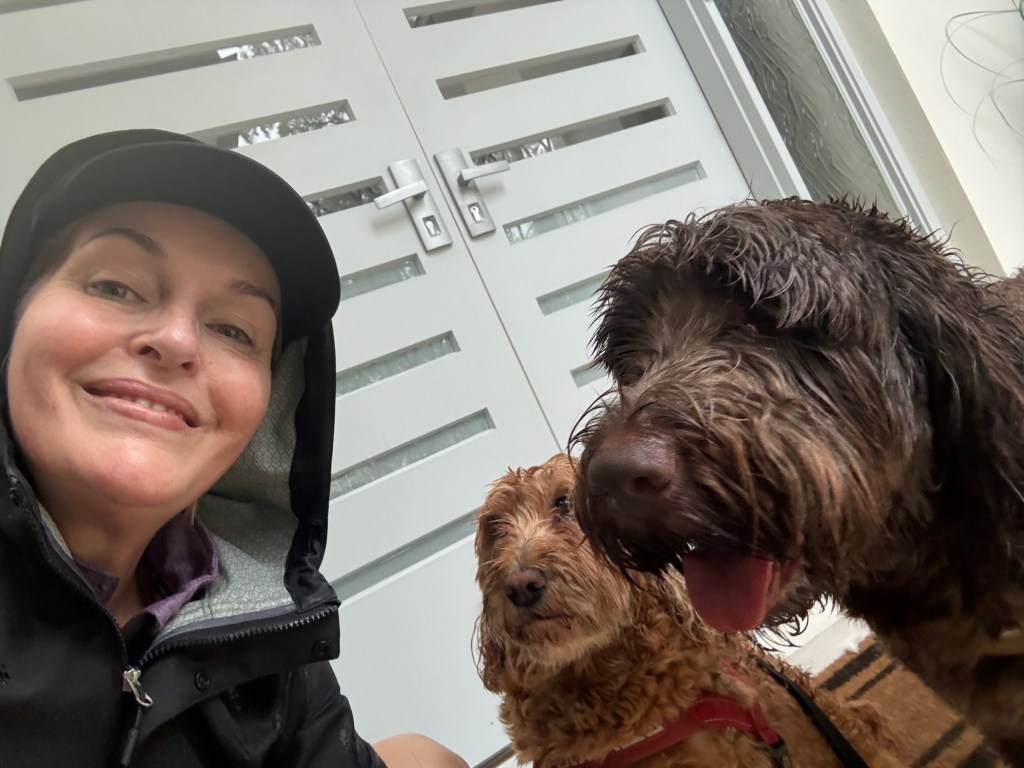
Regular walks with Moby and Maisie add extra kilometres without feeling like training. They keep me moving on recovery days, help loosen up tired legs and make sure I’m consistently active throughout the week.
Plus, the doggos seem to think every walk is an adventure, which is a pretty good attitude to have 🙂 (well, not so much Maisie on that rainy morning!)
It’s Not About Being Perfect
There’ll be weeks when work gets busy. There’ll be days when I miss a run, miss a gym class or swap things around. And that’s OK.
I’ve deliberately built flexibility into the plan because missing one session won’t derail weeks and weeks of preparation. What matters is getting back into the routine the next day.
Consistency beats perfection every single time.
Training for the Journey
The Shikoku pilgrimage isn’t just a physical challenge for TB and me. It’s also about slowing down. embracing simplicity, spending time with my sister and enjoying the journey. In many ways, the training reflects that.
The most fabulous training plan in the world won’t guarantee success on the trail. But turning up consistently, week after week, will give us the best chance of enjoying every step of our Shikoku adventure. And that’s exactly what this journey is all about.
I’m PJ and I write about the hikes I take, giving you insights, photos, commentary, tips and tools so you can enjoy hiking and embrace the experience.
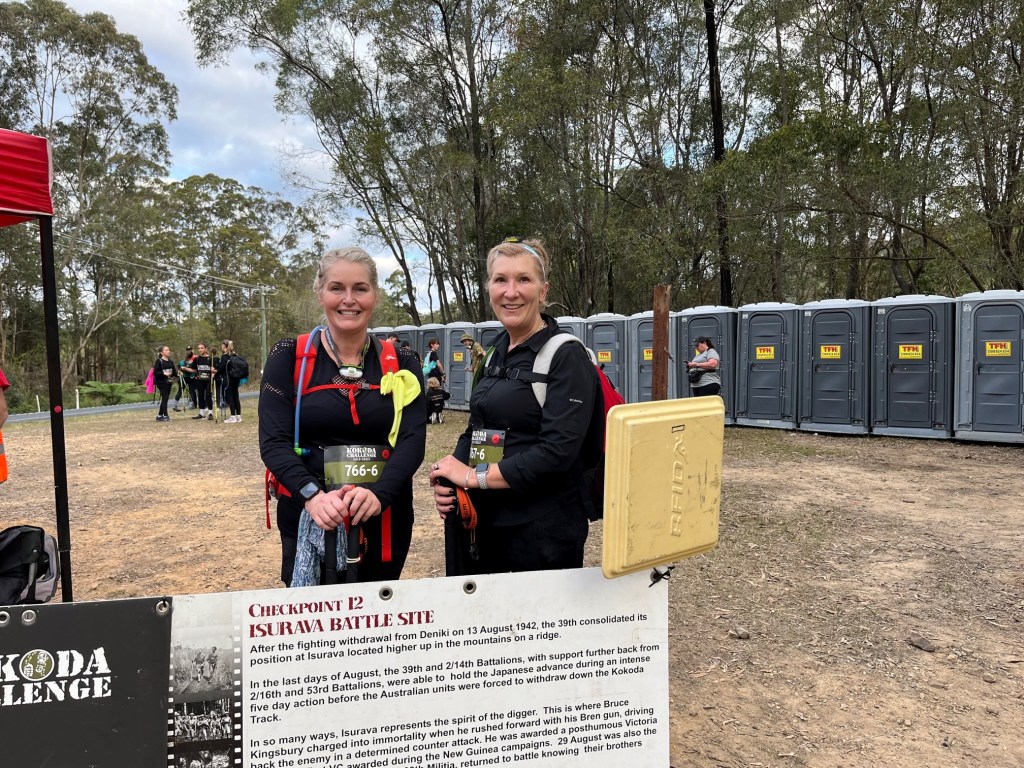
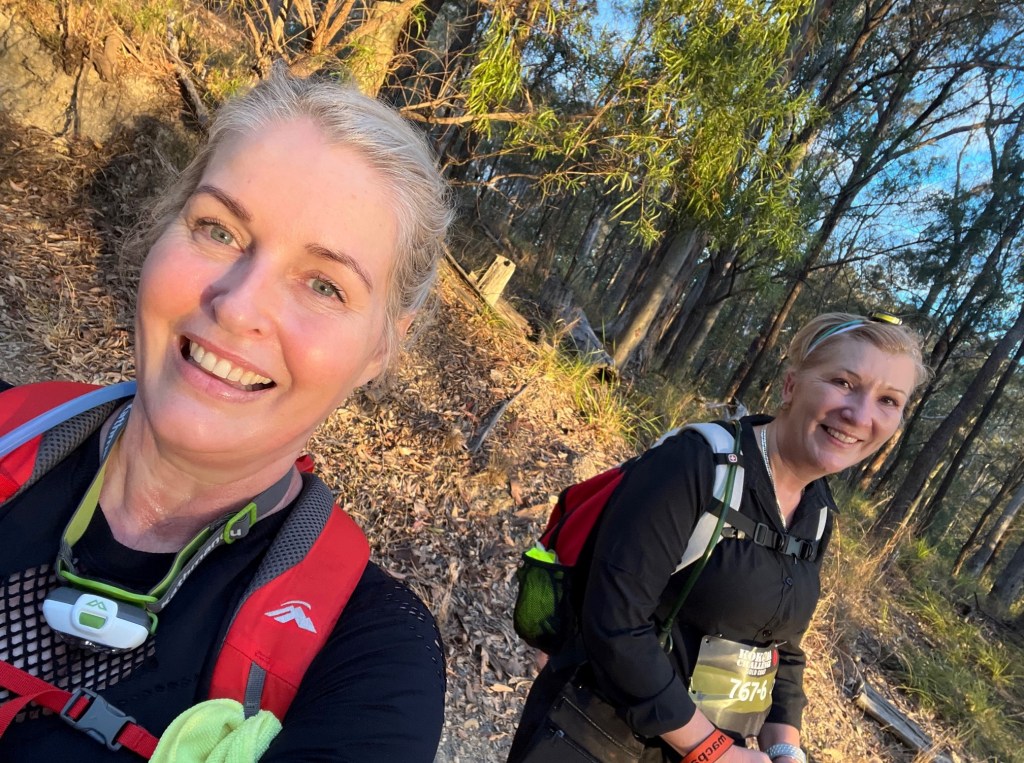
Ahhh – Kokoda Gold Coast 2023. My friend Fran and I decided that we would register for the new 30km Kokoda Challenge.
And then it went wrong! OUCH 😮
The Kokoda Challenge
The Kokoda Challenge is Australia’s toughest team endurance event that raises funds for programs run by the Kokoda Youth Foundation. Events are held mainly in Queensland (Brisbane, Sunshine Coast and Gold Coast) and in New South Wales (Lake Macquarie).
For those of you not from the Antipodes, Kokoda is referring to the 1942 Kokoda Campaign in Papua New Guinea, where Australian troops and local infantry battled the advancing Japanese army to protect access to the local airfield. The challenge distances ( 96km and under ) represent the real Kokoda Track distance of 96km and the history of Kokoda is recognised and honoured by many Australians, with many families having generational ties to the campaign.
Kokoda on the Gold Coast
I’ve hiked Kokoda 48km twice before. The first time was in 2016 as part of a work team and then again in 2021 with my sister TB and her two daughters. Our team was aptly named “SistasnBlistas” 🙂
I’ve not tried the 96km, not sure if I have the intestinal fortitude to tackle it but… never say never.
The 30km was a new addition to Kokoda Gold Coast in 2023 and meant that we could sign up with a short training lead time. I regularly hike 20+ so 30km was very achievable.
Hikers – Start Your Engines!
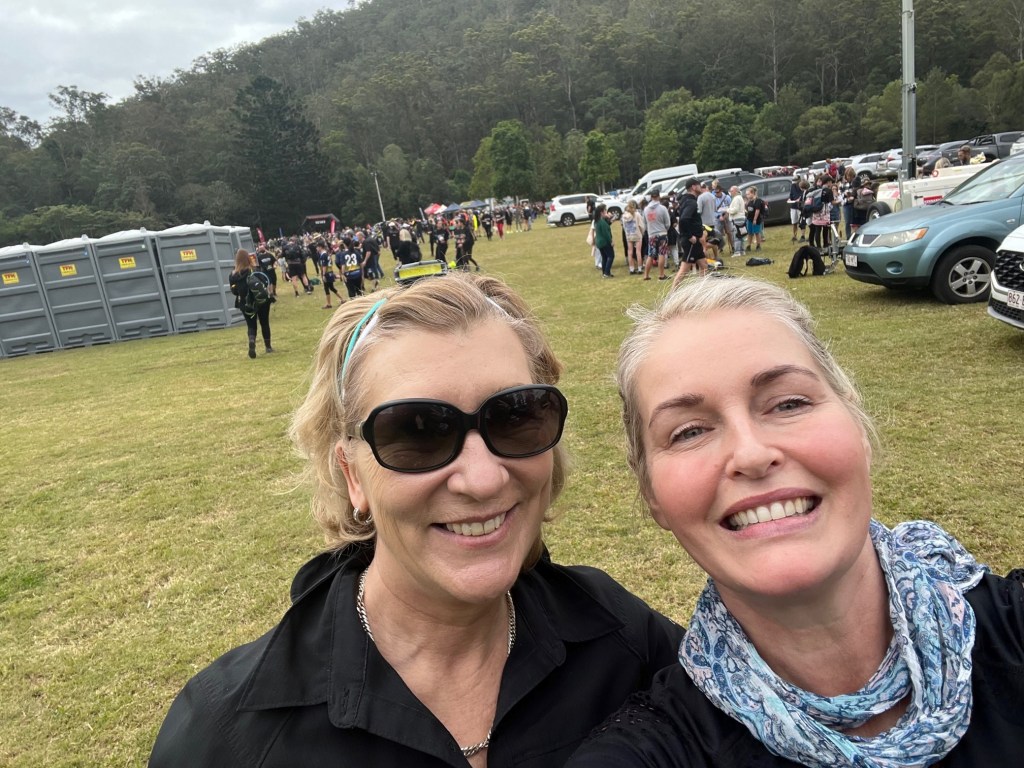
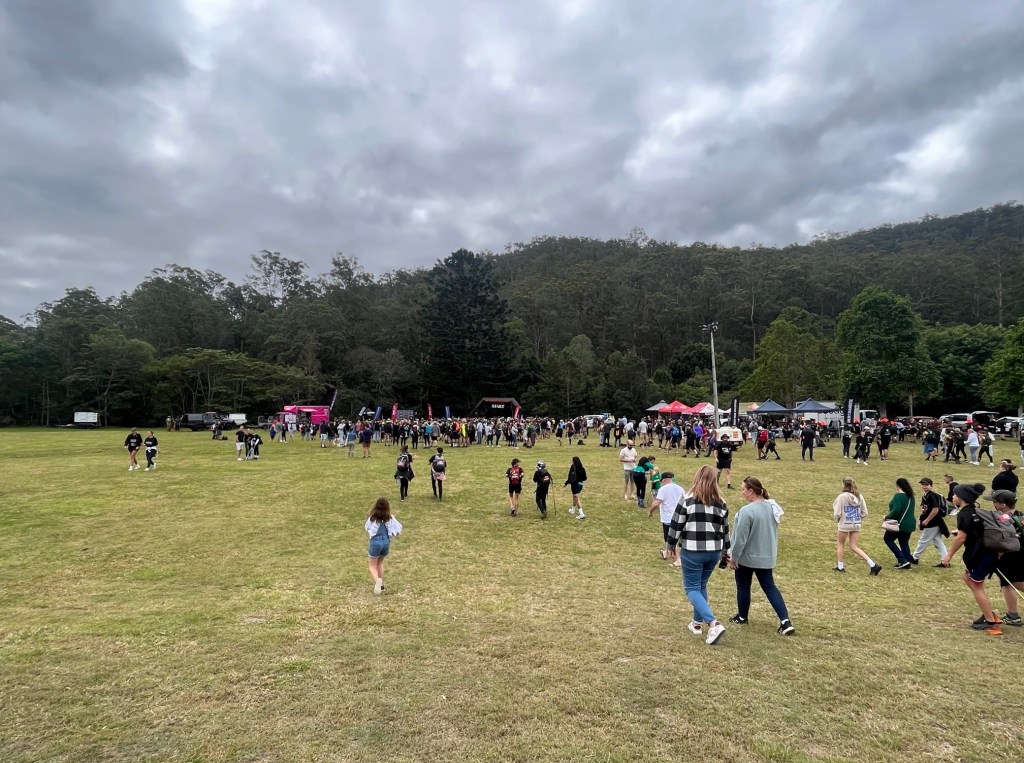
My Kokoda buddy Fran is a hiker from way back. She used to volunteer with NSW Rural Fire Service and spent many days hiking in the Blue Mountains so she was keen to flex a bit of hiking muscle for Kokoda. Our hike started at 2pm at Little Clagiraba Reserve. We kicked off along with what felt like 3,000 school teams – but was probably only about 300 kids. There was a little bit of a kerfuffle delay with the start shute as it led straight into a narrow creek crossing and a single file track, but once we hit the start line we were off! Thankfully it was a mild, cloudy Queensland winter day so perfect conditions for hiking.
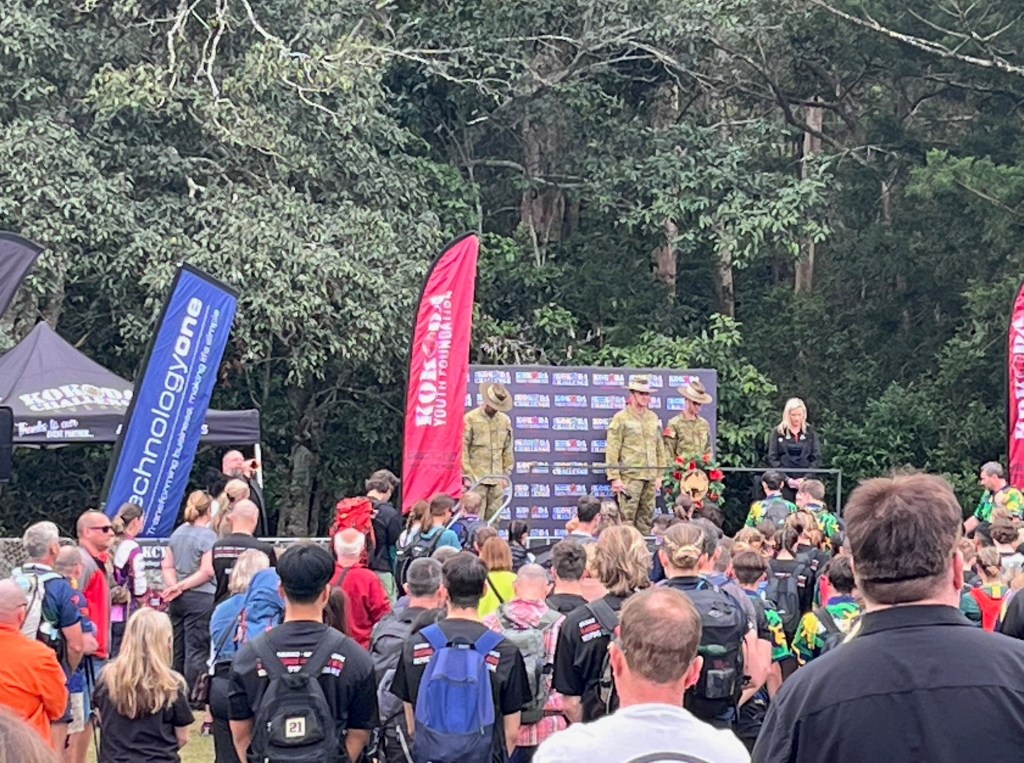
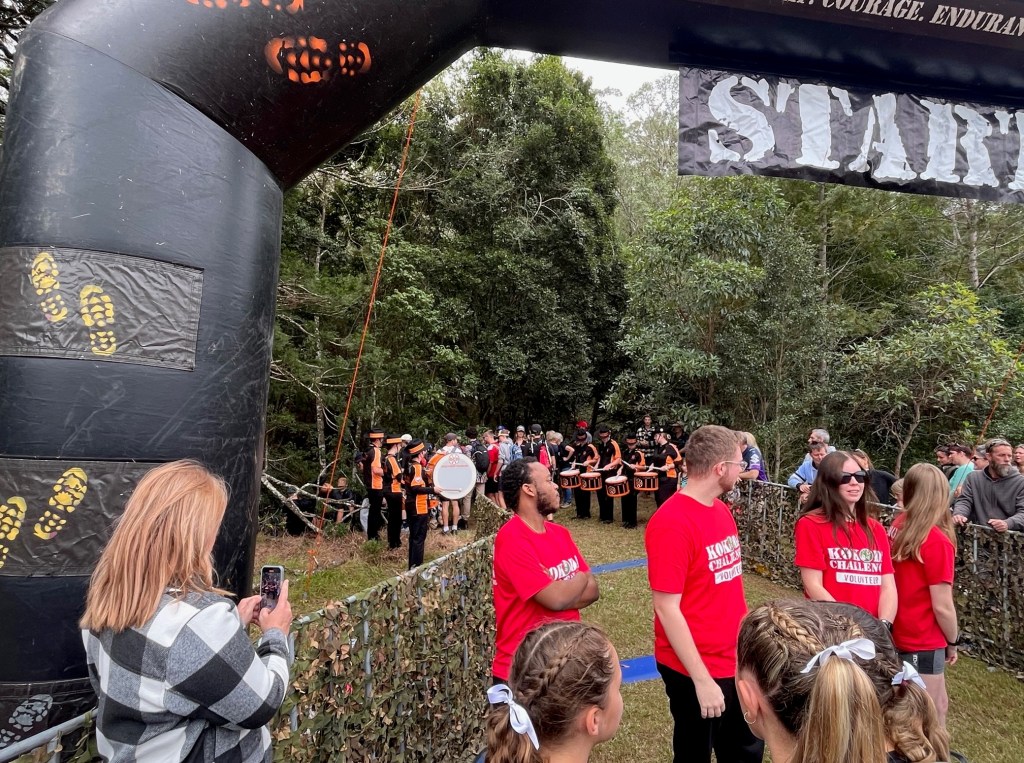
The official openingFancy dunnies!The swathe of participants A fantastic drum team send-off
Section 1 – Up a Hill and Down Again
So the start of the 30km is actually the support crew location for the 48 and 96km. Once you go through the start shute, its 2.6km straight up.
In 2016 and 2021, you could sit at your support crew camp, have a bit to eat and a rest while you watch the headlamps twinkle as teams wound their way up the side of the mountain. A bit different for the 30km as it’s the first thing you do – slog up a huge hill!
We climbed 250m as we hiked 2.6km pretty much straight upward. Underfoot was shale and rock, and boy was it dusty. Lots of feet kicking up dust as everyone climbed. It was slow, and still quite warm. Took about an hour to make it up to the top with little stops to catch our breath.
Steep and dustyThe ribbons on the right denote the correct track direction
We crested the top of the hill and came into a lovely grassy meadow, the perfect place to stop and take a short break. It also allowed some of the larger school teams to move off and we could then hike with a little more peace and quiet 😉
10 minute RnRCoffee time!
What’s in the Backpack?
Pleased you asked.
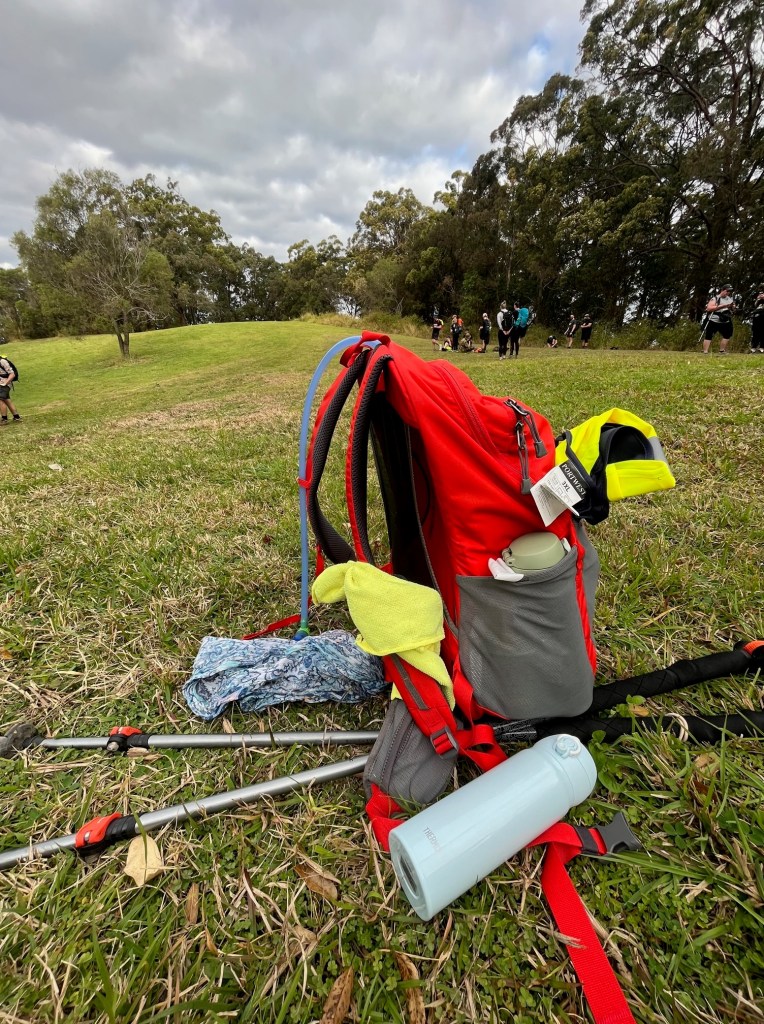
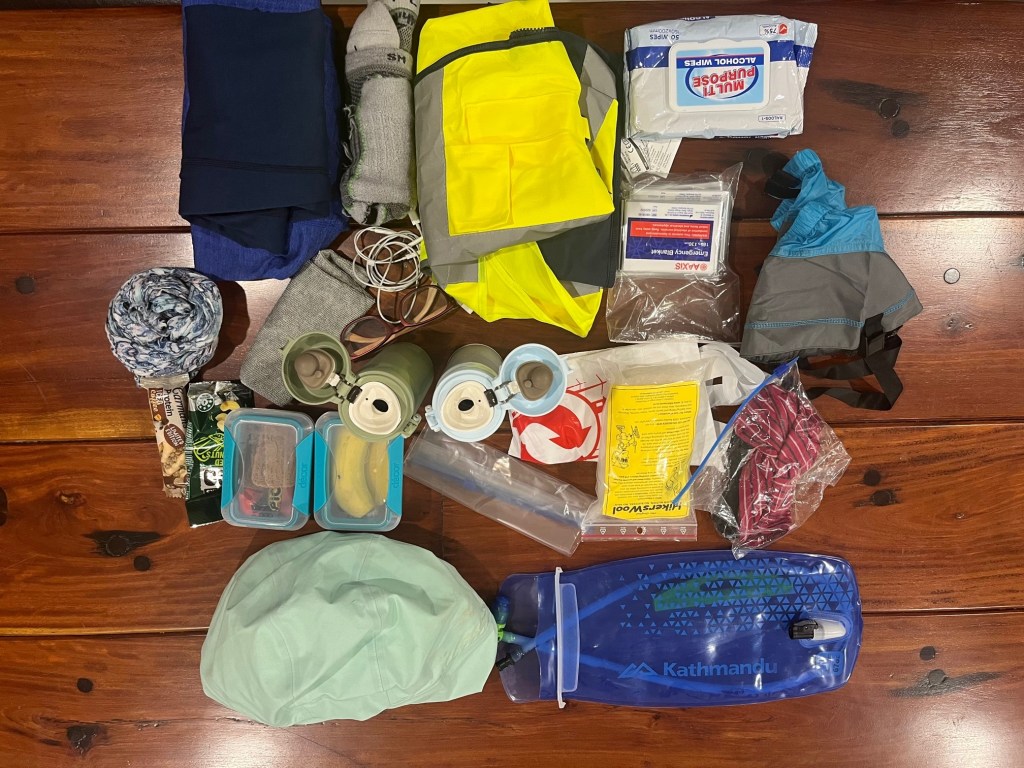
Packing for a 30km hike is a bit of a hybrid. It’s 10 hours and crosses from day into night. We had planned to complete the 30km before midnight, so averaging 3km an hour. Food and water was a must. The Kokoda organisers also require to you have a high vis vest as we cross a couple of large roads, a whistle, a first aid kit and we needed to download an emergency finder app. I included a couple of layers – merino wool, as well as a beanie, gloves and my trusty raincoat. Then I had assorted items – headphones, headlamp and batteries, two mobiles, drugs, antiseptic wipes, hikers wool and…here is what I packed…
Clockwise from 6pm we have raincoat, food, coffee, scarf, tops, extra socks, glasses, earbuds, high vis vest, space blankets, wipes, gloves and hat, gaiters, bags, hikers will and water bladder. Fran carried the first aid kit and whistle 🙂
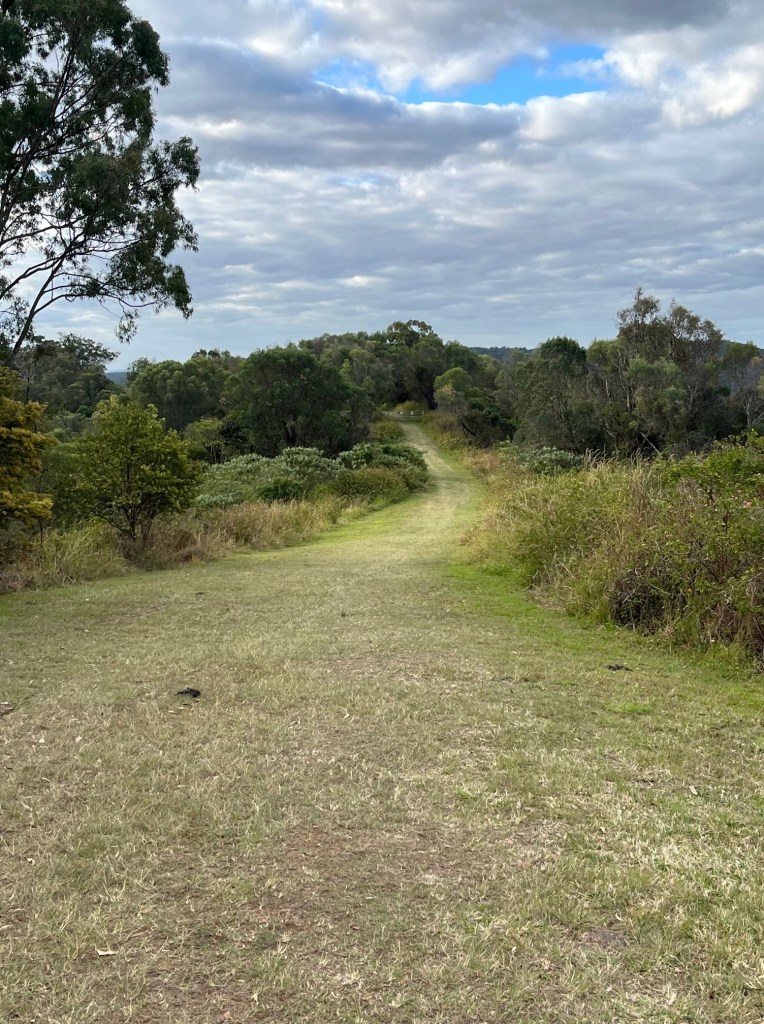
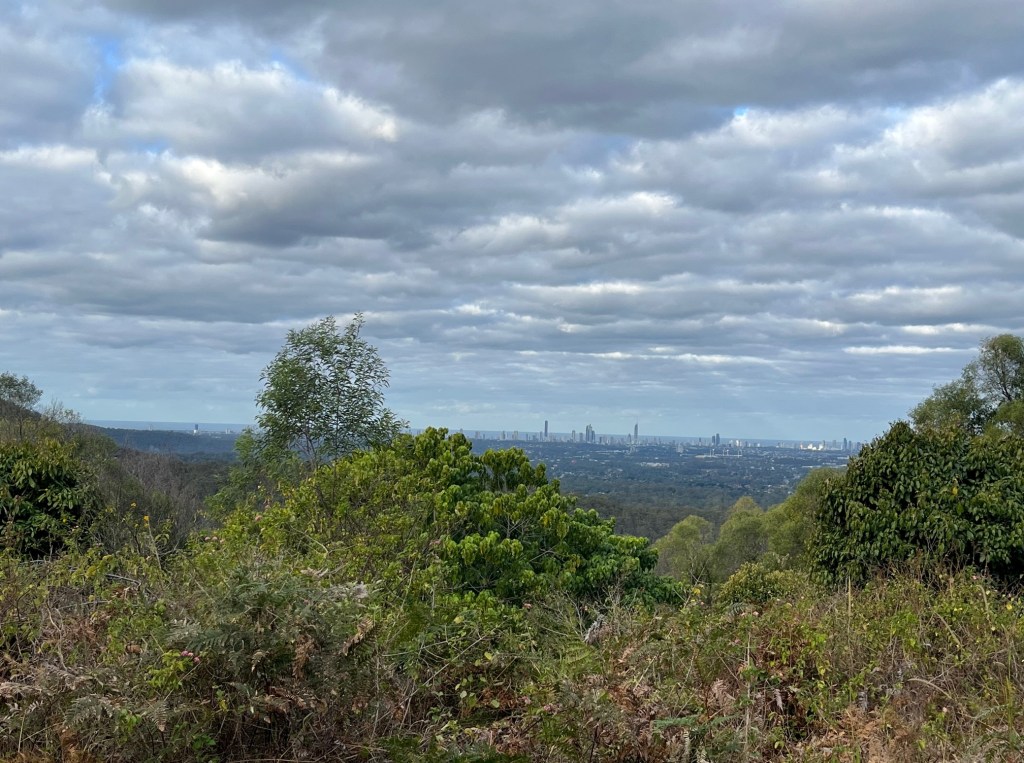
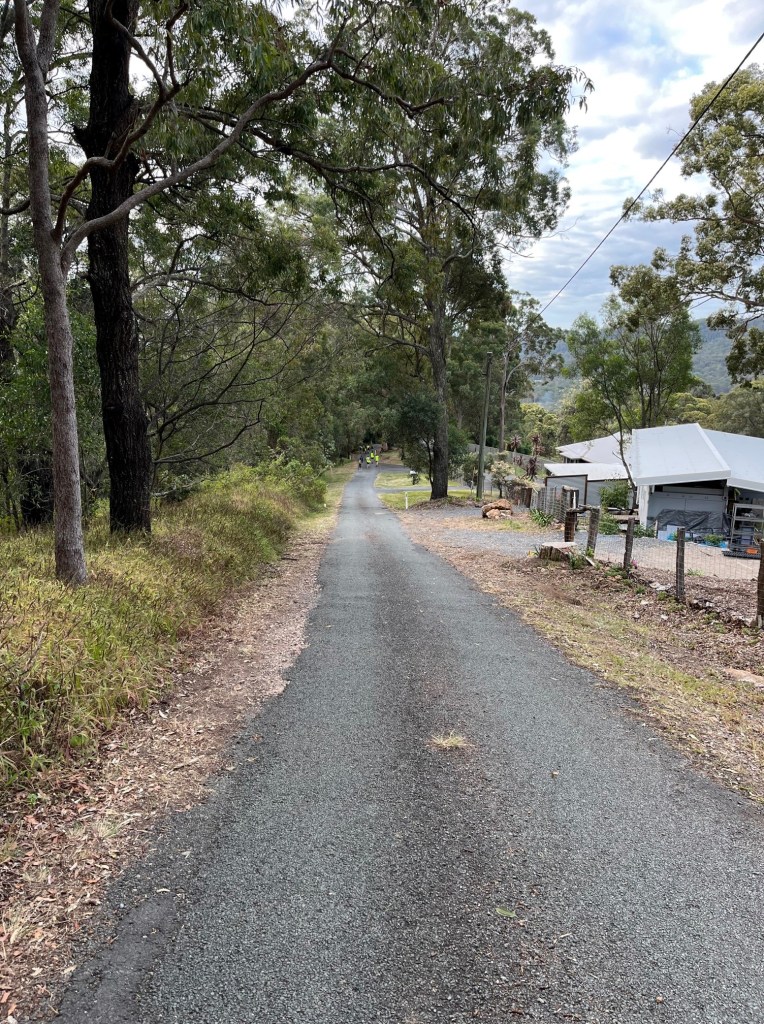
After our little rest at the top of the hill we then walked along the ridge, with stunning views down to the Gold Coast glitter strip. The weather turned on some lovely mild temperatures and the cloud cover was just perfect. After walking for 3km on shale and rocks, the grassy paths were very welcome. It was then time to start walking downhill to Nathan Valley where the first checkpoint was located – which transitioned us onto a local road.
Of course hikers know what goes down, must go up…..!
Lovely softness underfoot
Gold Coast skyline
Nathan Valley Rd
Section 2 – Into the Forest and Disaster!
Committing to the Kokoda Challenge means you need to travel through the requisite checkpoints and pass over the electronic pads to record your progress. Importantly, teams need to pass through the checkpoints together – for safety as well as reflecting Kokoda mateship. Nobody gets left behind.
Fran and I arrived at the first checkpoint in good shape and really enjoying the hike so far. We had come about 6km, and it was late afternoon. Time for another photo, and toilet break and steeling ourselves for the next big mountain climb.
Checkpoint 1 for 30km hikers
We crossed over Maudsland Rd, tracked alongside it for a bit and entered into Nerang National Park proper. We had another big hill to hike up, around 200m and 2km. Again, we were back on the shale and rock hiking underfoot, which can be quite punishing on the soles of your feet.
Again with the Sweaty Betty’s!
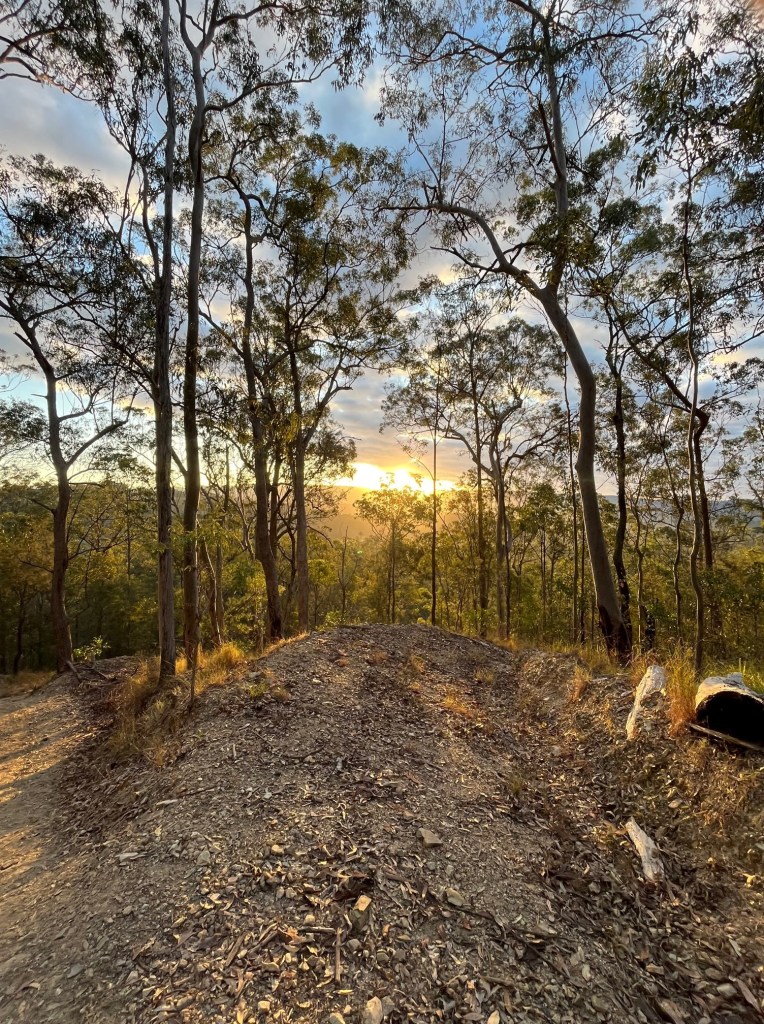
Glorious Track Sunset
Around 5pm we were almost at the top – and disaster struck!
Fran injured herself…!
Not badly, but enough for us to stop and have a bit of a think about what the rest of the hike was going to look like. She was already hiking with a knee brace so this wasn’t a good thing.
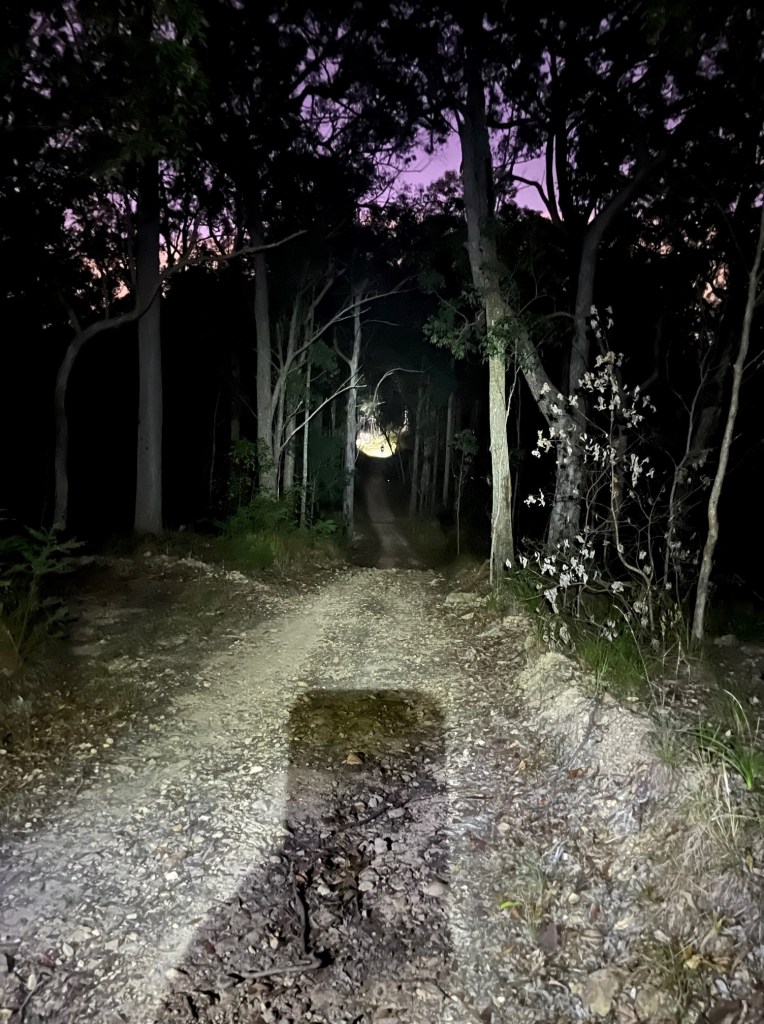
It was heading into dusk – so it was headlamps on and darkness was upon us.
You can see a team ahead of us on the track 🙂
A decision needed to be made. Could Fran keep going and finish the 30km or did we need to cut our hike short and live to fight another day?
I’m very pragmatic about my hiking, and given that I’m over the half century mark, keeping my body intact is important. A quinquagenarian doesn’t bounce back injury wise as quickly as a quadranscentennial – sad but true.
Decisions decisions…
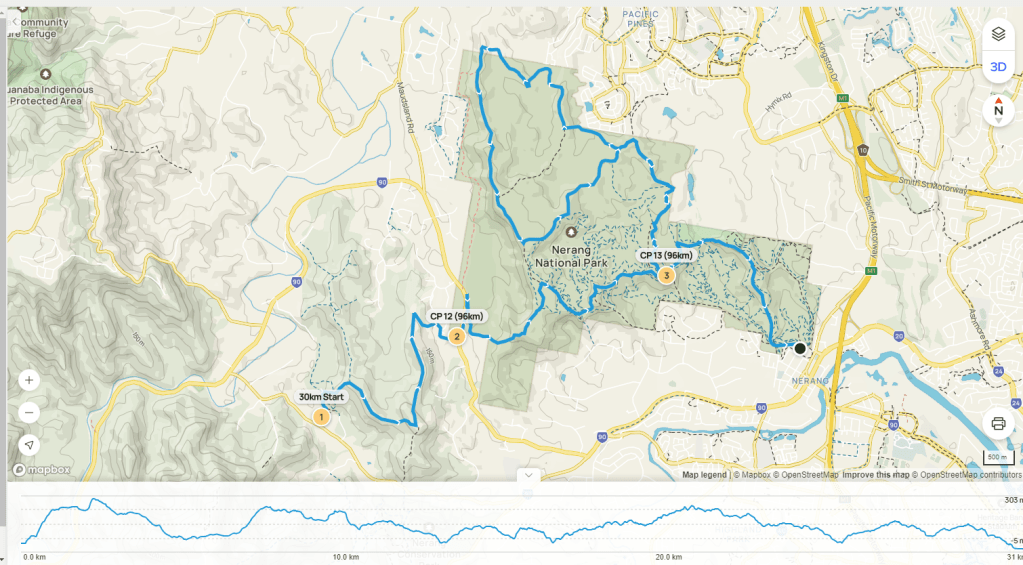
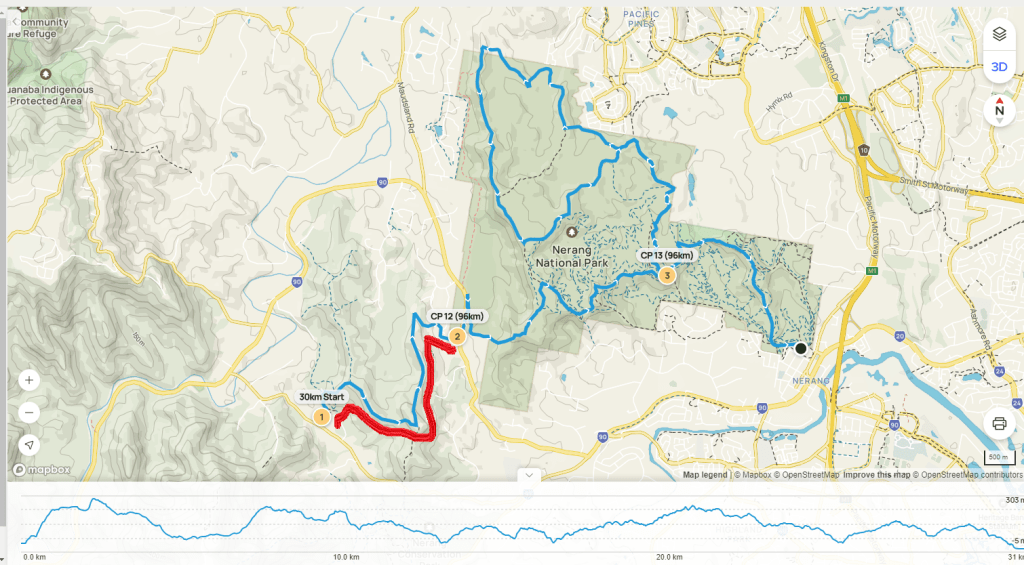
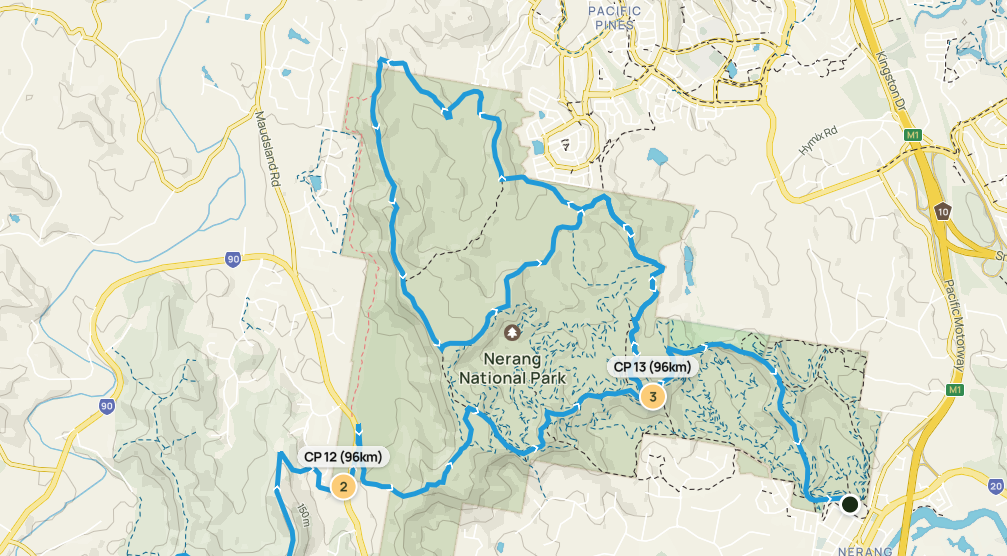
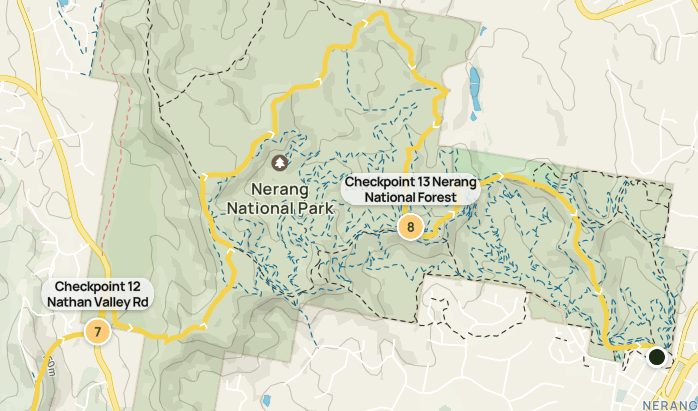
As you can see below, the 30km map involved a loop in the forest, and the 48km map was a shorter distance back to the finish. Unfortunately I didn’t have the two maps to look at when we were deciding what to do, but instead referenced the challenge signage on the track, so we made the call to hike the remainder of the 48km challenge route, estimating it would take us to the finish in 10km, rather than 20km…
What I should have done is taken the short route to Checkpoint 13 and then dropped down to the finish. Lesson learned.
Our pace slowed a bit, which was OK as we knew we only had about 10km to cover. We still had some hills and valleys, but they were a lot smaller. I reckon there were about 500 hikers looping around following the blue route, and the fast 48km hikers were also coming through, so it was a busy couple of hours. Lots of dust being kicked up…!
Checkpoint 13 is about 4km from the finish. We stopped there for a break so Fran could rest up and make sure she could walk out. There were a few younger hikers parked up there waiting for first aid and 4×4 pickups, but Fran was emphatic she wanted to walk to the end and finish – even if it was a shorter distance.
So, the earbuds went in and the podcasts went on – and we walked.
The finish line is down the bottom of a gentle hill, and you can see the lights and hear the loudspeakers so it’s a fantastic atmosphere. Fran was in a fair bit of pain by now so it was a very welcome sight.
We crossed around 9pm, having just clocked over 20km. Unfortunately you can only walk through the fancy finish line and they read your names out AND your time AND there are a million enthusiastic supporters clapping etc…. 😮 . It was lovely but we hadn’t done 30km and Fran just really wanted to get off her feet.
DONE.DOT.COM
I emailed the organisers the next day, explained the situation and asked them to take us off the finish board, and put us on the ‘incomplete’…..we didn’t want credit for something we didn’t actually do.
In Summary…
The Kokoda Challenge is a terrific event and one really worth doing.
30km vs 48km – lots to say 🙂
It was the first time the 30km distance was offered and it was chaotic at the start. It was full of school teams, including primary schools kids so if you are a regular hiker, I’d avoid the 30km. I found it too visually and audibly frantic. The route quickly became littered with the emotional wailings of young people realising that a challenge is exactly that….We passed one young person halfway up a hill who was refusing to take another step and was throwing the hugest hissy fit. I felt very sorry for the exasperated, yet very patient teacher.
The other thing about the 30km is most of it is walking around the Nerang National Forest. You loop back and forth for 20km on a kind of circuit. Kokoda training hikes are often done in Nerang due to the fact that you finish there, so for me it was hours hiking on ground that I’ve already spent quite a bit of time on….meh.
Consider training for and entering the 48km. I’ve done it twice and it’s such a great event, you get to walk on private land, army land – places that you would not be able to access. And importantly, it’s a track that goes in one direction, from start to finish, and because of the distance, teams are more prepared and committed.
It’s important to remember- any hike is a great experience. You will be out in nature, having a wonderful time and along with any challenge comes the huge sense of achievement when you finish. Injured or not!
Hello and welcome to my LikeToHike blog. I’m PJ and I write about the hikes I take, giving you insights, photos, commentary, tips and tools so you can enjoy hiking and fully embrace the experience.
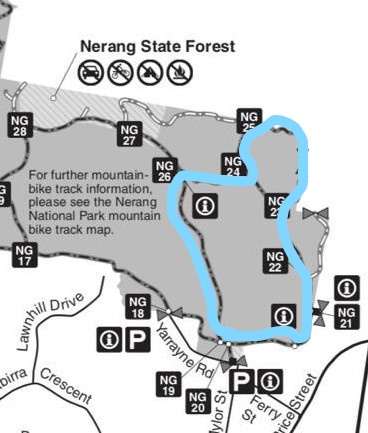
Today I’m going to write about a cheeky wee 6km hike in the Nerang National Park on the Gold Coast, Queensland. The Nerang National Park is home to a great range of trails, and is popular with hikers, runners, bikers, families, training groups and everyone in between.
This 6km circuit is one I do regularly, simply because its a great, snappy cardio workout with four dry creek gullies, a short sharp climb and a gradual descent back down to the finish. You can knock this hike off in under 90 minutes depending on your fitness, and you get to experience some lovely scenery.
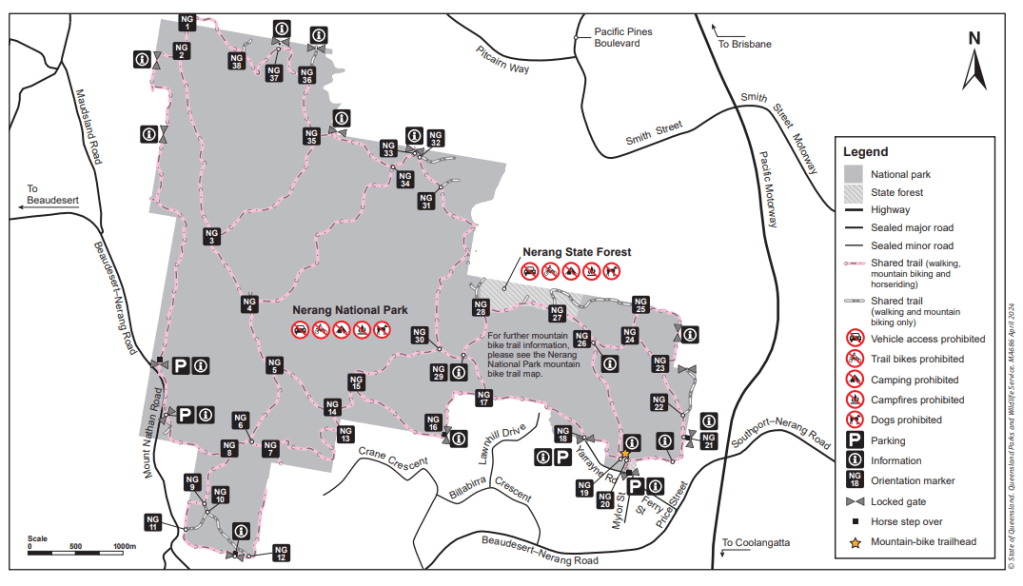
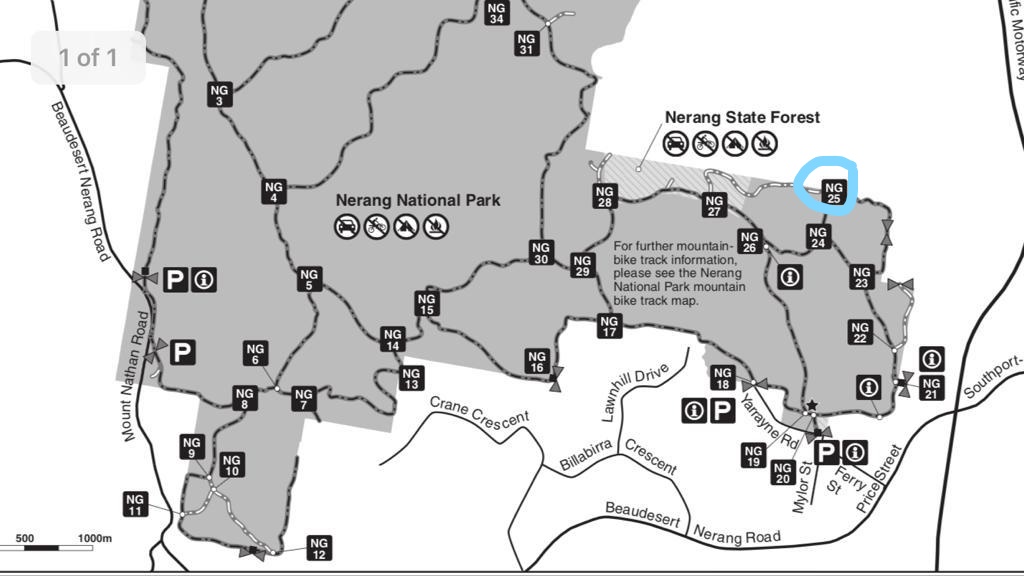
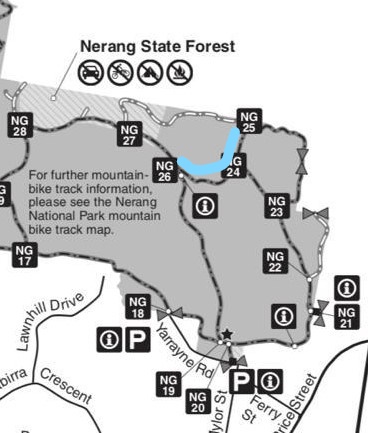
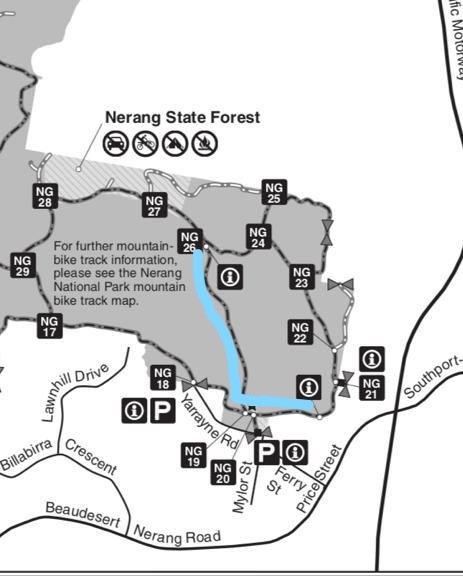
There are some map resources on the Queensland State Government website here, and below is the official map of the area. It’s not the best for hiking detail, but gives an overall picture with my lovely blue overlay. My pic on the right shows where the hike is in relation to the map.
Official map with overlay
Let’s get into it!
Upon Arrival
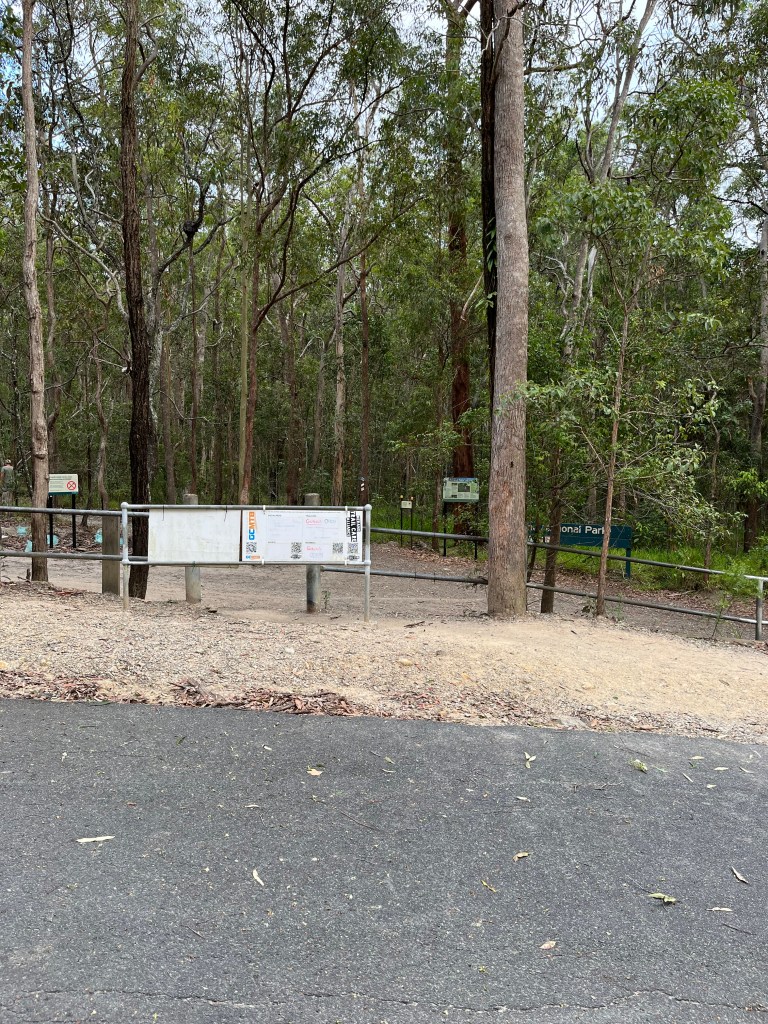
The Nerang National Park is very easily accessible from Hope St, Nerang. Parking is plentiful outside the velodrome, which signals the access point into the park. On the weekend, just follow the stream of hikers and bikers – you can’t miss the entry. If you’re lucky enough to be hiking during the week, here’s a couple of pics of the hiking entrance.
Approaching EntranceEntrance
Starting Your Hike
I walked counter clockwise. I find that most hikers naturally turn left, so I turned right…
First thing you’ll notice is the tree cover. Thankfully there is an abundance of high trees in this section of the park, and sun protection is needed hiking in Queensland. I started around 6am – and it was already 26 degrees with relative humidity at 88%. Thank you trees!
Nerang National Park infoTurning right and…heading up the trail
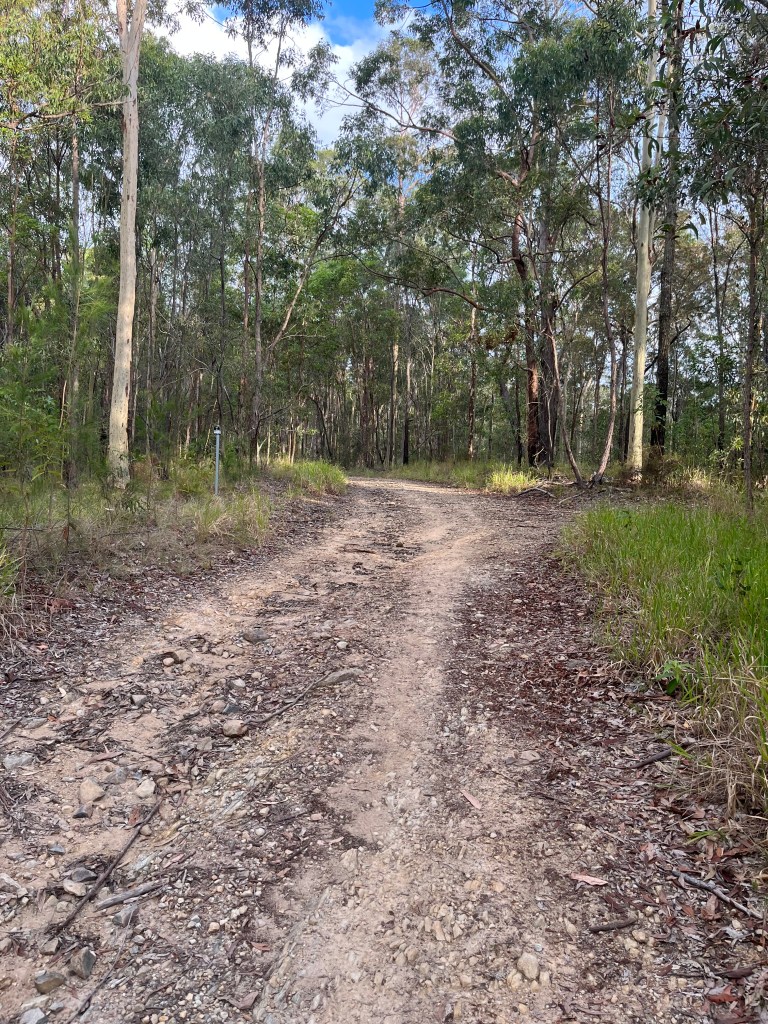
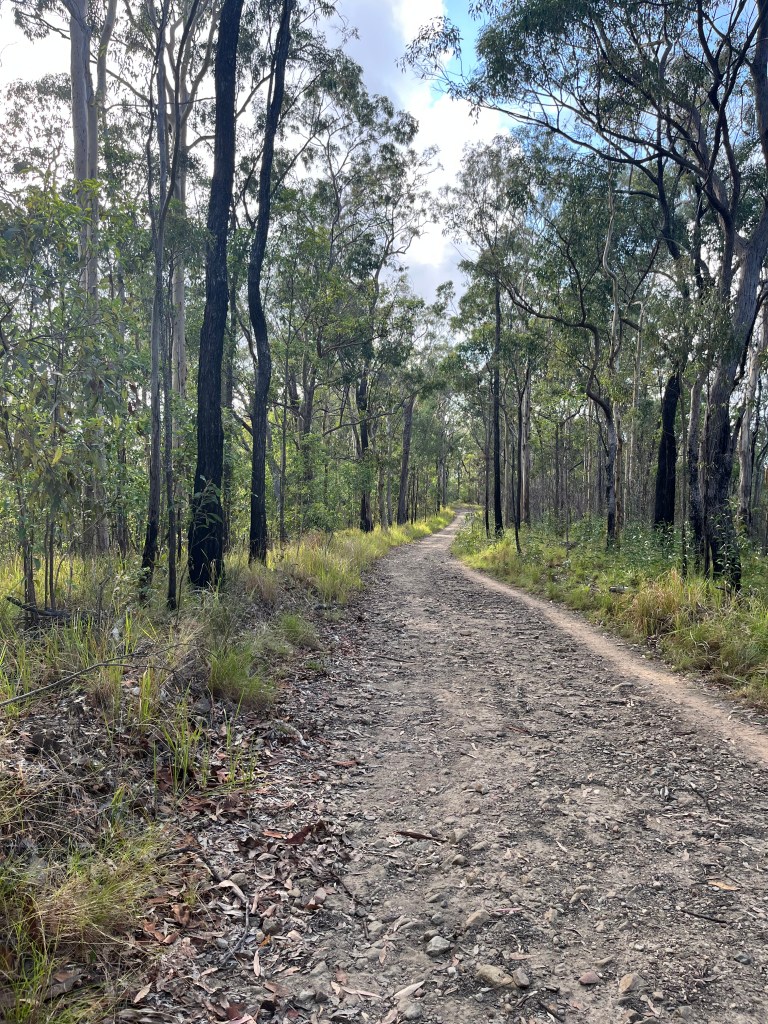
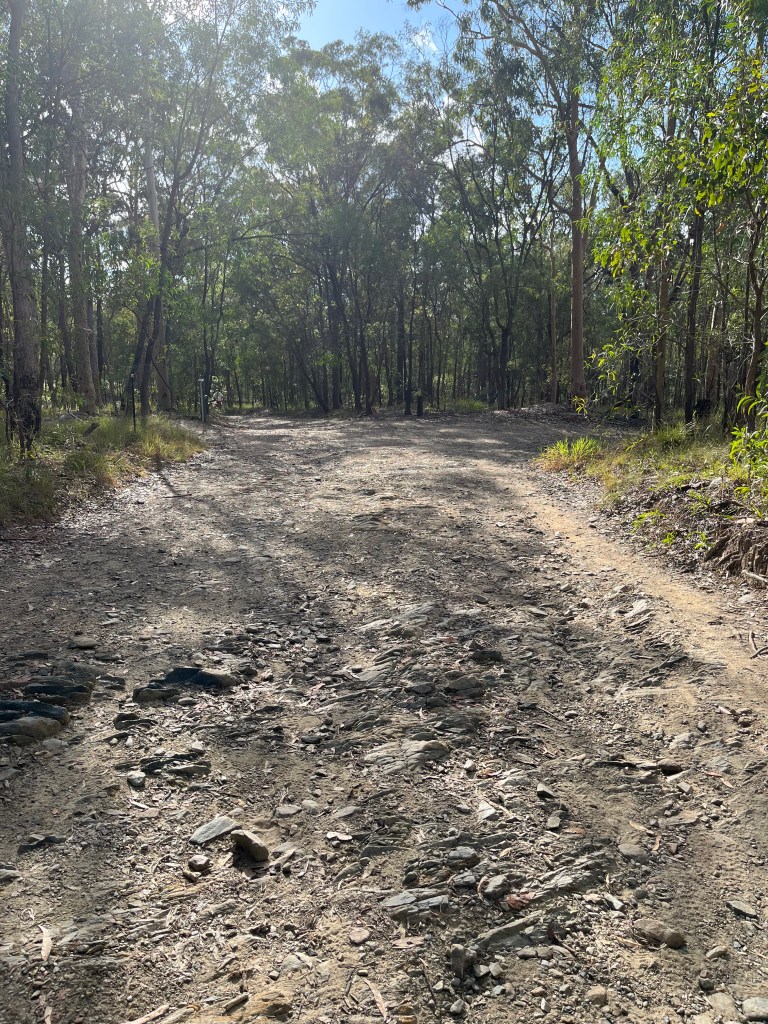
Second thing you’ll notice is the trail is quite rocky. This section of the National Park is perched on shale, so basically compacted silt and clay stone. It can be hard going on the soles of your feet, so hiking footwear would be the best option. My first hike here many moons ago was in sneakers, my feet were sore for about a week afterwards.
Navigating the Section Names
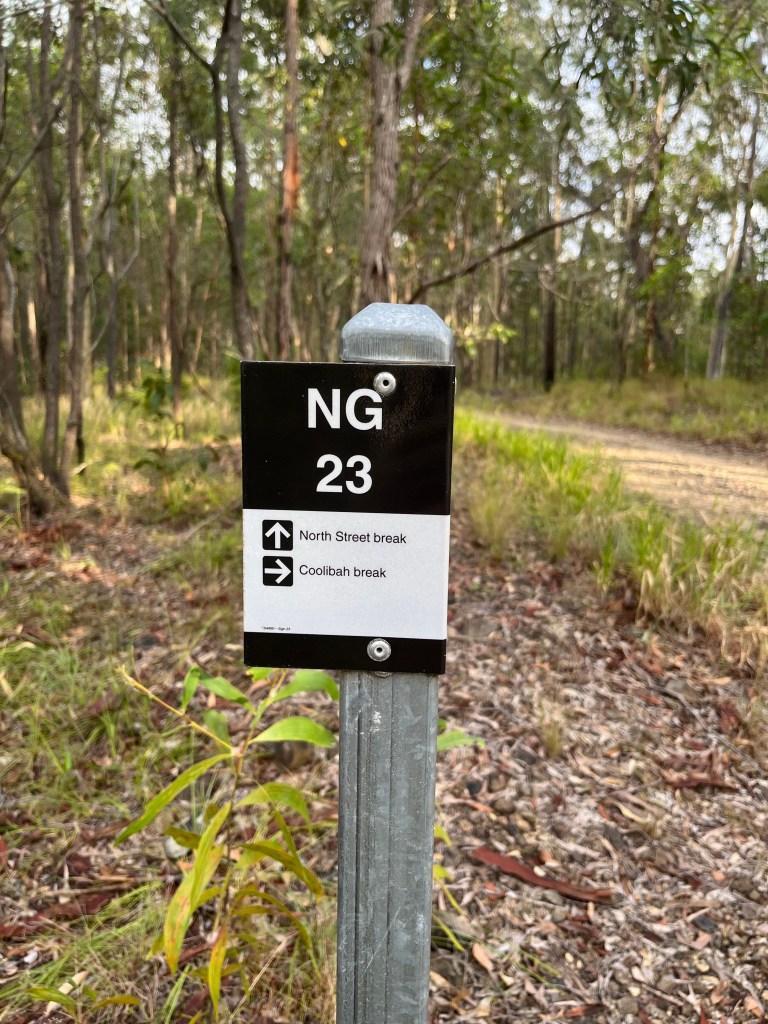
The trails in Nerang National Park have both names and numbers. The numbers are prefixed by NG – and you can see them on the trail map I loaded above. There will be small plates attached to poles as you walk along the trails detailing the NG and the name of the trail.
Intersection plate on the main trail
So, navigation is pretty easy using maps and the trail signs. The other good part about Nerang National Park and this 6km trail is it runs adjacent to the park border, so you’re in line of sight of roads and some houses. For the new hikers (yay – welcome!) I think this provides a bit of security and peace of mind – we won’t take you into the wilds just yet…
Houses and road adjacent to Coolibah break
You will also see some of the mountain bike tracks which criss-cross the main hiking trails. Here’s an example of the signage you’ll see around the trails.
CAUTION
Don’t walk on the biking tracks. They’re not for hikers, they’re for bikers, and they clock some serious speed! I’ve found the bikers extremely polite and respectful of me when I’m hiking, so I extend the same courtesy. Nerang National Park is an area designed for hiking and biking so let’s play nicely together.
Turn Right and Enjoy Coolibah Break
After a brisk trot up NG22 for about 1.6km, you’ll be making a right hand turn at the NG23 marker. This is the Coolibah Break. Coolibah has four dry creek bed crossings, so prepare yourself for 1.5km of leg pumping and heart thumping! I like this track for two reasons. 1 – you get to explore, which is what hiking is all about and 2 – you get some serious exercise.
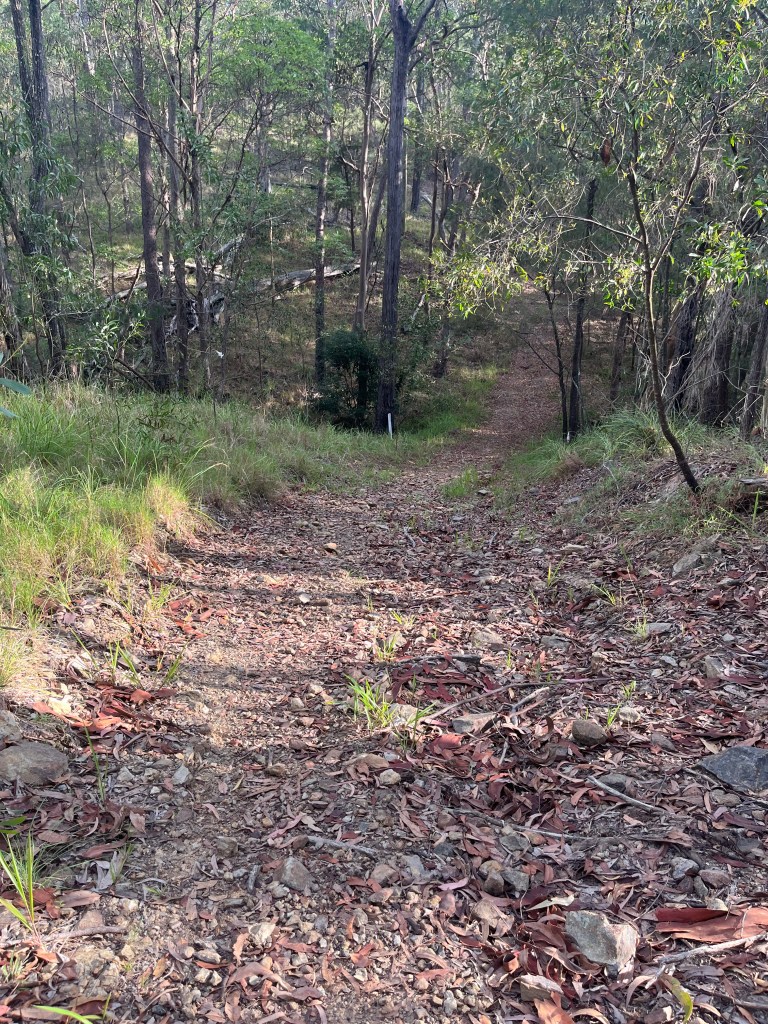
Coolibah Break dry creek bed #1 going down…and then back up the other side!
CAUTION
Don’t walk the Coolibah Break after heavy rain. Dry creek beds have a habit of filling up quickly, and the creeks can rise to over 2.5m in the blink of an eye. We have a saying in Queensland – if it’s flooded, forget it.
Turn Left and Enjoy Castle Hill
You’ve conquered the ups and downs of Coolibah Break and have arrived, around the 3km mark, at a T junction. This is Castle Hill, or NG25 on the map. Today we are going left and heading back toward the main trail.
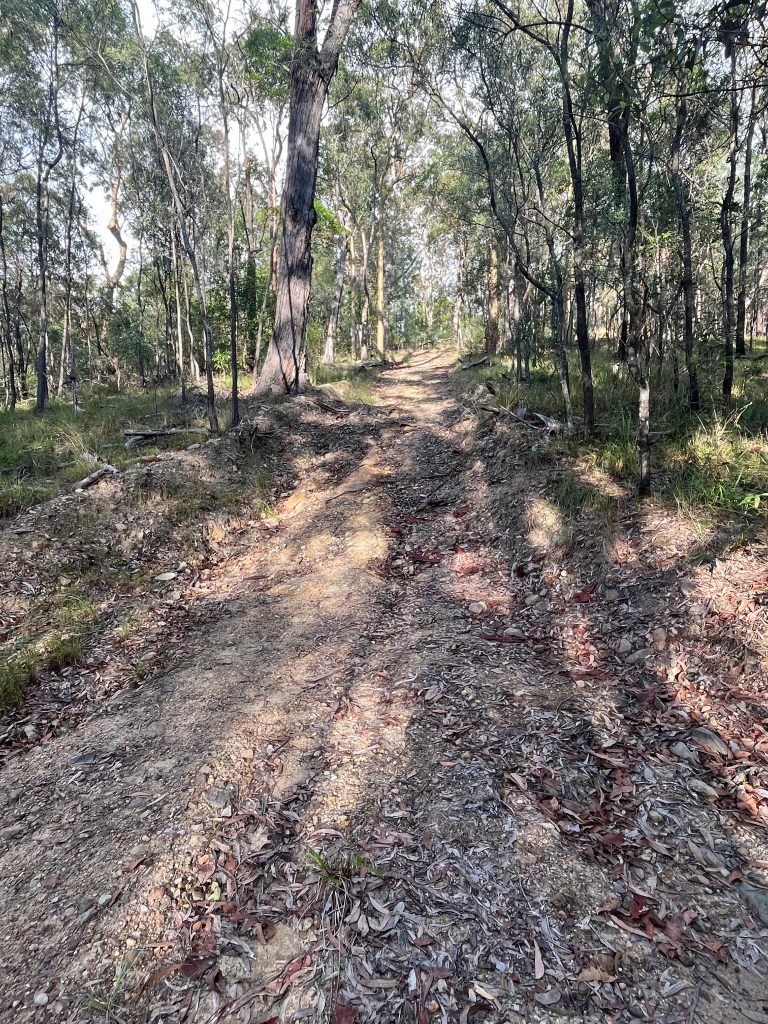
You will meet mountain bikers on this section, they’re coming back up the main trail to start their crazy descents. This section of the trail is sandy underfoot , and in the shade so quite a pretty part of the walk. Slow down, enjoy the birds, the cicadas and the vibe.
TIP
I hike with a camel pak for fluids. I find I can’t juggle a water bottle from my pack – it’s on – it’s off – it’s on again – I drop the water bottle in the sand – argh. Remember to hydrate regularly, before you get thirsty. I take plenty of small sips when I’m walking downhill or on the flats. I also add electrolytes if I think I’ll need them on longer hikes.
Back on the Main Track
Congrats, you’ve completed the Coolibah Break! You will notice that the track widens and at NG24, Castle Hill continues to the right. We’re going a little deeper into the park, not much but enough to see some lovely vistas to the north and south. Before we turn for home, we do have one more hill climb, but you’ve got this. Your legs are warmed up, you’re in the groove and you power up the hill.
Castle Hill section, including the hill climb up to NG26!
TIP
I find going down a hill far harder than walking up. I think it has a bit to do with balance, and a bit to do with confidence. Lean slightly forward when hiking down a steep hill. This reduces the risk of jarring and sliding, especially on gravel. So, stick your butt out, tilt forward from the waist and own that descent.
Information Junction and Turn Left
Finally the top. This is NG26, and is home to an information panel, hence my name for it. It’s the only info panel out in the trail areas, so a good place to commit to memory.
Info Junction markers and panel to the leftHeading home…with the bikers
TIP
I always take a photo of the information panel when I arrive at a hike start point. Regardless of mobile coverage, I then have a photo which I can blow up and study at my leisure. I also take a print copy of the trail I plan to walk. Call me old fashioned, but if you’re hiking, you need maps!
Information Junction is also the marker for the final 2km of the 48/96 Kokoda Challenge, an endurance event held each July in the Gold Coast hinterland. I’ve done Kokoda 48 twice, so this location is burned in my brain as the “we’re almost home” point.
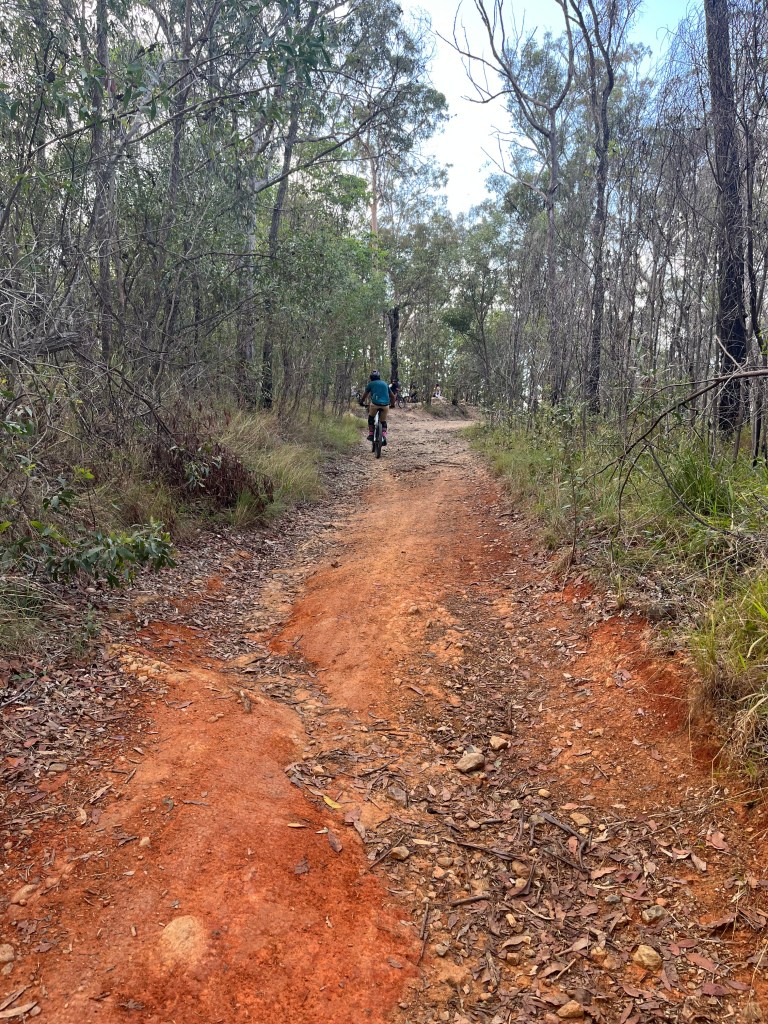
Turn left and we are now on the descent back to the car. You have a strong visual red clay section which goes slightly uphill, then it’s a leisurely 2km back to the parking area. This section is called Centre Road. I’m not the expert but I understand that many of these main tracks are also emergency service access roads. The Gold Coast does have occasional bushfires in the dry periods so access to the forest is critical to manage fires and backburns.
You can see that bikers are going gangbusters to the left of the track. When walking on these larger tracks you’ll be sharing with other hikers and runners, and also bikers as they come back up to throw themselves down another bike track. I usually stick to the bike groove in the track as it’s a smoother descent and more stable underfoot.
Bike groove to the rightCentre RoadSmoother walking
CAUTION
Be alert as the bike trails cross the main track and bikers can come out at speed. They are quite noisy so you can hear them coming and 99.8% are incredibly considerate, but if you hike with ear buds, you may be at a disadvantage….and the 0.2% have no mercy….
To Pole or Not To Pole
I was trying out my new Macpac telescopic walking poles when I took these pics. I’ve started hiking prep for Kumano Kodo (future blog – keep an eye out), and I want to take poles but they need to be travel appropriate. I also managed to colour coordinator with my boots – well done me!
Macpac telescopics with my faithful Merrell bootsVery stylish and clean!
I wasn’t a fan of poles when I started hiking. I figured it was hard enough juggling boots, backpack, water, coat, hat, gloves, snacks, lip salve…why complicate life with two more bits of equipment?
I then did the Kokoda Challenge for the first time. Without poles.
I now get it. Walking poles are a great extension of your body. Great for balance, for fatigue management, to haul hiking buddies up that final hill and to bat away the spider webs you walk into. I’ve walked with one and two poles and find that two poles creates a good walking rhythm for me. One pole just felt lopsided.
So, what’s the verdict on the Macpac telescopics? I got them for a great price on clearance so that’s a plus. They are easy to extend and retract. Another plus. I’m undecided on the knobs and grips, so I’ll need a couple more hikes to break them in.
TIP
Shop around for gear if you’re new to hiking or buying for the first time. Decide how many times you’re going to use it, and what your budget is. I don’t quibble over key items like boots and a backpack. I like what I like and need to have the quality gear that works. If you’re buying extra gear to use sometimes, like poles, then be a bit more flexible as the prices can range from $50 to $500 a pole – yikes!
Heading Home
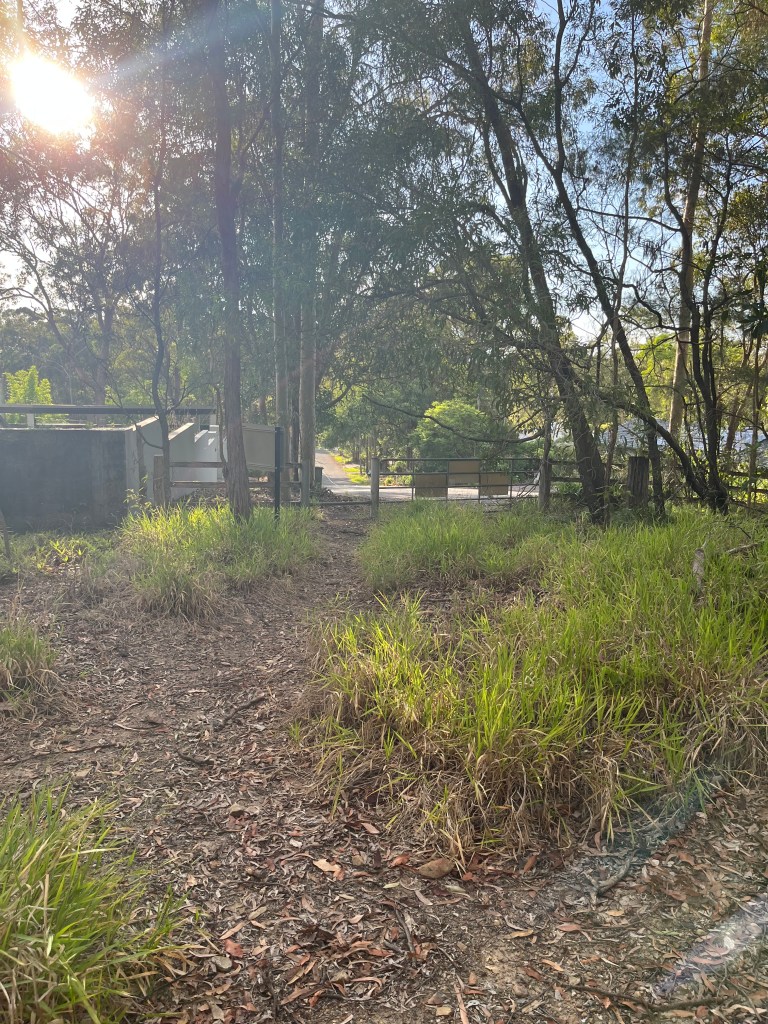
The last kilometre of Centre Road will bring you back alongside a bitumen cycling track and a metal pipe fence. Keep to the large trail, there are a number of smaller tracks, we will explore those another day.
Watch out for bikers completing their downhill run at the exit gate – it’s fun watching them skid to a stop with literally inches to spare!
Pat yourself on the back, you’ve just completed a fantastic 6km hike, enjoyed the outdoors, perhaps tried some new gear for the first time.
Congratulations on embracing the experience, and see you next time out on the trails.


















 Like The Hike