Hello and welcome to my LikeToHike blog. I’m PJ and I write about the hikes I take, giving you insights, photos, commentary, tips and tools so you can enjoy hiking and fully embrace the experience.
Today I’m going to write about a cheeky wee 6km hike in the Nerang National Park on the Gold Coast, Queensland. The Nerang National Park is home to a great range of trails, and is popular with hikers, runners, bikers, families, training groups and everyone in between.
This 6km circuit is one I do regularly, simply because its a great, snappy cardio workout with four dry creek gullies, a short sharp climb and a gradual descent back down to the finish. You can knock this hike off in under 90 minutes depending on your fitness, and you get to experience some lovely scenery.
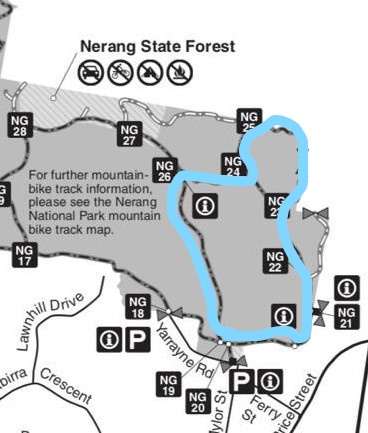
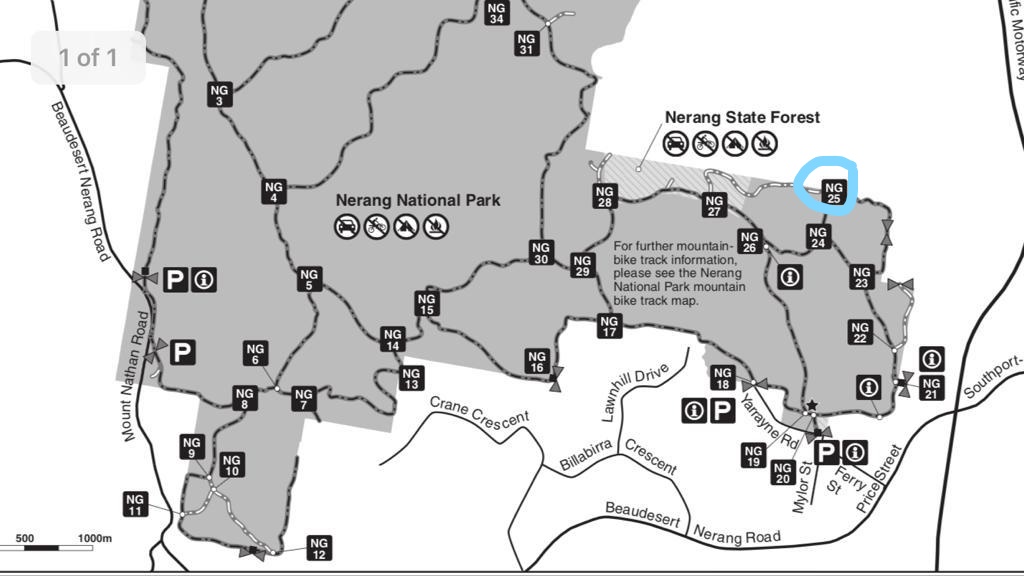
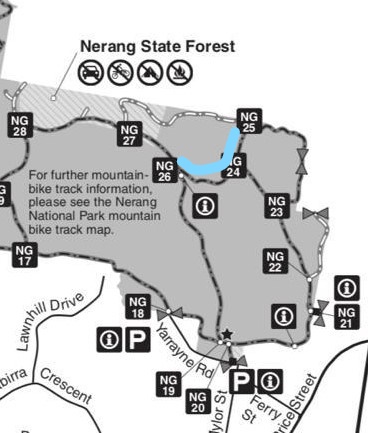
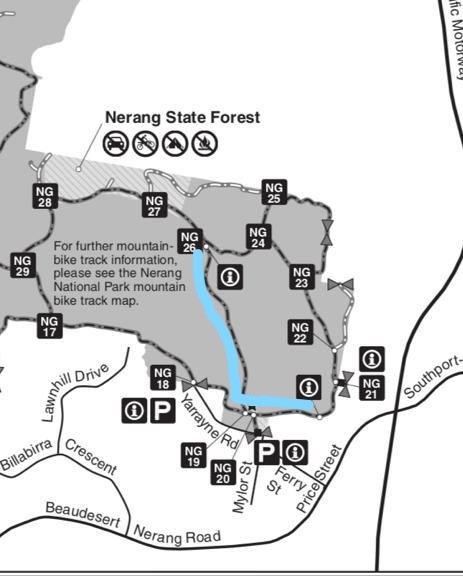
There are some map resources on the Queensland State Government website here, and below is the official map of the area. It’s not the best for hiking detail, but gives an overall picture with my lovely blue overlay. My pic on the right shows where the hike is in relation to the map.

Let’s get into it!
Upon Arrival
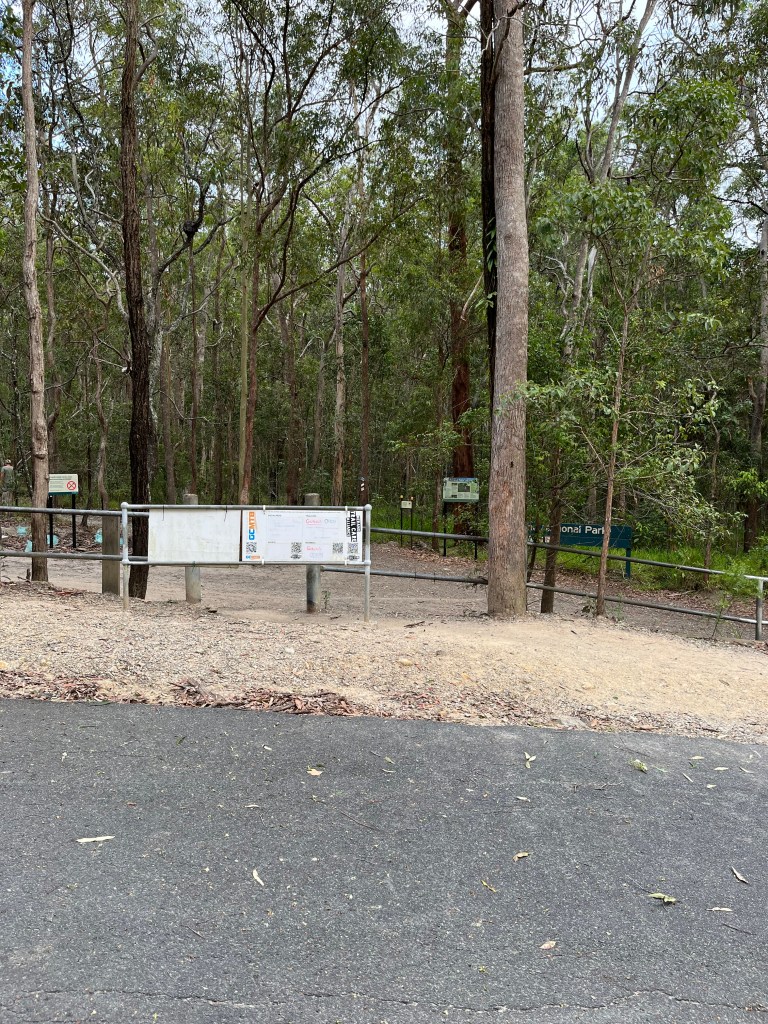
The Nerang National Park is very easily accessible from Hope St, Nerang. Parking is plentiful outside the velodrome, which signals the access point into the park. On the weekend, just follow the stream of hikers and bikers – you can’t miss the entry. If you’re lucky enough to be hiking during the week, here’s a couple of pics of the hiking entrance.

Starting Your Hike
I walked counter clockwise. I find that most hikers naturally turn left, so I turned right…
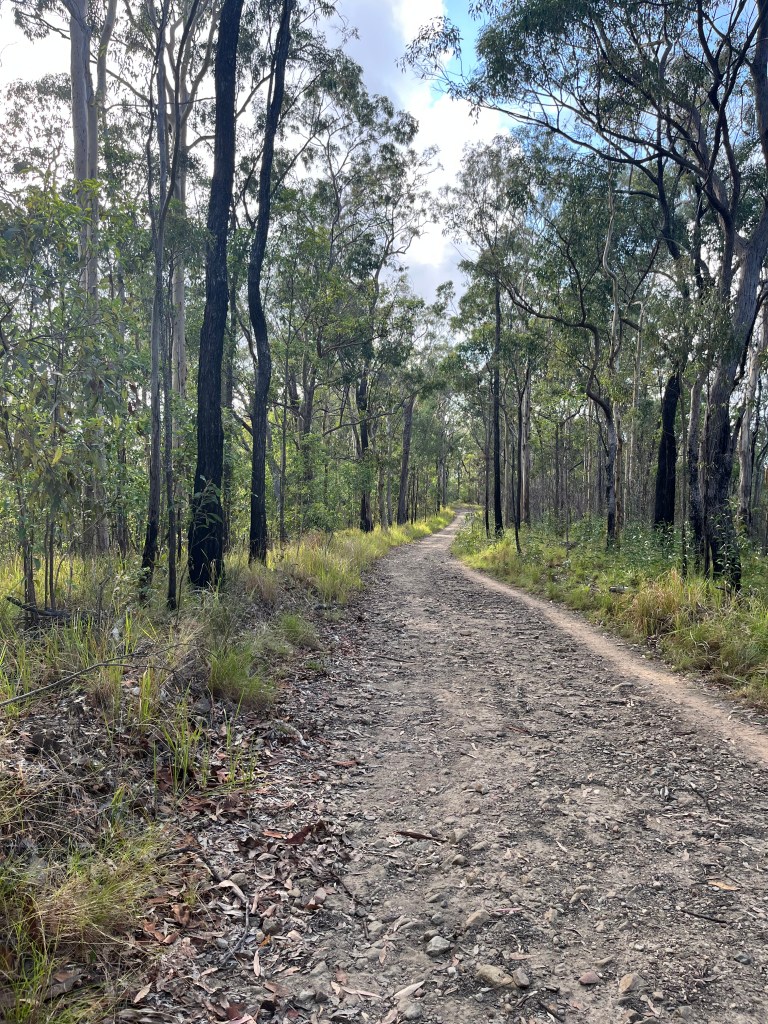
First thing you’ll notice is the tree cover. Thankfully there is an abundance of high trees in this section of the park, and sun protection is needed hiking in Queensland. I started around 6am – and it was already 26 degrees with relative humidity at 88%. Thank you trees!


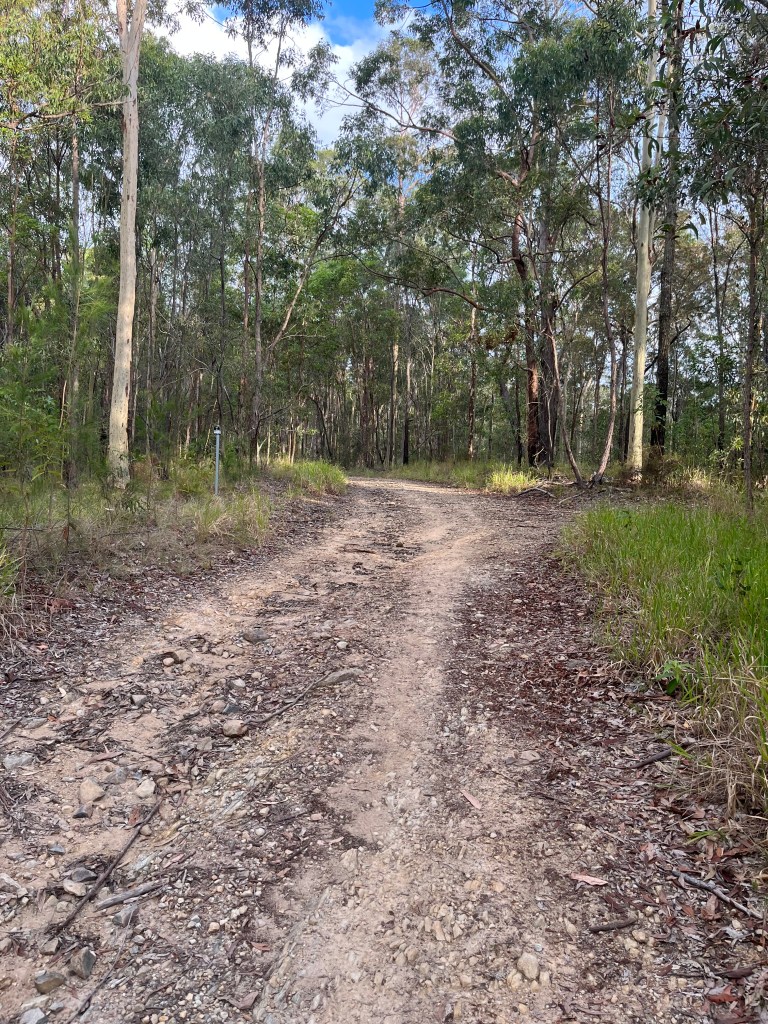
Second thing you’ll notice is the trail is quite rocky. This section of the National Park is perched on shale, so basically compacted silt and clay stone. It can be hard going on the soles of your feet, so hiking footwear would be the best option. My first hike here many moons ago was in sneakers, my feet were sore for about a week afterwards.
Navigating the Section Names
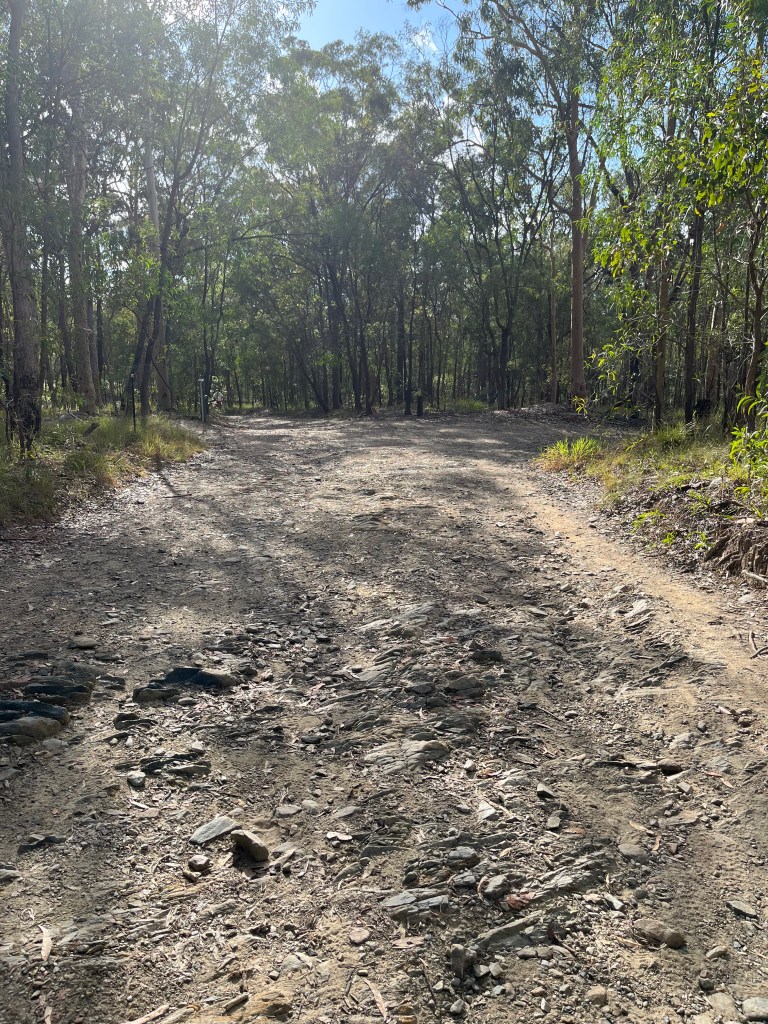
The trails in Nerang National Park have both names and numbers. The numbers are prefixed by NG – and you can see them on the trail map I loaded above. There will be small plates attached to poles as you walk along the trails detailing the NG and the name of the trail.

So, navigation is pretty easy using maps and the trail signs. The other good part about Nerang National Park and this 6km trail is it runs adjacent to the park border, so you’re in line of sight of roads and some houses. For the new hikers (yay – welcome!) I think this provides a bit of security and peace of mind – we won’t take you into the wilds just yet…
You will also see some of the mountain bike tracks which criss-cross the main hiking trails. Here’s an example of the signage you’ll see around the trails.

CAUTION
Don’t walk on the biking tracks. They’re not for hikers, they’re for bikers, and they clock some serious speed! I’ve found the bikers extremely polite and respectful of me when I’m hiking, so I extend the same courtesy. Nerang National Park is an area designed for hiking and biking so let’s play nicely together.
Turn Right and Enjoy Coolibah Break
After a brisk trot up NG22 for about 1.6km, you’ll be making a right hand turn at the NG23 marker. This is the Coolibah Break. Coolibah has four dry creek bed crossings, so prepare yourself for 1.5km of leg pumping and heart thumping! I like this track for two reasons. 1 – you get to explore, which is what hiking is all about and 2 – you get some serious exercise.
CAUTION
Don’t walk the Coolibah Break after heavy rain. Dry creek beds have a habit of filling up quickly, and the creeks can rise to over 2.5m in the blink of an eye. We have a saying in Queensland – if it’s flooded, forget it.
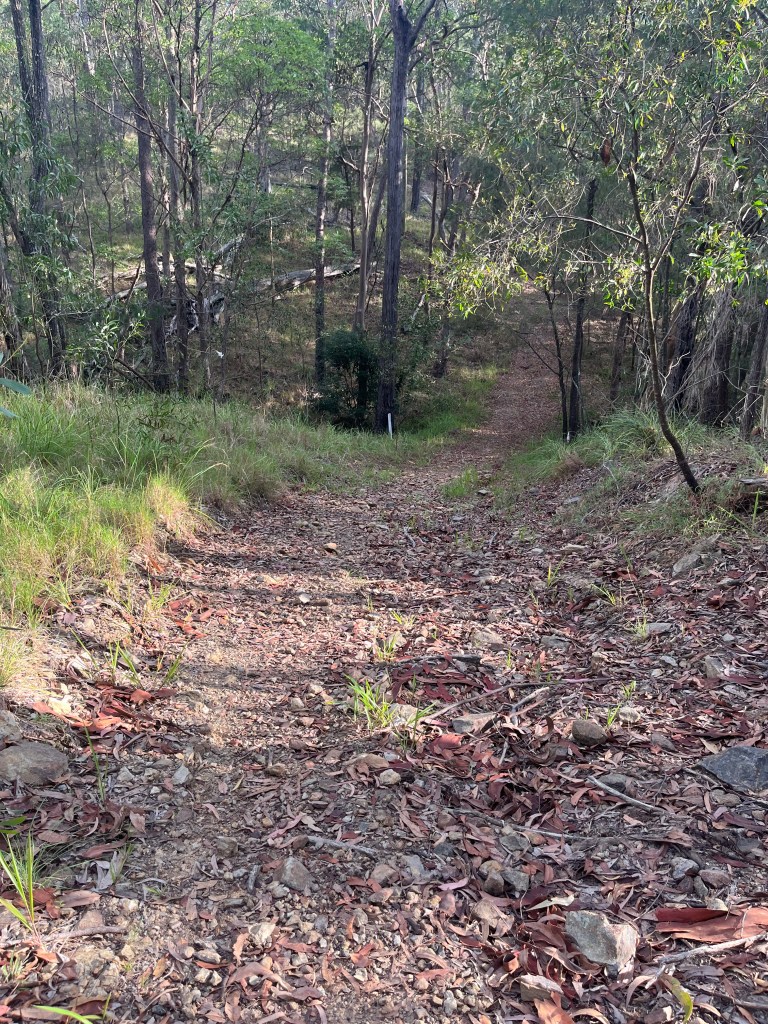
Turn Left and Enjoy Castle Hill
You’ve conquered the ups and downs of Coolibah Break and have arrived, around the 3km mark, at a T junction. This is Castle Hill, or NG25 on the map. Today we are going left and heading back toward the main trail.
You will meet mountain bikers on this section, they’re coming back up the main trail to start their crazy descents. This section of the trail is sandy underfoot , and in the shade so quite a pretty part of the walk. Slow down, enjoy the birds, the cicadas and the vibe.
TIP
I hike with a camel pak for fluids. I find I can’t juggle a water bottle from my pack – it’s on – it’s off – it’s on again – I drop the water bottle in the sand – argh. Remember to hydrate regularly, before you get thirsty. I take plenty of small sips when I’m walking downhill or on the flats. I also add electrolytes if I think I’ll need them on longer hikes.
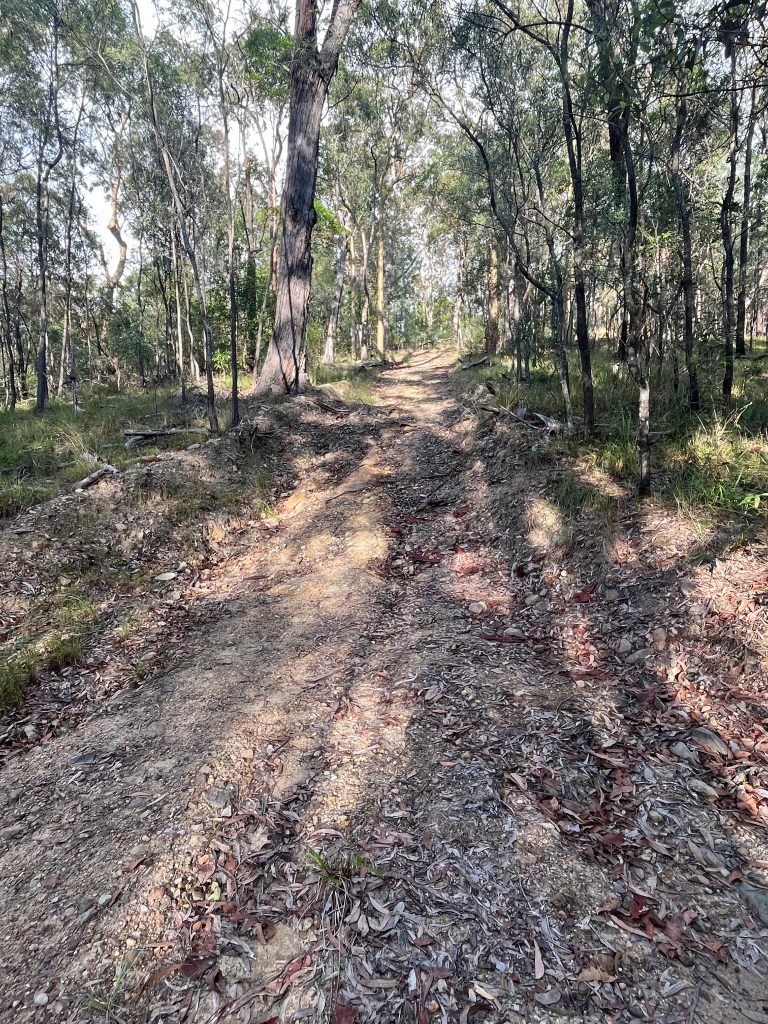
Back on the Main Track
Congrats, you’ve completed the Coolibah Break! You will notice that the track widens and at NG24, Castle Hill continues to the right. We’re going a little deeper into the park, not much but enough to see some lovely vistas to the north and south. Before we turn for home, we do have one more hill climb, but you’ve got this. Your legs are warmed up, you’re in the groove and you power up the hill.
TIP
I find going down a hill far harder than walking up. I think it has a bit to do with balance, and a bit to do with confidence. Lean slightly forward when hiking down a steep hill. This reduces the risk of jarring and sliding, especially on gravel. So, stick your butt out, tilt forward from the waist and own that descent.
Information Junction and Turn Left
Finally the top. This is NG26, and is home to an information panel, hence my name for it. It’s the only info panel out in the trail areas, so a good place to commit to memory.

TIP
I always take a photo of the information panel when I arrive at a hike start point. Regardless of mobile coverage, I then have a photo which I can blow up and study at my leisure. I also take a print copy of the trail I plan to walk. Call me old fashioned, but if you’re hiking, you need maps!
Information Junction is also the marker for the final 2km of the 48/96 Kokoda Challenge, an endurance event held each July in the Gold Coast hinterland. I’ve done Kokoda 48 twice, so this location is burned in my brain as the “we’re almost home” point.
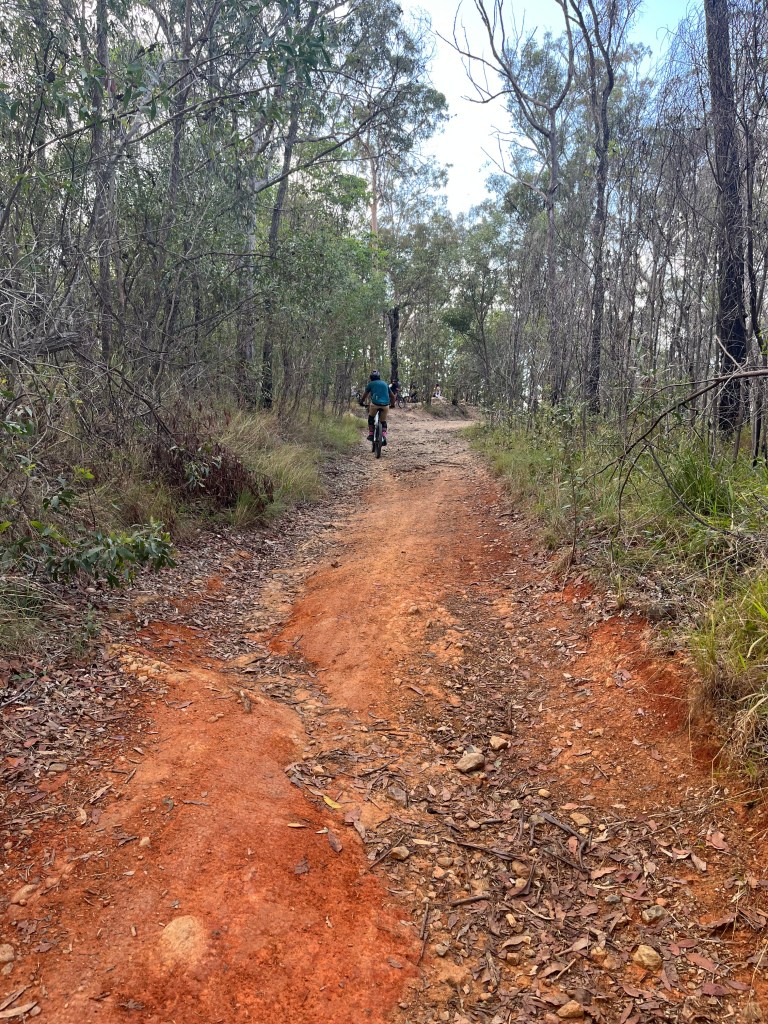
Turn left and we are now on the descent back to the car. You have a strong visual red clay section which goes slightly uphill, then it’s a leisurely 2km back to the parking area. This section is called Centre Road. I’m not the expert but I understand that many of these main tracks are also emergency service access roads. The Gold Coast does have occasional bushfires in the dry periods so access to the forest is critical to manage fires and backburns.
You can see that bikers are going gangbusters to the left of the track. When walking on these larger tracks you’ll be sharing with other hikers and runners, and also bikers as they come back up to throw themselves down another bike track. I usually stick to the bike groove in the track as it’s a smoother descent and more stable underfoot.
CAUTION
Be alert as the bike trails cross the main track and bikers can come out at speed. They are quite noisy so you can hear them coming and 99.8% are incredibly considerate, but if you hike with ear buds, you may be at a disadvantage….and the 0.2% have no mercy….
To Pole or Not To Pole
I was trying out my new Macpac telescopic walking poles when I took these pics. I’ve started hiking prep for Kumano Kodo (future blog – keep an eye out), and I want to take poles but they need to be travel appropriate. I also managed to colour coordinator with my boots – well done me!


I wasn’t a fan of poles when I started hiking. I figured it was hard enough juggling boots, backpack, water, coat, hat, gloves, snacks, lip salve…why complicate life with two more bits of equipment?
I then did the Kokoda Challenge for the first time. Without poles.
I now get it. Walking poles are a great extension of your body. Great for balance, for fatigue management, to haul hiking buddies up that final hill and to bat away the spider webs you walk into. I’ve walked with one and two poles and find that two poles creates a good walking rhythm for me. One pole just felt lopsided.
So, what’s the verdict on the Macpac telescopics? I got them for a great price on clearance so that’s a plus. They are easy to extend and retract. Another plus. I’m undecided on the knobs and grips, so I’ll need a couple more hikes to break them in.
TIP
Shop around for gear if you’re new to hiking or buying for the first time. Decide how many times you’re going to use it, and what your budget is. I don’t quibble over key items like boots and a backpack. I like what I like and need to have the quality gear that works. If you’re buying extra gear to use sometimes, like poles, then be a bit more flexible as the prices can range from $50 to $500 a pole – yikes!
Heading Home
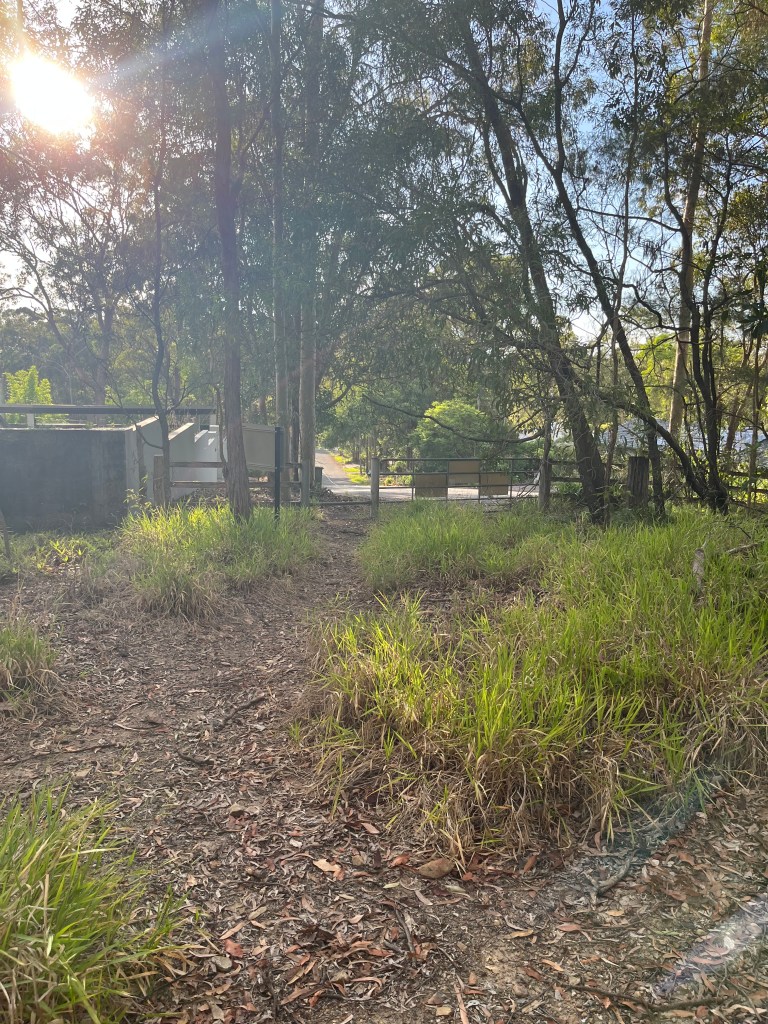
The last kilometre of Centre Road will bring you back alongside a bitumen cycling track and a metal pipe fence. Keep to the large trail, there are a number of smaller tracks, we will explore those another day.
Watch out for bikers completing their downhill run at the exit gate – it’s fun watching them skid to a stop with literally inches to spare!
Pat yourself on the back, you’ve just completed a fantastic 6km hike, enjoyed the outdoors, perhaps tried some new gear for the first time.
Congratulations on embracing the experience, and see you next time out on the trails.
PJ.

I loved this style of blogging for a hike. A great way for us to experience to the trail with you. Keep it up!
LikeLiked by 1 person
Lovely to hear from you and yes, I’ve got some great hiking blogs planned – stay tuned 🙂
LikeLiked by 1 person