Shikoku Series – The Best of Both Worlds, Why We Use Hiking Companies for Self-Guided Hikes

There is a particular kind of freedom that comes with walking from one place to another under your own steam. You carry what you need for the day, follow the trail, stop when something catches your eye and eventually arrive somewhere completely new. Nobody is hurrying you along. Nobody is telling you when to take a break. And if you decide that a scenic lookout, a tiny cafe or a slightly questionable detour deserves your attention, you can change the plan.

This is exactly what I love about self -guided hiking.

But – and it’s quite a big but – multi-day hiking also comes with a sizeable pile of logistics. There are routes to research, accommodation to book, luggage to move, transfers to organise, maps to understand, food to source and contingency plans to consider. Add another country, another language and a trail that wanders through small villages and remote areas, and suddenly the planning can become a bigger expedition than the hike itself.

This is where a hiking company earns its keep.

Supported, But Still Self-Guided

For our Kumano Kodo hike in 2023, we booked through the Australian company RAW Travel. For our upcoming Shikoku adventure, we are using Auswalk.

Both trips give us what I think is the sweet spot of multi-day hiking – the structure and support of an organised trip, with the freedom and independence of walking it ourselves.

We are not joining a tour group or following a guide carrying a little flag. We make our own way each day. We decide when to start, how quickly (or slowly) to walk, where to stop and how long to stay there. We can talk all day, walk in silence, take too many photos, investigate a side trail or stop for snacks and breaks whenever the mood strikes. In other words, we get to create our own fun.

At the same time, somebody with local knowledge has already done the heavy lifting behind the scenes. The itinerary is mapped out, the accommodation is booked, the luggage transfers are arranged, and on-the-ground support is available if something goes wrong.

That combination is a winner.

The Joy of Luggage-Free Hiking

One of the biggest benefits is walking without hauling your entire holiday on your back. Our main luggage is transferred between accommodations, so we only carry what we need for the day (and occasionally an overnight). Water, lunch, essential gear, some safety essentials and whatever else has survived my ongoing campaign to reduce backpack weight!

You are still a hiker. Your legs certainly know they have been hiking. But you are not carrying clothes, a tent, cooking equipment, toiletries and every other possession over every hill and through every forest. For us, luggage-free hiking makes the trip more enjoyable and more sustainable over consecutive days. It means less strain on the body, more energy to appreciate where we are and a considerably better chance that TAB and I will still be on speaking terms at the end of the hike!

The Boring Bits are Already Done

I enjoy planning a hiking holiday. I love researching destinations, looking at maps and imagining what each day will bring. What I enjoy less is trying to piece together multiple overnight options, luggage issues, connections and backup options in places I don’t know. A hiking company takes care of those moving parts. They design daily stages that are broadly achievable, select accommodation that works with you and the route and provide the practical info to get from A to B.

That local knowledge is particularly valuable on trails such as the Kumano Kodo and the Shikoku routes, where walking days can involve rural areas, limited public transport, and accommodation off the beaten track.

It removes a great deal of uncertainty without removing the adventure.

Support off the Beaten Track

Self-guided doesn’t have to mean completely on your own. Knowing there is someone to contact if we are lost, miss a connection, encounter a trail issue or need to change plans provides a reassuring safety net. Hopefully, we won’t need it. But on a long walk in another country, it’s comforting to know that support exists beyond a frantic internet search and Google Translate at 10pm on a Monday night.

This was part of what made our Kumano Kodo experience with RAW Travel feel so manageable. We had the independence we wanted, but we were not starting each day without a plan or backup. We anticipate the same balance with Auswalk for Shikoku.

Are There Drawbacks?

Of course. The biggest is cost.

Booking through a hiking company will usually be more expensive than arranging everything yourself. We are paying for their expertise, route planning, booking administration, luggage transfers, trip information, and on-ground support. If you enjoy detailed planning, speak the local language, and have plenty of time to research and confirm every stage, then you can absolutely organise your hiking trip yourself.

There is also slightly less flexibility before and during the trip. Accommodation is booked in advance, luggage needs to be ready at certain times, and you generally need to finish each day at the booked location. You can’t just wake up and decide to stay another night or completely change direction.

And while luggage transfers are the gift of the gods, they do require a little discipline. One piece and 20kg max means that. One piece and no more than 20kg. You also need to prepare physically, understand the next day’s route, carry the right gear, monitor the weather and make sensible decisions. Supported isn’t the same as chauffeured.

Why it Works For Us

TAB and I both work fulltime. We have limited annual leave and a range of family commitments (husbands, children, fur babies, etc). We have a strong preference for spending our holiday hiking rather than untangling logistics. Using a hiking company gives us confidence before we leave and support while we are away. It means the major pieces are in place, but the experience still belongs to us.

We will still walk every kilometre ourselves. We will still need to read the maps, navigate local transport, manage the hills, cope with the weather and find our way. We will still make the decisions, create the laughs and collect the stories.

We just won’t be dragging a suitcase up a mountain or trying to book tonight’s lodgings online from the side of the trail. For us, supported hiking is the best of both worlds. The freedom to have our own adventure, with just enough organisation in the background to allow us to enjoy it.

And honestly, if someone else is willing to make sure my clean clothes arrive before I do, I’m very happy to call that money well spent.

See you out on the trails

PJ 🙂

Shikoku Series: The Three BIG Gear Changes!

One of the biggest lessons I’ve learned from multi day hiking isn’t about fitness, climbing hills or how many kilometres you can cover in a day.

It’s about your gear.

For our Shikoku hike in October, I’m making three significant changes: my backpack, my boots, and my hiking poles. These are pieces of equipment that will affect every kilometre we walk, so getting them right matters.

My Backpack: Smaller and Lighter

My Macpac 32L backpack did exactly what I needed it to do on Kumano Kodo, but it also gave me plenty of room to carry things I didn’t actually need. And if there’s space in a backpack, I will apparently find something to put in it…

For Shikoku, I’m downsizing to a 20L pack. It’s smaller, lighter and should force me to be far more disciplined about what earns a place inside it. I’m not giving up the features that matter. It still has good back ventilation (which is absolutely not negotiable when you’re hiking for hours) as well as space for a water bladder and tubing, as well as enough room for all the safety and comfort essentials.

It just doesn’t have room for half my house.

The goal isn’t to have the lightest pack on the trail. It’s to have a comfortable, practical pack that carries everything I genuinely need, and nothing I don’t.

My Boots: A Scary and Different Change

My boots are probably the biggest change. Rather than sticking with a traditional hiking boot, I’m moving towards a lighter trail-hiking style while still keeping the ankle support of a boot. They have much more cushioning through the sole (handy when you have Morton’s Neuroma symptoms in one foot) and, importantly, more room in the toe box.

That extra space becomes incredibly valuable after hours on the trail. Feet swell, toes move forward on descents, and even a small pressure point can become a big problem after several days of walking.

Changing boots is very nerve-racking. My old boots are trusted friends. I know how they behave in the wet, where they might rub and how they feel after 8 hours on your feet. A new pair has to earn that same trust, so there’s absolutely no chance I’m waiting until a mountain trail in rural Japan to find out whether these ones are right.

My Poles: Smaller Can be Better

My new hiking poles aren’t necessarily much lighter than my current pair, but they pack down to a much smaller size. That might seem like a minor change, but when you’re travelling internationally and trying to keep your luggage compact, it makes a real difference.

They still need to provide the strength and stability I rely on, particularly on steep climbs, rocky descents and slippery trails, but they’ll be much easier to transport and store when they’re not in use.

Years ago, I thought hiking poles were for people much older than me. It turns out, those people were just smarter than me.

These days, I don’t hike without them.

Testing, Testing and More Testing

None of this gear gets an automatic ticket to Shikoku. The backpack, boots and poles will all be tested repeatedly during our training hikes before October. Not just one comfortable walk either. They need to prove themselves over longer distances, on hills, across different terrain and during back to back sessions.

I need to know:

  • whether the backpack remains comfortable after hours of walking;
  • whether 20L genuinely provides enough room;
  • how the boots feel once my feet are tired and swollen;
  • whether the cushioning holds up over longer hikes;
  • whether the toe box provides enough space on descents; and
  • whether the poles are easy to assemble, adjust, use and pack away.

Training hikes aren’t only about training my body. They’re where I test the entire system.

Because “brand new” doesn’t necessarily mean “better”, and Shikoku isn’t the place to discover that something doesn’t work.

Three changes. Plenty of testing. And hopefully, a lighter, more comfortable and much smarter setup for every step through Shikoku.

See you out on the trails.

PJ 🙂

Why We Chose Shikoku – Our Next Japanese Adventure

“You’re going back to Japan….AGAIN??” We’ve heard it more than once since booking our next hiking adventure. The answer is simple. Yes. Happily. And if someone offered us free business flights tomorrow, we’d probably already be packing.

Because sometimes you don’t go back to a place because you’ve run out of new destinations. You go back because it gave you something you can’t quite find anywhere else.

It All Started with the Kumano Kodo

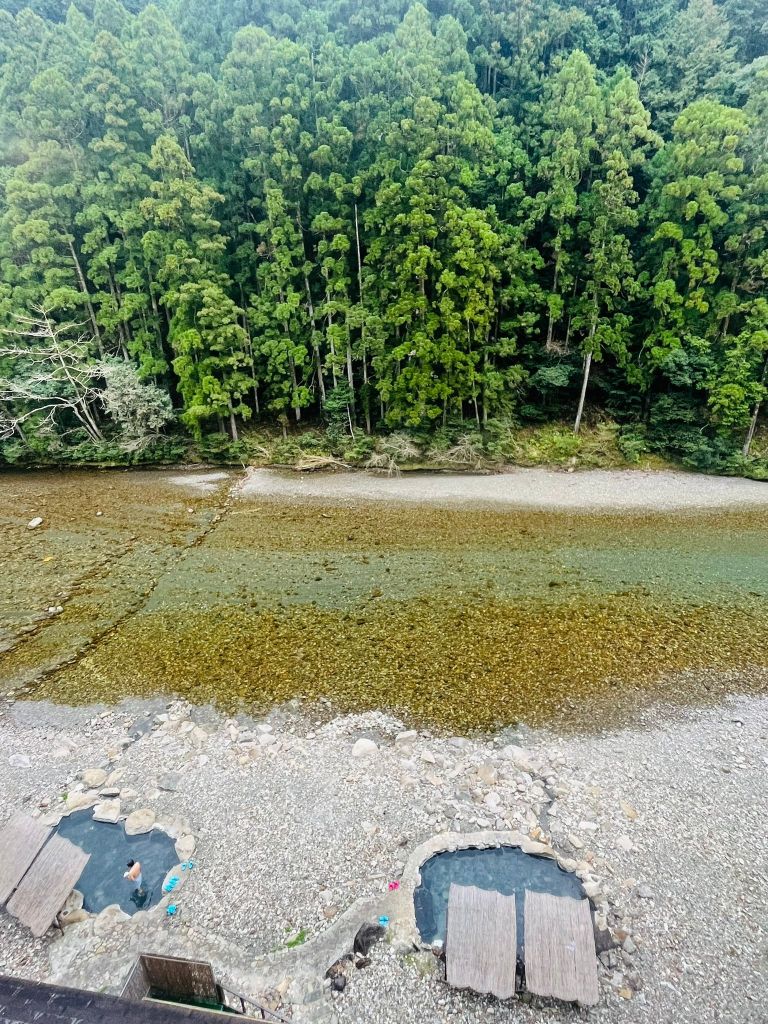
Back in 2023, TB and I spent nine incredible days walking sections of the Kumano Kodo on a self-guided hike. To say it exceeded our expectations would be an understatement. The ancient forests, tiny mountain villages, peaceful shrines, steaming onsens, incredible food and the genuine kindness of our hosts combined to create one of the most memorable travel experiences either of us has ever had.

It wasn’t just a holiday, it genuinely changed the way I looked at hiking.

I’d always enjoyed getting outdoors, but Kumano Kodo showed me that walking wasn’t simply about getting from A to B, it was about slowing down, noticing things, embracing discomfort, connecting with history and finding joy in the simple rhythm of putting one foot in front of the other.

By the time we flew home, we knew one thing for certain. We’d be back.

The Search Began…

Finding our next adventure wasn’t as simple as booking another Kumano Kodo trip. We wanted something new. Naturally, we started researching.

The Nakasendo Way

Nakasendo was probably our first serious contender. It links Tokyo and Kyoto through historic post towns, beautiful villages and centuries of history. It looked spectacular. But the more we researched, the more we realised it wasn’t quite the experience we were chasing. Many sections pass through open farmland and sweeping plains. Beautiful? Absolutely. But after experiencing the dense cedar forests, misty mountain paths and secluded villages of Kumano Kodo, we realised we were craving another immersive forest experience.

We wanted towering trees, we wanted moss-covered trails (not the stones tho -they were slippery suckers!). We wanted to finish the day soaking in an onsen after disappearing into the mountains.

Nakasendo is firmly on our list, but not this time.

Michinoku Coastal Trail

Next came the Michinoku Coastal Trail. Again, it looked incredible. Rugged coastlines, fishing villages, and dramatic ocean views. But then we both laughed. We live on the Gold Coast in Queensland, Australia. As stunning as the Japanese coastline is, we realised that if we were travelling overseas to hike, we wanted something completely different from what we see every day. The coast wasn’t calling us, the mountains were.

Nikko National Park

Nikko was another possibility. Beautiful forests, World Heritage temples, mountain scenery. It ticked a lot of boxes. The only problem? It’s really a two to three-day hiking experience. For us, travelling internationally is a significant investment, so we wanted something we could immerse ourselves in for longer. If we were making the trip to Japan again, we wanted a proper multi-day adventure.

Then We Discovered Shikoku

And suddenly everything clicked.

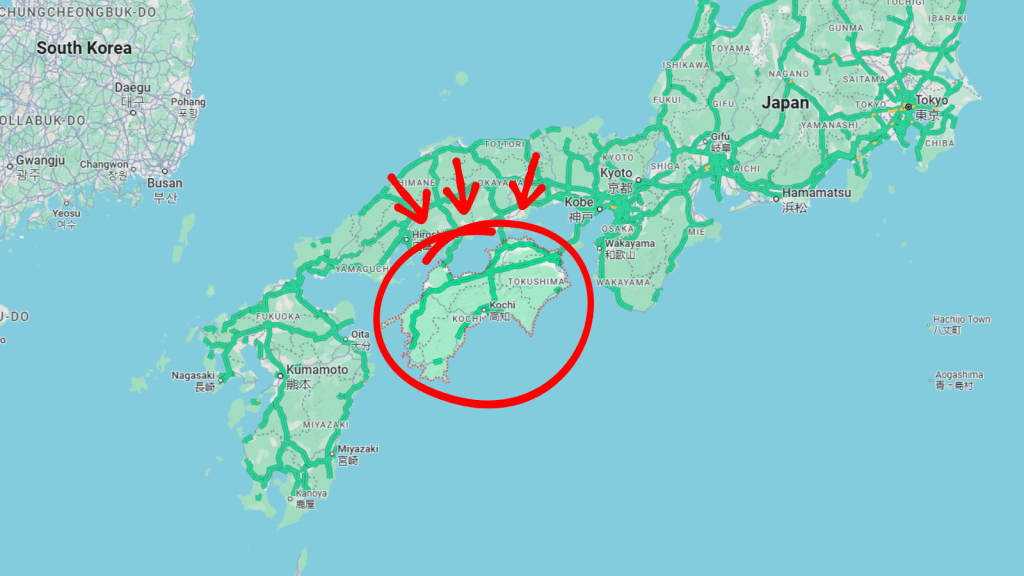
Shikoku is famous for its 88 Temple Pilgrimage, a remarkable circular route of around 1,200km connecting 88 Buddhist temples across the island. Pilgrims have been walking it for over 1,000 years. Some complete the entire circuit in 6-8 weeks. Some travel by bike. Some by bus. Some over multiple years. And many, like us, simply choose a section or three.

And that’s what appealed to us – we didn’t have to commit to the entire pilgrimage to experience its magic. The trail naturally lends itself to shorter adventures, allowing walkers to select sections that suit their time, fitness and interests while still experiencing the culture and spirit of the pilgrimage.

For TB and me, that flexibility made Shikoku the perfect choice.

Why Japan Again?

People often ask why we didn’t choose somewhere completely different – the Cotswold Way, Camino…or Canada??

The answer is simple. Because we both loved Japan. The hiking is exceptional. The food is amazing. The history is fascinating, and the culture is welcoming, respectful and endlessly interesting.

There’s something incredibly comforting about finishing a long day on the trail with a hot meal, a soak in an onsen and a quiet evening at a traditional ryokan. Japan also makes sense practically. From Australia, it’s a relatively easy international trip of around 10 hours, with minimal time zone changes, so we can enjoy an incredible hiking holiday without taking long blocks of leave or being jetlagged for a week. With around 10 days available, it strikes the perfect balance between adventure and reality.

And guess what? We have other adventures in England, Spain and the Dolomites lined up for future visits!

Our Shikoku Adventure Awaits

So, in a few short months, TB and I will spend 9 days walking selected sections of the Shikoku Pilgrimage. There’ll be forests, mountain climbs, temple visits, tiny villages, and probably some sore legs. Hopefully plenty of onsens. Almost certainly far too much delicious Japanese food.

Most importantly, we’re looking forward to slowing down again. Because that’s what hiking in Japan seems to do so well. It reminds you that sometimes the best journeys aren’t about seeing as much as possible, they’re about seeing a little more deeply.

And honestly, we can’t wait to see where the Shikoku trail takes us.

PJ 🙂
Building a Multi-Day Hike Training Plan That Fits Real Life

When people hear that TB and I are hiking around Shikoku in Japan this October, the first question is usually “how are you training for that?” The answer surprises them a little.

I’m not spending every weekend climbing mountains or running marathons. Instead, I’ve built a routine that fits around work, family, the doggos and life in general. Because I’ve learned that the best training plan isn’t the most impressive one, it’s the one you will actually stick to.

Shikoku 2026 is a multi-day hike, which means success isn’t about smashing out one huge day. It’s about being able to get up the next morning…and do it all again. Day after day. So, my focus has been on building endurance, strength and consistency.

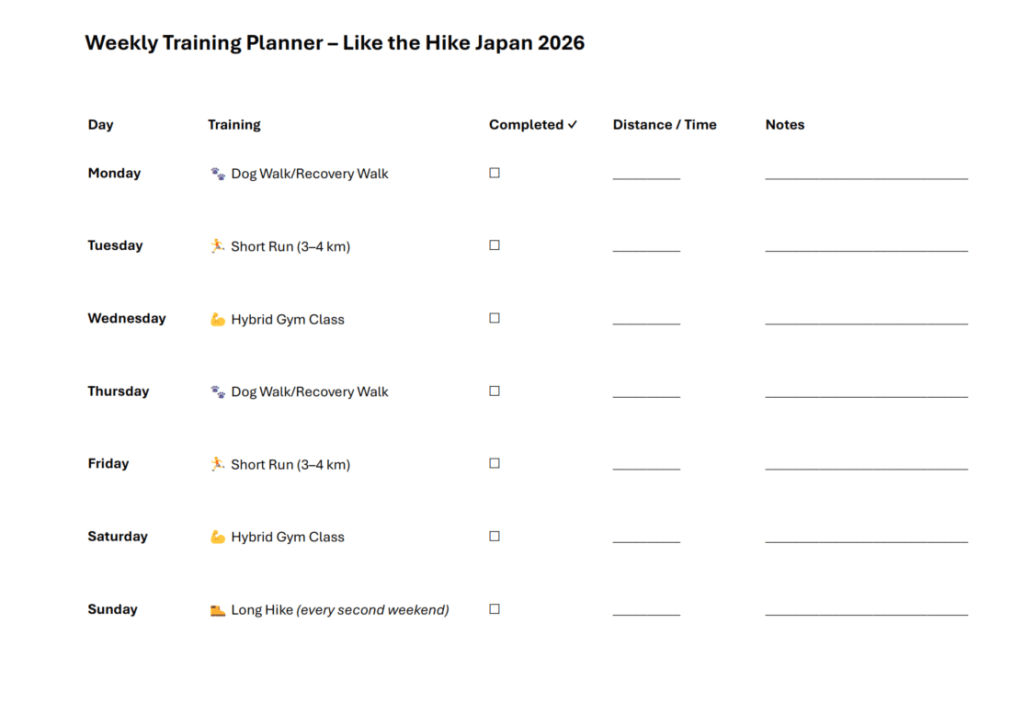
The Weekly Plan

My training isn’t complicated, but every session has a purpose.

1. Short Runs (3-4km)

A couple of shorter runs each week help build cardio fitness without taking up hours of my day. They’re long enough to get the heart rate up and keep the legs moving, but short enough to fit in before or after work. They’re also great for maintaining a base level of fitness between the bigger sessions.

Just to be clear, my ‘run’ pace is barely past a really fast walk pace, please don’t think I’m trying to beat a Gout Gout record!!

2. Hybrid Gym Classes

I belong to a local gym that offers a range of group classes, with slightly scary names like CC45, Body Pump, Core Fusion, WOW, and Team HIIT. What they all have in common is 45 minutes of strength training combined with cardio. For hiking, strong legs are important, but so are your core, back, shoulders and balance. Carrying a pack for multiple days (even if it’s only 5kg) places demands on your whole body, not just your feet and legs.

3. Long Hikes Every Second Weekend

Every second weekend is reserved for the most important session, a long hike of 10 km or more.

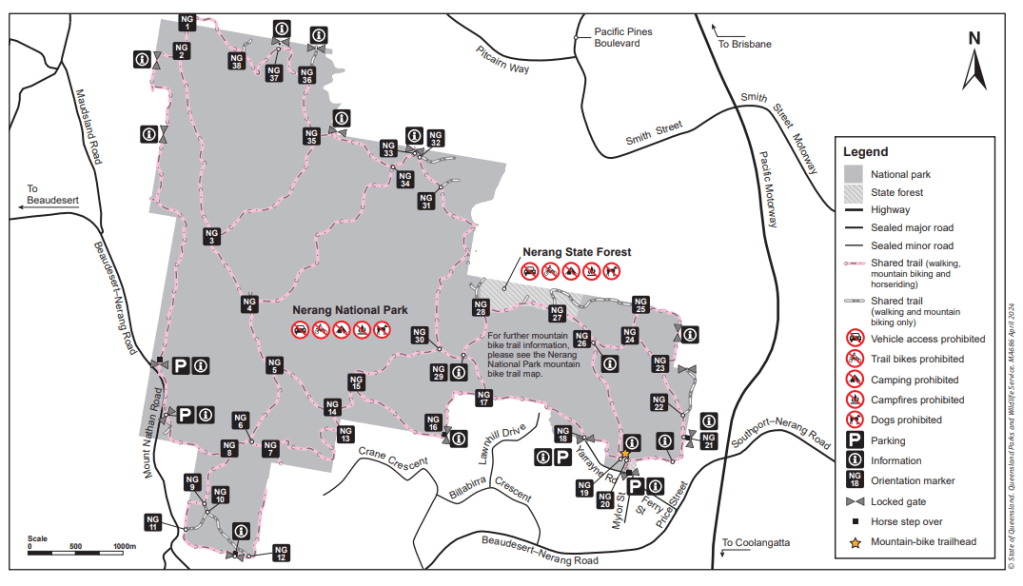
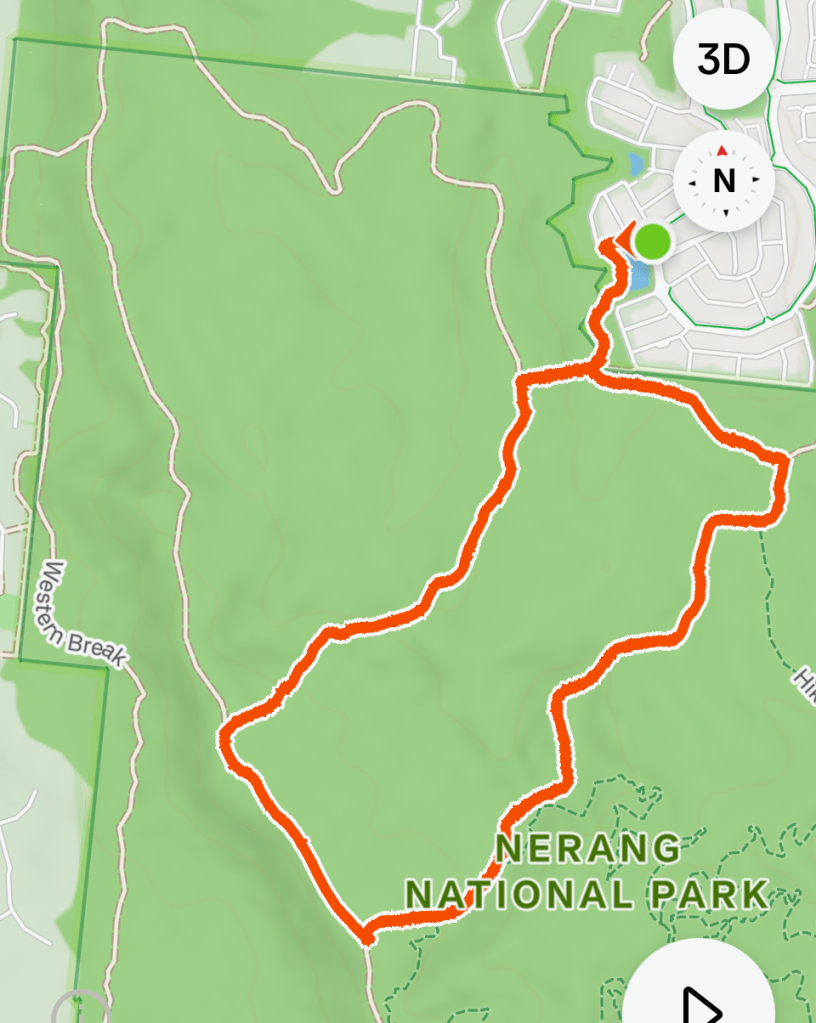
These hikes aren’t about speed. They’re about spending time on our feet (yep, TB is along, too!), learning what works, testing gear, wearing the backpack, experimenting with nutrition, and getting comfortable with being uncomfortable. We are mostly training in Nerang National Park for two reasons. 1) It’s close, so it works into a busy weekend, and 2) you’re either climbing up a hill or scrambling down one, so excellent conditioning.

It’s easy to find a 10+km section and get the distance done before lunch. Last weekend was a cheeky wee 8km intro hike, doing one of the loops in the NW corner.

4. Walking the Dogs

The final piece of the puzzle is probably the easiest and most enjoyable.

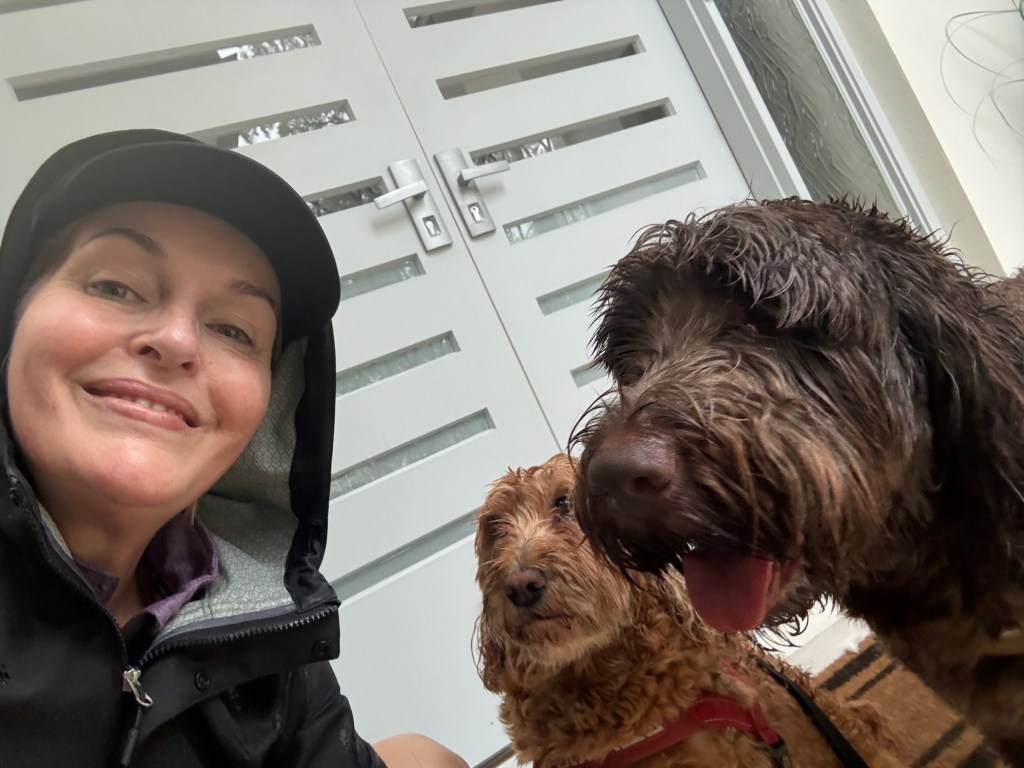
Regular walks with Moby and Maisie add extra kilometres without feeling like training. They keep me moving on recovery days, help loosen up tired legs and make sure I’m consistently active throughout the week.

Plus, the doggos seem to think every walk is an adventure, which is a pretty good attitude to have 🙂 (well, not so much Maisie on that rainy morning!)

It’s Not About Being Perfect

There’ll be weeks when work gets busy. There’ll be days when I miss a run, miss a gym class or swap things around. And that’s OK.

I’ve deliberately built flexibility into the plan because missing one session won’t derail weeks and weeks of preparation. What matters is getting back into the routine the next day.

Consistency beats perfection every single time.

Training for the Journey

The Shikoku pilgrimage isn’t just a physical challenge for TB and me. It’s also about slowing down. embracing simplicity, spending time with my sister and enjoying the journey. In many ways, the training reflects that.

The most fabulous training plan in the world won’t guarantee success on the trail. But turning up consistently, week after week, will give us the best chance of enjoying every step of our Shikoku adventure. And that’s exactly what this journey is all about.

See you out on the trails!

PJ 🙂
Our Next Adventure Begins!

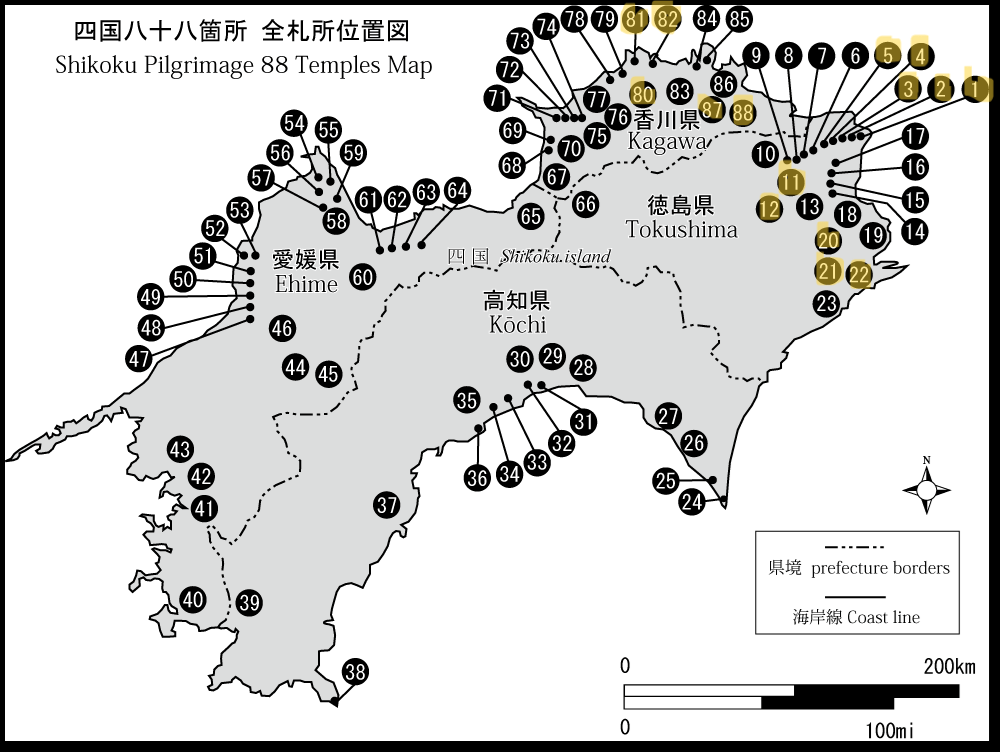
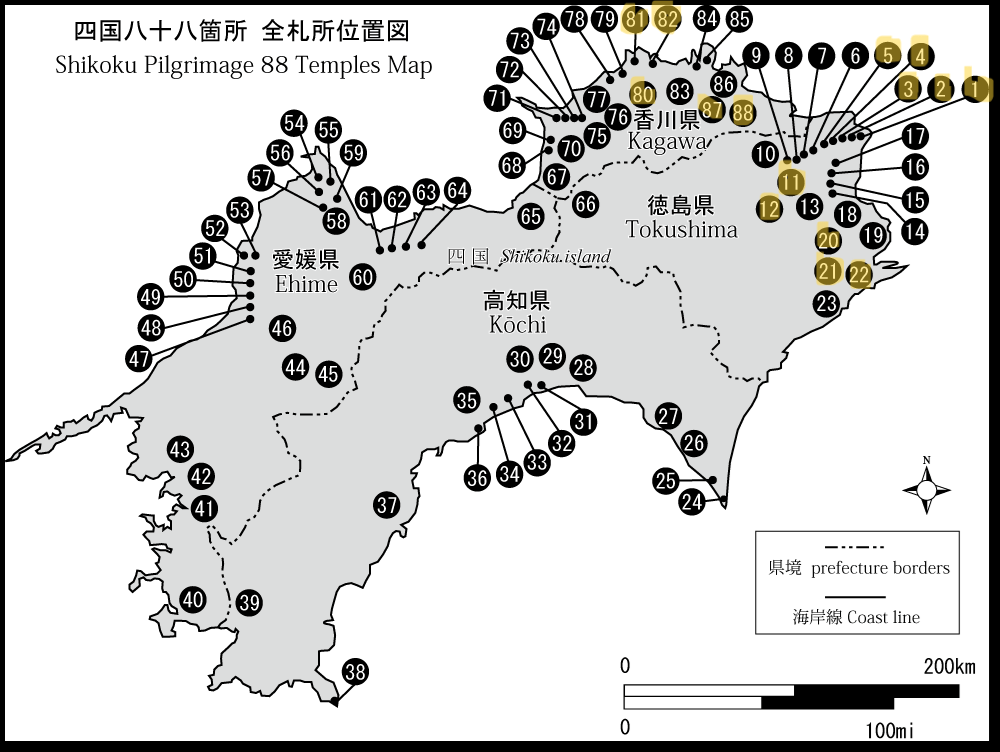
Well, we’ve done it. My sister TB and I have officially booked our next hiking adventure. In October 2026, we’ll be heading to Japan to walk sections of the famous Shikoku Pilgrimage, an incredible trail that winds its way around Shikoku Island, connecting 88 temples through mountains, forests, coastal villages and bustling towns. It’s a journey steeped in history, culture and spirituality, and one that’s been on our radar for some time.

We’re hiking the yellow coloured sections!

Now that the flights are booked and the countdown has begun, it feels real. And that’s where this new blog series comes in.

Why “Like the Hike”?

Over the coming months, I want to share the lead-up to our adventure, not because I’m an expert hiker, but because I’m not. I’m just an ordinary person with a fulltime job, a husband, two slightly spoiled dogs, a calendar that always seems fuller than I’d like, and a goal that’s just audacious enough to be exciting.

I don’t spend every weekend climbing mountains.

I don’t own every piece of the latest hiking gear.

I don’t have unlimited time to train.

Like most people, I have to fit adventure around real life. And maybe that’s why I love to write this blog.

Come Along for the Journey

This won’t be a polished travel guide or a “how to” from someone who’s conquered every famous trail. Instead, it will be an honest look at preparation, planning, training, gear decisions, the inevitable overthinking about what to pack, and, hopefully, a few laughs along the way.

I’ll be sharing things like why we chose Shikoku, how I’m training around work and everyday life, the gear I’m upgrading, and the gear that’s staying home, how we’re planning to travel carry on only (!), food, accommodation, and budget, the mistakes we’ll probably make even before leaving home and eventually, what it actually feels like to walk the trail itself.

If you’re planning your own adventure, I hope some of it helps. If you’re simply curious, I hope you enjoy coming along for the ride.

And if you’ve ever looked at a hiking trail and thought, “I’d love to do that one day”, maybe this series will show you that you don’t have to be an extraordinary trail athlete to enjoy an extraordinary adventure.

You just have to take the first step.

So…welcome!

We’ve got 11 weeks until we depart (eeeek!). Lots to prepare, lots to learn and a long walk waiting for us in Japan. The next blog will break down our training plan to make sure we are trail fit, along with stress-testing our gear (and our bodies!).

Until then, see you out on the trails.

PJ.

Warringa Pools: The Hidden Gem at the Bottom of the Falls

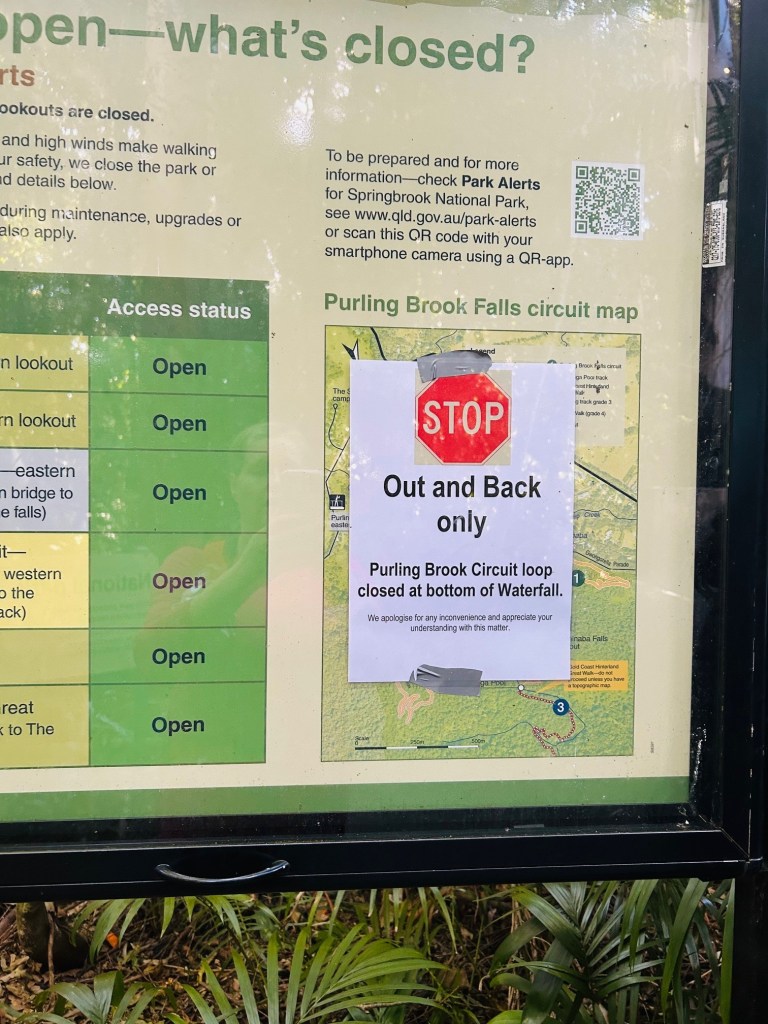
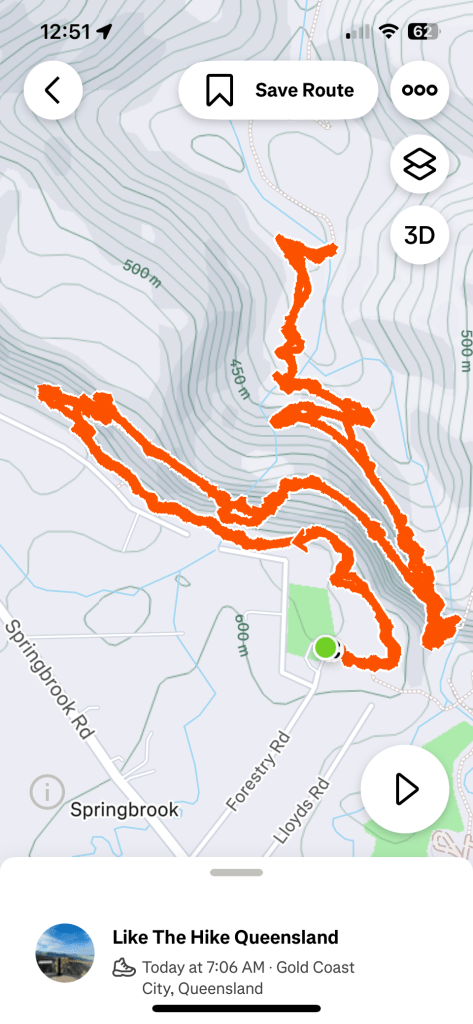
If you’re looking for a hike that really makes you feel your legs (and your lungs), then the Warringa Pools walk, part of the Purling Brook Falls Circuit in Springbrook National Park, is one to add to your list. I hit the trail early, hoping to do the full loop, but as it turns out, the circuit was closed at the mid-point. So instead of a loop, I ended up doing a “down and back”… and wow, what a down and back it was.

The Trail

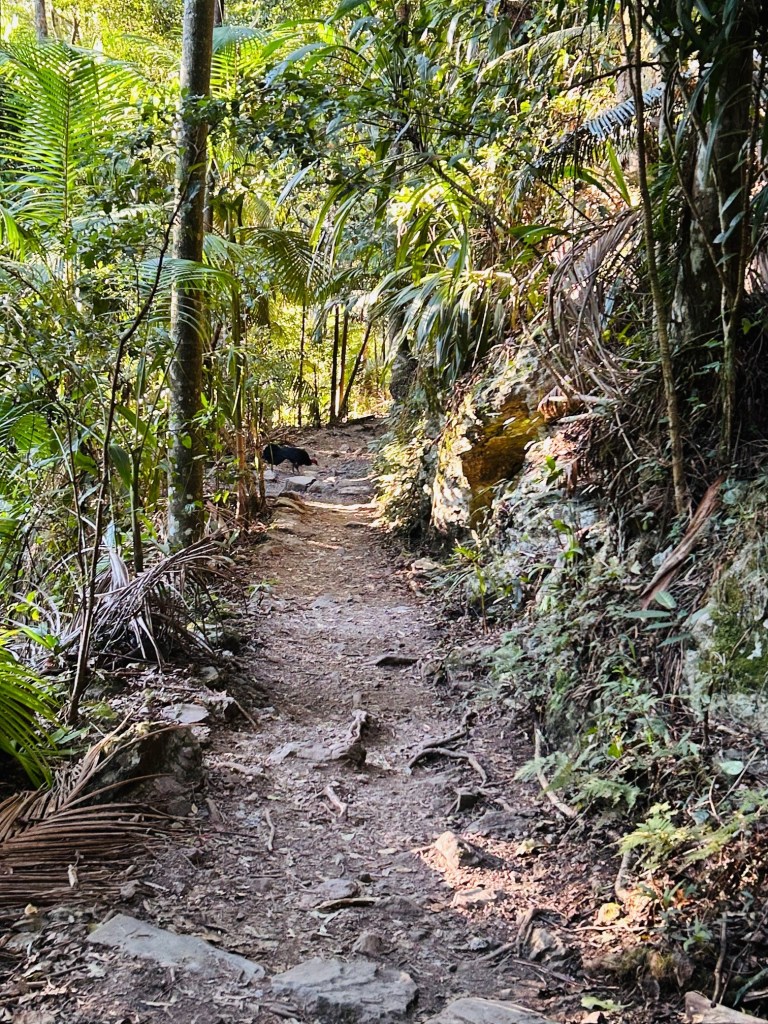
I started out on the Purling Brook Falls circuit, walking clockwise. Just after the 1 km mark, the descent really begins, winding down into the rainforest. Around 1.7 km I passed a very confident bush turkey, as they tend to be, strutting across the trail like it owned the place.

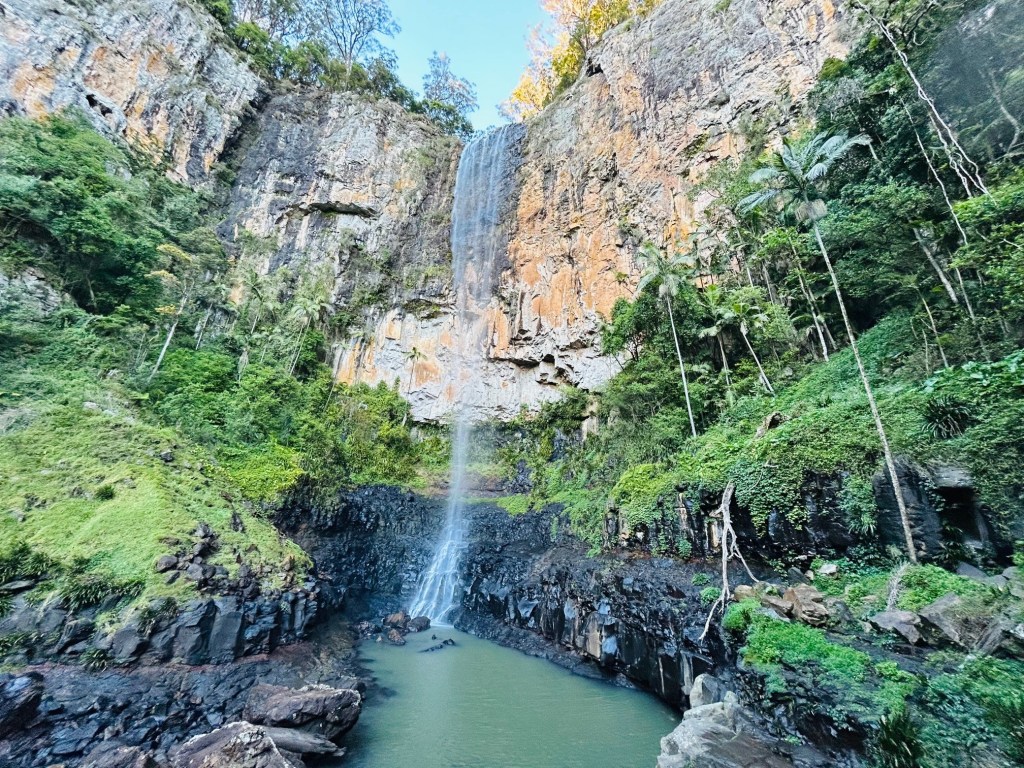
By the time I hit the 2.5 km mark, I’d reached Purling Brook Falls, also the turn-off for Warringa Pools. The falls were beautiful, even if a little underwhelming given all the rain we’ve had lately. Still flowing, but not the dramatic cascade I expected.

Once you’re in the gully, the air shifts. It’s damp, cool and a bit wild. The wind was whipping around where the water hits the rocks, adding to the atmosphere. The rainforest down there is proper Jurassic Park stuff.

To The Pools

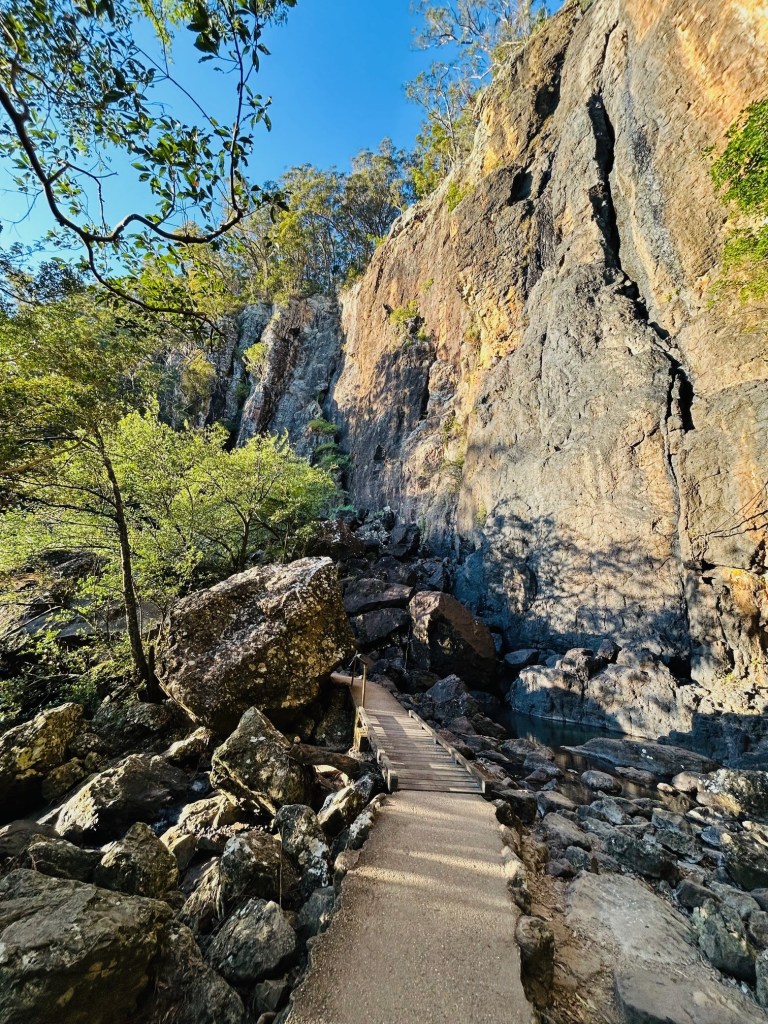
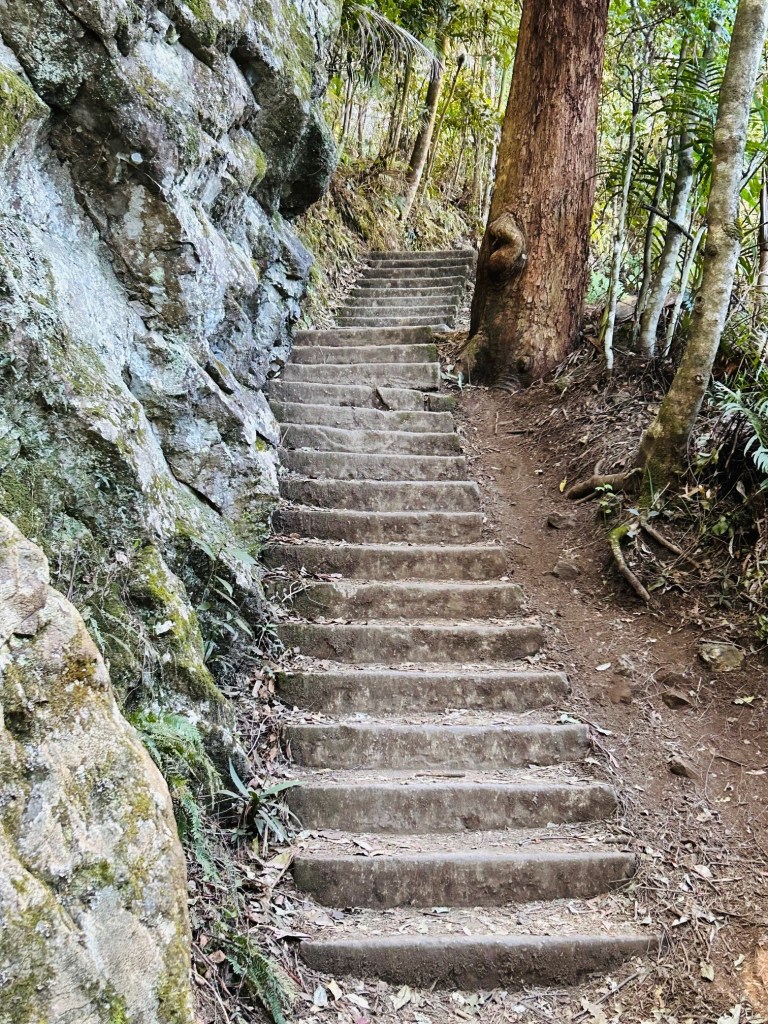
At 3.6 km you cross what I’m calling the Billy Goats Gruff Bridge, a sturdy little crossing that’s clearly built with care, like the rest of the trail. The path has been cleverly designed with mini steps and water runoff grooves to protect against erosion, especially with the recent rains.

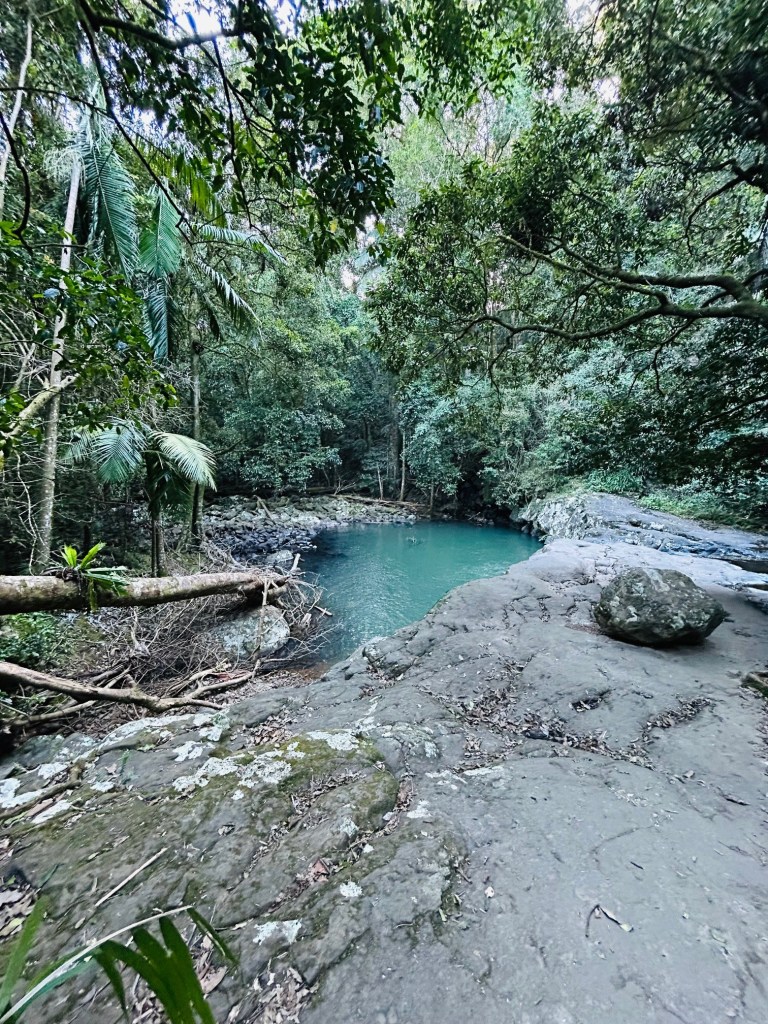
By 4 km I reached Warringa Pool, a perfect little oasis to stop, take a breather, sip some coffee, and enjoy the sounds of the rainforest. It’s a great reward for the effort of getting down there… because the real work is still to come.

And Back Up Again

The climb out is, quite honestly, a slog. About 4 km of constant uphill, gaining over 300 metres in elevation. That’s higher than the Eiffel Tower. I’m not saying I was climbing the Eiffel Tower in hiking boots, but it definitely felt like it. My heart rate was hovering around 150 bpm just to keep moving.

I was distracted (thankfully) by a chorus of birdlife, kookaburras laughing from the treetops, and what I think was a whipbird duet: the female answering with two sharp whips after the male’s call. Hearing her reply was a bit of a thrill as it’s rare to catch both ends of the conversation.

I made it back to the top at the 7 km mark, sweaty, satisfied, and very aware of my quads. The last stretch along the top was noticeably busier, with plenty of hikers starting their days. A reminder that the full circuit isn’t open right now, so if you’re planning the walk, check in advance or be prepared to double back like I did.

Final Thoughts

Despite not being able to do the full loop, this was a challenging and rewarding hike through one of the most beautiful parts of the Gold Coast Hinterland. The rainforest is lush, the views are stunning, and there’s something deeply satisfying about making it all the way down to a waterfall pool and then conquering the climb back out.

So if you’re up for a bit of a workout with some serious nature vibes, give this one a go. Just bring water, a snack, and maybe a second pair of legs for the walk back up 😉

See you next time out on the trails.

PJ.

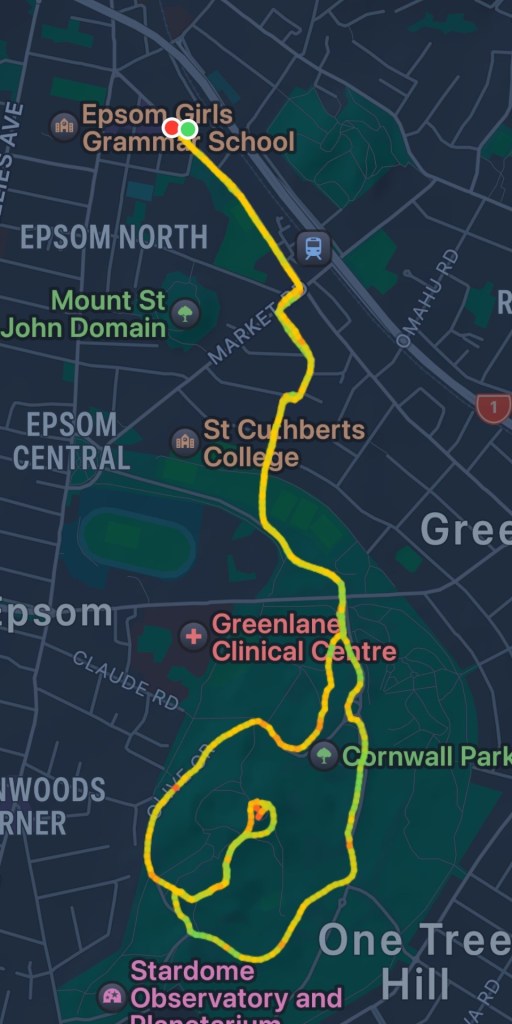
Urban Hikes – A 9km Autumn Wander in Cornall Park

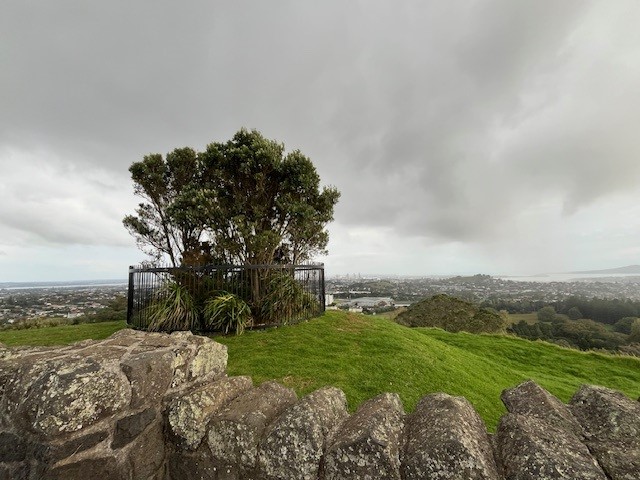
As the crisp bite of autumn rolls into Tamaki Makaurau (Auckland), there’s no better time to lace up your boots and head for one of the city’s most iconic walks, the loop through Cornwall Park and up to the summit of Maungakiekie, also known as One Tree Hill. The leaves are putting on their best autumn fashion show, there’s a gentle crunch underfoot and the sheep are living their best lives, like they own the place, which to be fair they kinda do.

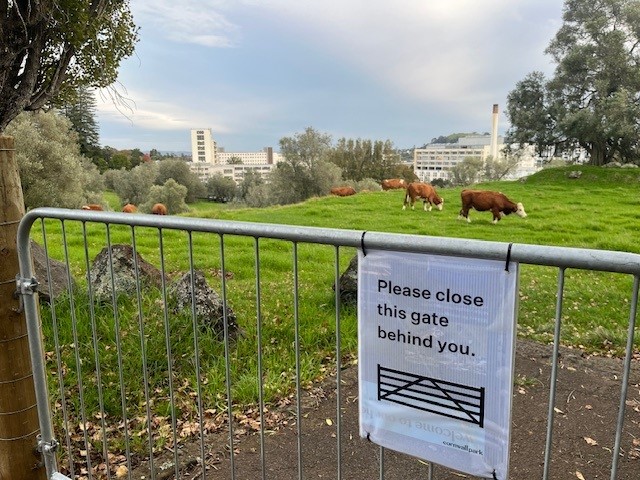
Cornwall Park in autumn is pure magic. Towering oaks, sycamores and liquid ambers are bursting into colour, paths wind past stone walls, grassy knolls and the occasional moo or baa remind you that you’re sharing the space with a range of original inhabitants. It’s a country getaway, minus the traffic, petrol costs and inevitable car snack disaster.

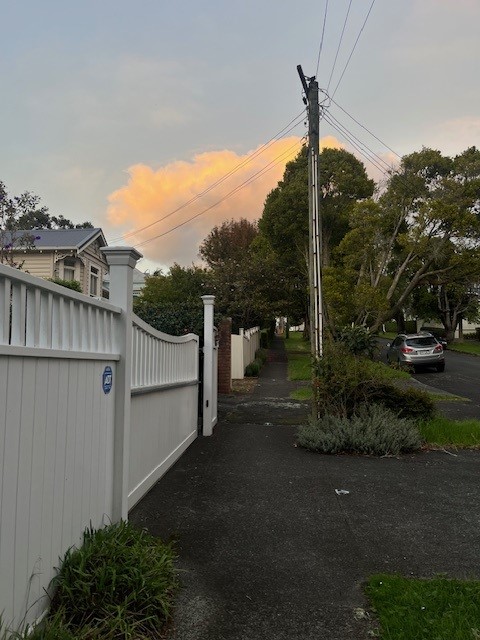
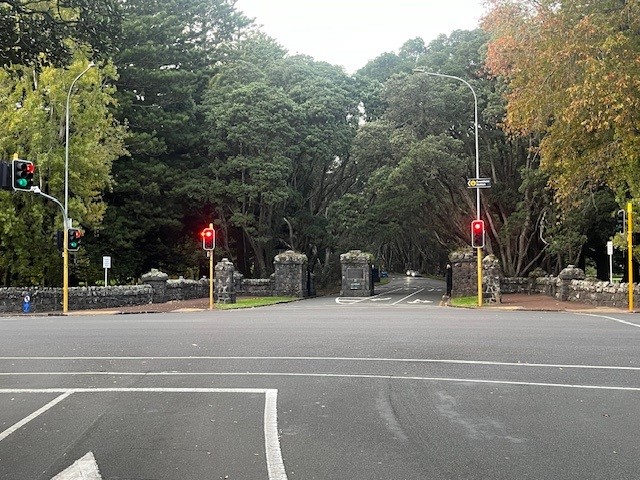
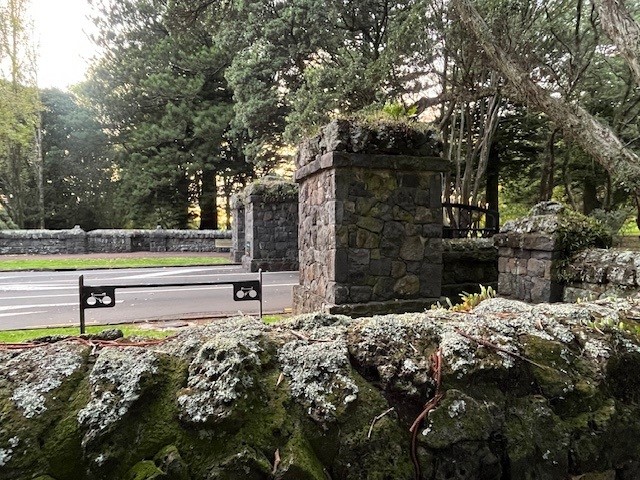
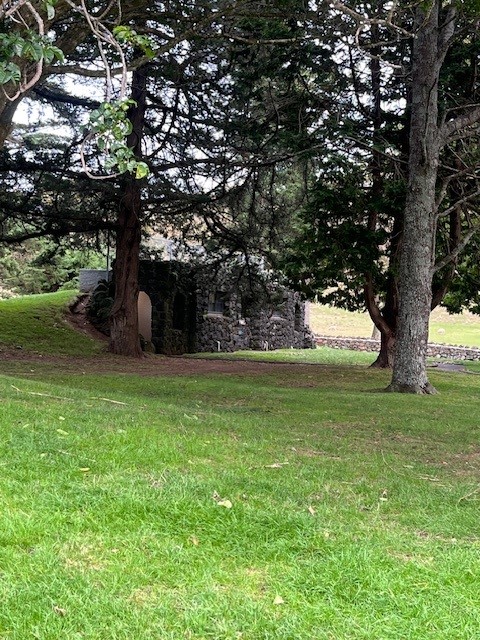
I started my 9km morning hike in Epsom and walked the quiet streets to an entry point for Cornwall Park, hidden away in a suburban cul-de-sac. Let Google Maps show you where you can walk, it’s surprising what pops up. Approaching the formal entrance to the park proper is rather imposing, with the liberal use of volcanic rock to welcome you.

The real climb befgins as you head toward One Tree Hill, and yes the name is a bit misleading these days. Maungaekiekie is not just a pretty volcano, it’s a place steeped in history and cultural weight. It was once home to one of the largest Maori pa sites in the region, with evidence of terracing and fortifications still etched into its slopes. Ngati Awa and later, Ngati Watua call this maunga home, and standing up there, you can still feel its mana.

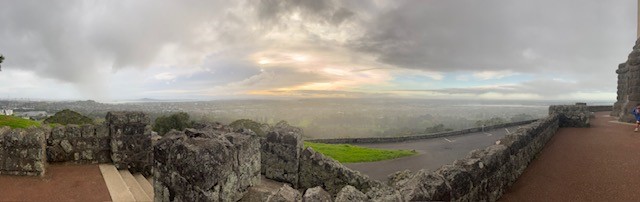
Pano view from the top – rather amazing morning

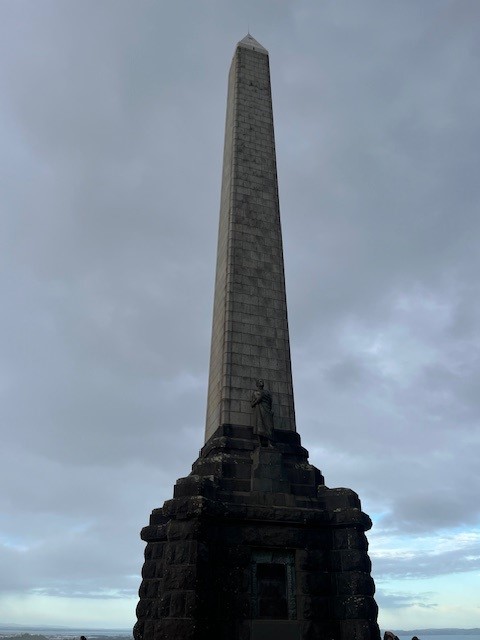
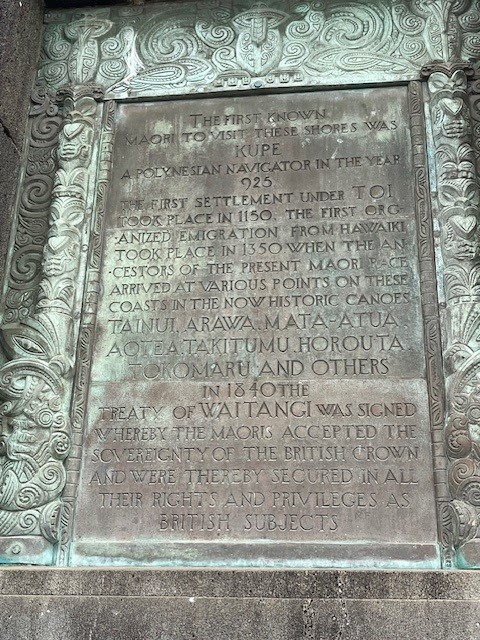
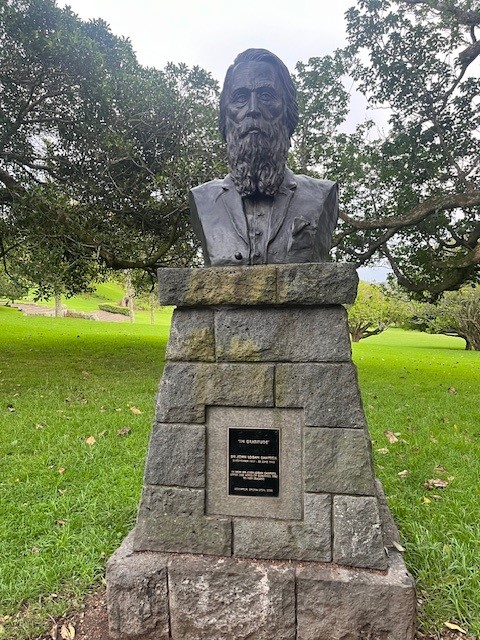
And the tree? That’s a story. The original totara was felled in the 1800s. A Monterey pine replaced it, standing proudly (if controversially) for decades until it was removed in 2000 after being damaged during protests. These days, the hilltop is mostly treeless, but the obelisk still stands tall, a monument to Maori, commissioned by Sir John Logan Campbell, who also donated the land that became Cornwall Park.

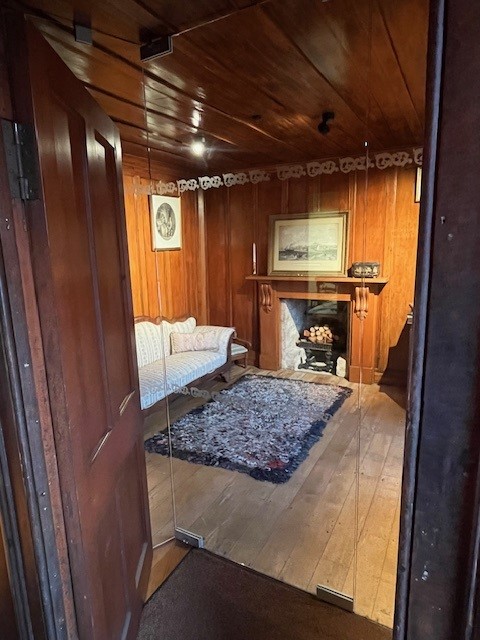
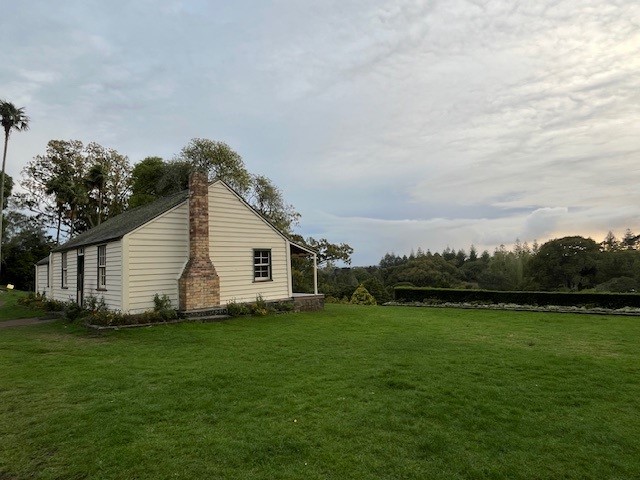
Speaking of legacy, don’t miss Acacia Cottage, nestled near the park’s main gates. It’s the oldest surviving wooden building in Auckland, built by Campbell himself in 1841. Stepping inside is just like walking into a time capsule, you can imagine what life might’ve looked like back when your sourdough came from necessity, not a pandemic hobby! It’s a perfect mid-hike break to soak up some settler history.

What makes this hike even better? It’s urban. No need to travel to the ends of the earth to get your nature fix. Urban hiking is the unsung hero of weekend adventures. It’s cheap, it’s close, and it comes with actual toilets, albeit disguised! You get the buzz of discovery without the panic of getting lost in the bush. And let’s be honest, exploring your own backyard feels good. It’s grounding. It reminds you that beauty, history and a bit of exercise are all within reach.

So, if you’re after a hike with heart, heritage and a side of sheep, pop this one on your list. Bring a mate, bring your dog (on lead please, the cows are sensitive), and enjoy the simple magic of walking where the city meets the sky.

Like the hike? You’ll love this one. See you next time out on the trails.

PJ.

Drink Like a Pro – How to Survive a Day Hike Without Becoming a Human Raisin!

So, you’ve decided to join an amazing group of individuals and conquer the great outdoors. Good for you! Whether you’re a seasoned hiker or the kind who thinks taking the rubbish out in the dark counts as “adventuring”, there’s one thing everyone needs to get right: HYDRATION.

But not all liquids are created equal, and what you sip can make or break your hike. Let’s dive into the world of liquids that will keep you going – and maybe even help you survive the great outdoors (or at least look impressive while you’re out there).

1. Water – The Classic Companion

First things first, let’s talk about water. It’s reliable, classic, and does exactly what it says on the label – keeps you hydrated. No surprise here; it’s your go-to liquid for a day-long hike and not negotiable.

My water pack is totally worth the investment!

But let’s be honest, water can be boring. It’s the liquid equivalent of a first aid kit – practical and essential but not exactly the life of the party. I will say, though, when I hiked the Kokoda Challenge for 15 hours, plain cold water transformed into the nectar of the gods.

PRO TIPS

  • Take at least 2 litres of water for a full-day hike. A single 500ml bottle just won’t cut it.
  • Fancy it up with an infuser. Throw in some mint, lemon, or cucumber slices, and you’ll be the poshest person on the trail. Your fellow hikers might roll their eyes, but hey, at least your water won’t taste like, well, water.

2. Electrolyte Drinks: The Athlete’s Secret Weapon

Yep, hiking is definitely a sport, and electrolytes are like water’s smarter, more athletic cousin. When you’re sweating buckets and feeling like you’re auditioning for The Survivor, your body loses more than just water – it loses electrolytes. These are the little ions responsible for things like muscle function and energy. A big deal, actually.

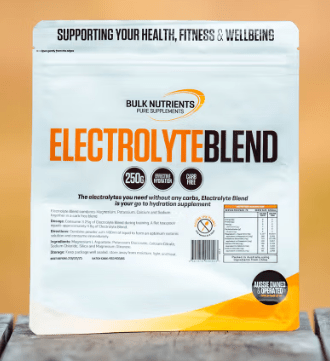
Look for sports drinks like Gatorade or Powerade, or go for a tablet or powder you can add to water on the go or before you start.

PRO TIPS

  • Don’t take electrolytes INSTEAD of water. Take both. For longer hikes, I use a dual bladder from Kathmandu. Epic game changer.
  • Watch sugar content. Some sports drinks are basically sugar disguised as ‘performance enhancers’. You don’t want to crash 45 minutes into your hike because your electrolyte drink is a lolly in liquid form.

3. Tea and Coffee: Could be the Buzz that Backfires

Ahhhhh, coffee. The liquid motivation that gets me out of bed, into my hiking boots, and out the door. Tea is also a very civilised choice for a little caffeine kick. BUT – and this is a big BUT – these liquids have a dark side. Caffeine is a diuretic, which means it will have you looking for the nearest bush more than once.

However, I run the gauntlet because I LOVE a coffee break on a day hike. And, let’s be honest, hiking must be about what you enjoy. I found a fantastic little thermos in Japan when hiking Kumano Kodo, and I’m now a devotee of coffee whenever and wherever I hike. I’ve made peace with the fact that a quick wee behind a tree is all part of the fun.

Say hello to my two coffee carriers…blue and green!

4. Coconut Water: The Trendy but Worthy Pick

Coconut water is like the Insta influencer of hydration. It’s everywhere, it looks incredible, and it swears it will change your life. But surprisingly, it’s not just a fad. Coconut water is rich in potassium and electrolytes, making it a decent option for rehydrating on the go.

PRO TIPS

  • It’s not going to quench a heavy thirst like water or a sports drink. It’s more like a bonus drink – the one when you’re taking a breather and feeling a bit extra.
  • I really don’t like lukewarm coconut water; it’s like drinking…blerk. Get yourself some 300ml sizes, freeze them, and enjoy them on the trail once they’ve thawed. They can also keep food cool – how clever is that!

5. Soup: Yep Soup!

You didn’t misread me. Soup can actually be an incredible hiking liquid, especially if you’re trekking in cooler climates. Imagine you’re halfway through your hike, and instead of slurping boring old water, you pull out a thermos of warm, savoury goodness. Hydration and calories in one go – you can thank me later 😉

PRO TIPS

  • I would recommend avoiding chunky soups; blended soups are best. There’s nothing worse than a log jam in the thermos as you try to shake it out and end up wearing it.
  • Watch temperatures. My little Japanese thermos is a beast for keeping fluids at entry temperature, so don’t pack a scalding soup – go for soup on the warm side; otherwise, you won’t be drinking it until you’re driving home.

6. Avoid Soft Drinks or Sugar Fixes

You might be tempted to chuck a fizzy drink or energy shot into your pack, but hold your horses. Soft drinks are loaded with sugar, which leads to an energy spike and inevitable crash, usually at the worst moment. Imagine being halfway up a mountain and realising you have the energy of a sloth in slow motion.

As for energy drinks? Unless you want your heart racing faster than a Swiftie with a VIP meet and greet pass – leave those at home. Save the heart-pounding excitement for when you see that “danger cliff edge” sign.

Te Mata Peak in New Zealand, now that’s a cliff edge!

Wrapping It Up: Hydrate or Hike NOT

So, water is your MVP, but a bit of variety (electrolytes, coconut water, soup) can spice things up – without turning you into a mobile sugar factory. Plan ahead, sip smartly, and your hike will be a great memory rather than a nightmare.

I’m keen to hear what you think your ‘ride or die’ hydration options are when you’re out hiking, comment below and lets see what new ideas we can come up with 🙂

See you out on the trails, and may your bottle never run dry.

PJ

Trail Mix and Chill: Six Snack Ideas to Keep you Hiking and Happy

Hello fellow hikers/foodies! As Queensland is fully into summer (even though we are officially still in spring), my hiking plans are in hiatus for a couple of months due to my aversion to ticks, leeches and hiking in 32 degree heat. Never fear, we have lots to talk about, including the fuel that will get you from start to finish feeling great!

When you hike, what you take in your backpack is just as important as the trail itself. Every item serves a purpose, from water to a whistle, but few are as crucial as your food choices. The right snacks will fuel your body, keep you energised, and ensure you enjoy the adventure to its fullest. Whether you’re tackling a short day hike or a multi-day trek, here are my top six food items that I take along and why they are my ‘ride or die’ choices.

1. Nuts and Seeds: The Ultimate Energy Booster

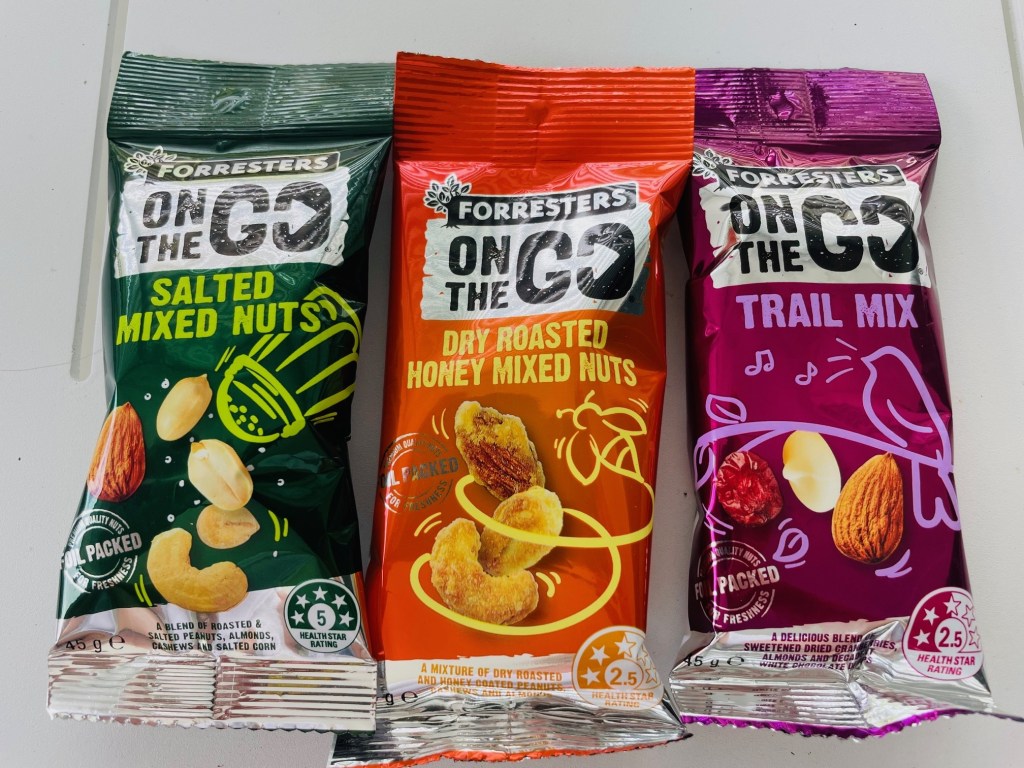
Nuts and seeds are powerhouses of nutrition, offering a perfect balance of healthy fats, protein, and carbohydrates. They’re lightweight, easy to pack, and don’t require refrigeration, making them an ideal hiking snack. A handful of almonds, walnuts, cashews, or mixed seeds can deliver a concentrated source of energy, which is essential for hikes when you need sustained fuel.

Why it’s essential:

Energy Dense – high in calories, perfect for refuelling on the go

Healthy Fats – keep you feeling full and satisfied

Protein Packed – supports muscle repair and recovery, especially during strenuous hikes

You can create your own trail mix (or scroggin, as Aussies and Kiwis call it) by combining nuts with dried fruits and chocolate for an extra energy kick. Opt for unsalted nuts to avoid excessive thirst, and try different combinations like pumpkin and sunflower seeds to keep things interesting.

2. Dried Fruits: Natural Sweetness for a Pick-me-Up

Dried fruits are nature’s lollies, providing a quick burst of sugar easily digested and converted into energy. They’re rich in vitamins, fibre, and natural sugar, making them a perfect companion to more protein-heavy snacks like nuts.

Some of the best dried fruits for hiking include raisins (small but packed with energy), apricots (high in potassium, important for electrolyte balance), dates (excellent for slow-burning energy and fibre) and banana chips (crunchy and sweet!).

Why it’s essential:

Fast Energy – replenishes sugar levels when energy dips

Lightweight – easy to pack and carry

Nutrient Dense– rich in vitamins and minerals

3. Jerky: Protein for Muscle Repair

Whether meat or plant-based, jerky is a high-protein snack perfect for the trail. Protein helps maintain muscle strength and aids in recovery, especially during longer or more challenging hikes.

A biltong style product available locally and delicious!

Since it’s dehydrated, jerky is lightweight and non-perishable, making it easy to carry for extended periods.

Why it’s essential:

Protein Rich – helps prevent muscle breakdown

Long Shelf Life – doesn’t require refrigeration and can last for weeks

Salty Goodness– contains sodium, replacing electrolytes lost through sweat

Choose a low-sodium jerky if you’re hiking in conditions where dehydration is a concern. Vegan and plant-based jerky options made from soy or vegetables are also available if you prefer a meat-free option.

4. Energy Bars: Compact and Convenient Fuel

Energy bars are designed specifically for active people, making them an ideal hiking food. They’re packed with essential nutrients like carbohydrates, fats and proteins in a small, easy-to-carry form.

Bars sitting in my pantry that come hiking with me (ignore expiry date on paleo bar!)

Whether you prefer muesli bars, protein bars, or whole food bars, these snacks are perfect for refuelling quickly and efficiently on the trail.

Why it’s essential:

Convenient – easy on the go, no preparation required

Nutrient Packed– offers a balance of carbs, protein and fats

Portion Controlled– helps manage your energy intake without over eating

Look for bars that are free from artificial additives and high in natural ingredients like oats, nuts and seeds. Avoid bars with too much sugar, as they can cause an energy crash later on.

5. Nut Butters: A Versatile Source of Energy

Nut butters are not only delicious but offer a great source of protein, fats, and carbs. When paired with celery or apples, they provide sustained energy, which is important for longer hikes.

Nut butters also come in single-serving packs, making them easy to carry and consume.

Why it’s essential:

Sustained Energy – combines fats and protein for long-lasting fuel

Versatile– eat it on fruit, veggies, bread or solo

Portable– single-serve packets are lightweight and easy to carry.

Prepare nut butter and apple/celery “sandwiches” ahead of time and pop them in a container for easy transportation and access.

6. Tuna Pots: High Protein with a Teeny Tiny Spoon!

Tuna pots or other pre-cooked options provide hikers a high-protein, filling option. They are convenient, lightweight and packed with omega-3 fatty acids, which help reduce inflammation and support heart health – essential for maintaining stamina during prolonged physical activity.

Why it’s essential:

Protein Rich – helps with muscle repair and keeps you feeling fuller longer

Omega-3s-supports overall health, especially heart health

Convenient– ready to eat and easy to pack, often available in flavours

Keep an eye out for packets that come with a spoon or easy-open designs for ultimate convenience, or you can make your own tuna, chicken or salami snacks to munch on.

Bonus Tips for Packing Hiking Snacks

When packing for a hike, it’s not just about the food you choose but also how you carry and consume it. Here are a few tips to help you make the most of your hiking snacks:

1. Portion Control

Pack enough to keep you energised, but avoid overpacking as extra weight can be a pain. Pre-portion snacks into small baggies or containers so you know how much you’re consuming.

2. Stay Hydrated

While food is essential, don’t forget about hydration. Many of the snacks I’ve mentioned are salty or dense, so fluid is key to staying in top form.

3. Mix and Match

Keep your taste buds tingling by catering to both sweet and savoury. Pair jerky with dried fruits or nut butter with celery. I sometimes take sushi or a salad wrap out on day hikes to keep snacks varied and something to look forward to at break time.

4. Leave Nothing but Footprints

Always make sure your wrappers and rubbish come back out with you. Our national forests are entrusted to us as hiking custodians – make sure you honour that trust.

5. Test New Snacks!

I can’t emphasise the importance of this tip. If you want to take a new snack, try it out ahead of time. This will avoid any nasty digestive surprises caused by food that might not suit you. Trust me; toilets out on the trails are few and far between…. 😮

So, whether you’re a seasoned hiker or just starting out, the right food can make all the difference in your hiking experience. From energy-boosting nuts to protein-packed tuna, these top six hiking snacks will keep you fuelled, energised and ready to tackle whatever trail you choose. So, next time you pack for an adventure, be sure to include these essential foods and enjoy your hike to the fullest!

See you out on the trails

PJ

PS – these suggestions are my opinion only. I am not a nutritionist and wouldn’t presume to give you dietary advice. Please speak to your doctor if you have specific dietary needs or health concerns.

Ships Ahoy and Ticks Galore!

Tackling the Ships Stern Circuit in Lamington National Park

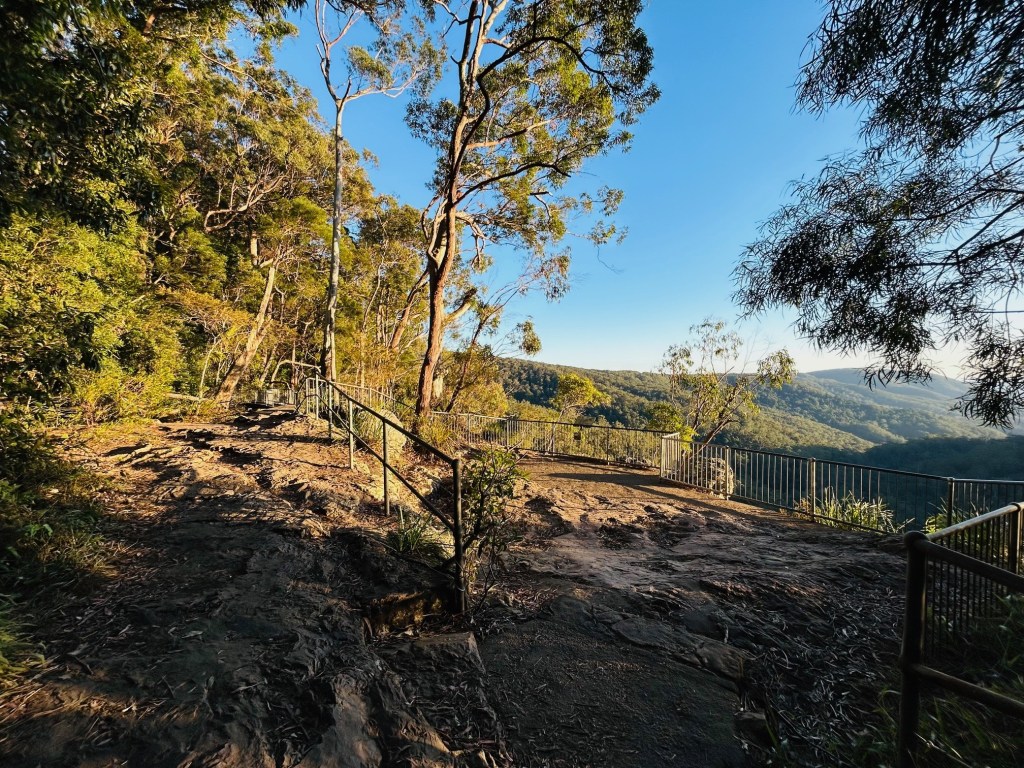
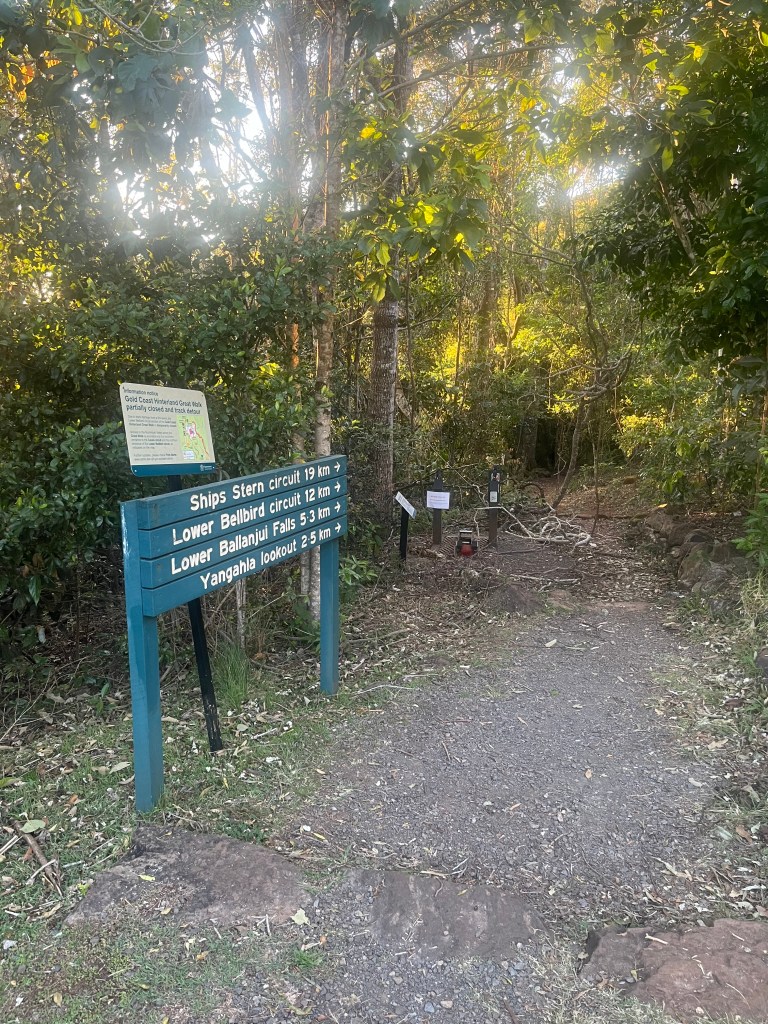
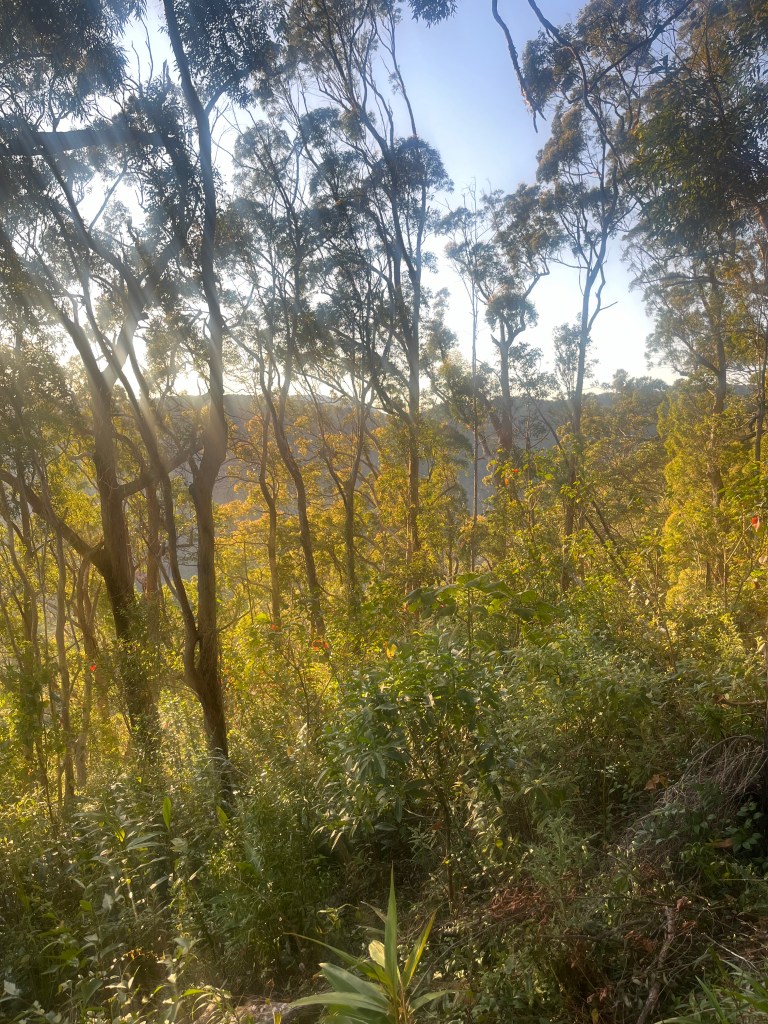
Ahoy fellow hikers! Welcome back to another grand adventure, this time exploring one of Queensland’s treasures – the 20km Ships Stern Circuit in Lamington National park. A mere 70 minute hop from the Gold Coast, this park is part of the majestic Gondwana Rainforest, covering over 366,500 hectares of pure hiking heaven.

I’ve dallied with parts of Ships Stern before but never braved the full 20km loop. Well, today was the day! What could possibly go wrong, right? Spoiler alert: I didn’t anticipate the unseasonable heat, or the final unwelcome hitchhiker.

First Stage: Downward Delight (And Spiderweb Swords)

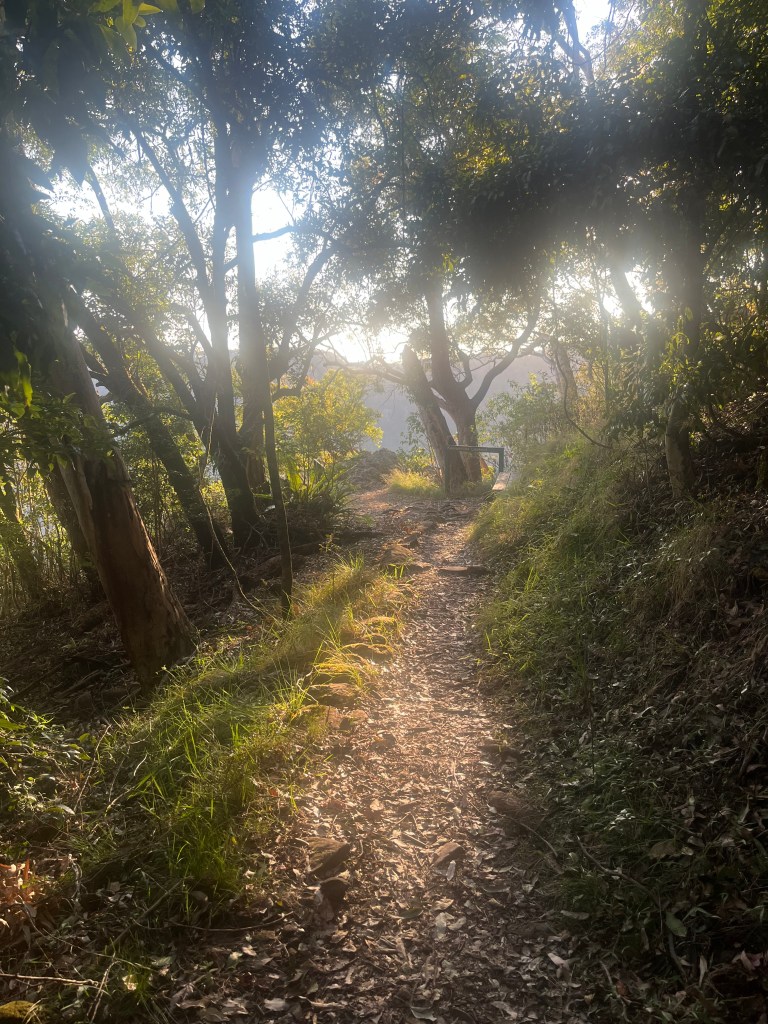
Being the clever clogs that I am, I arrived before 5.30am and parked at the top of the park near the Binna Burra Cafe, giving me an easy downhill finish to the hike. Plus, with a forecast of over 33 degrees Celsius, I wanted to beat the midday heat.

The first part of the trail was a lovely, gentle descent, perfect for soaking up the early morning rays….and as it turns out, spiderwebs. Oh, the webs! I became an impromptu samurai, waving a stick to fend off what felt like an entire arachnid population weaving across the trail! Note to self -arriving early means you get the fresh webs, lucky me.

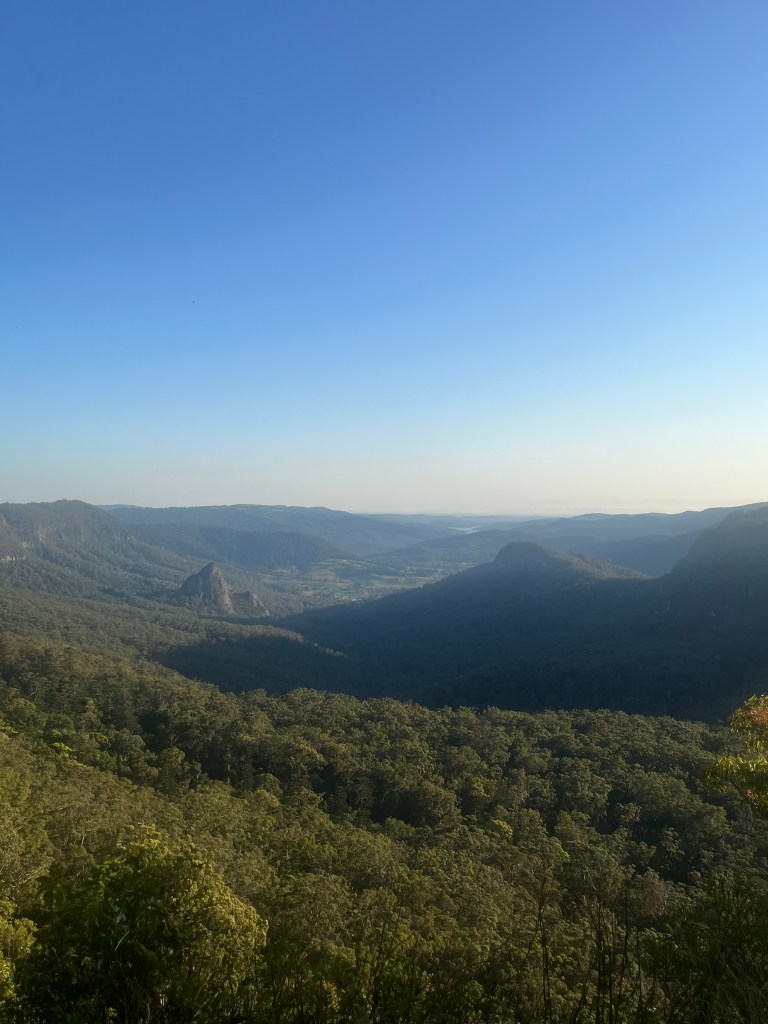
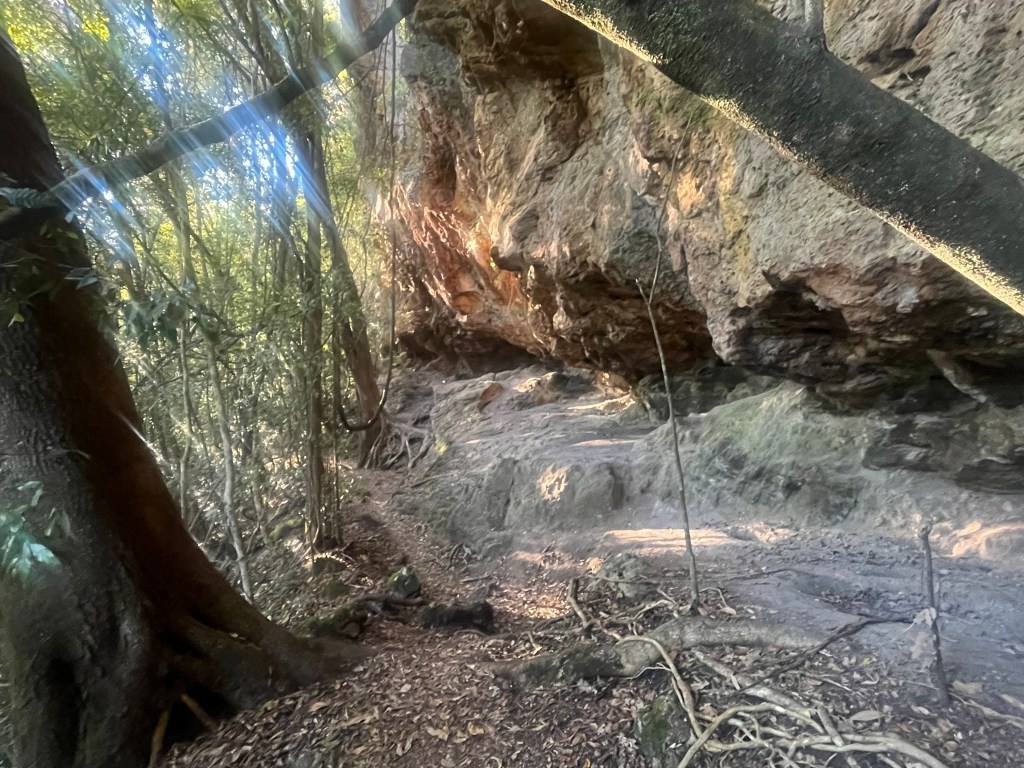
At about 1.5km in I hit my first dry creek crossing and took in the beautiful views from Koolanbilba Lookout. The trail became steeper as I continued, but I couldn’t help pausing at a natural cave around the 2.6km mark. Who else had sheltered her over the centuries? I felt like an explorer uncovering new lands and treasures – until I remembered I was actually just sweaty and armed with a samurai spider-stick.

Second Stage: Snakes, Sticks and Stunning Views

By the time I hit the 6.5km mark, I started the uphill slog. Let’s be real, I was a little nervous that the rest of the hike might be all uphill from here – but hey, what’s life without a a challenge?

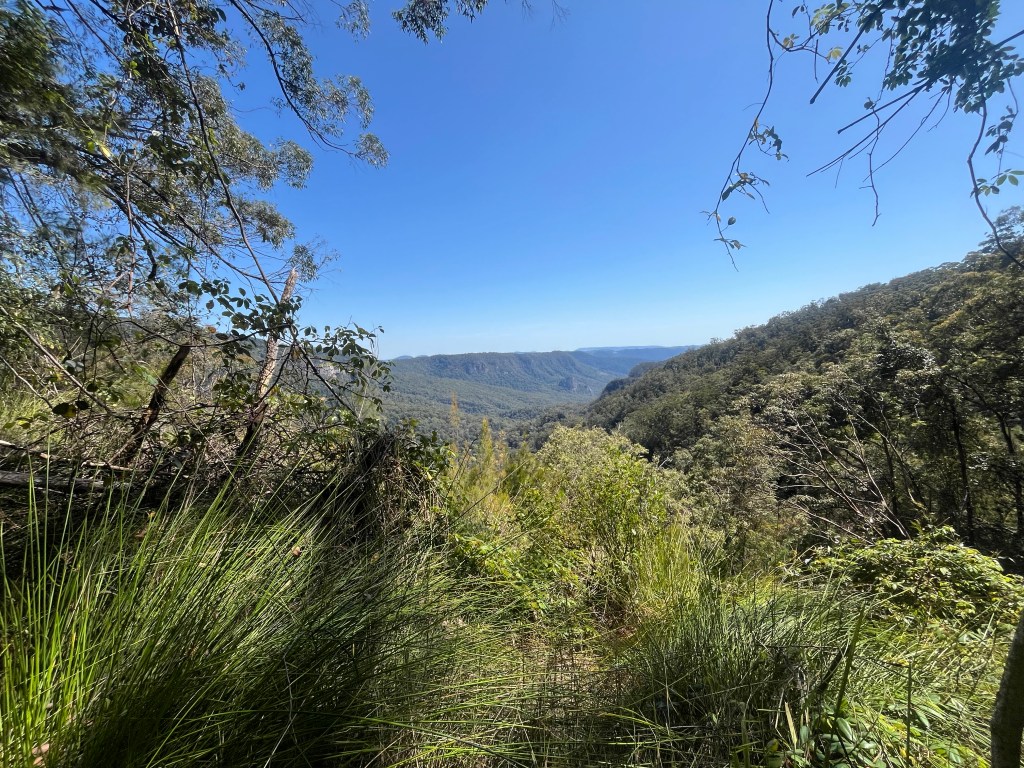
As I trudged upward, the trail opened up to spectacular valley views with grassy vistas, and I swapped my cobweb stick for a snake stick. in Queensland’s spring heat, snakes are out and about looking for love. Fortunately I only encountered one tine brown snake and it slithered away quicker than I could say, “NOPE!”

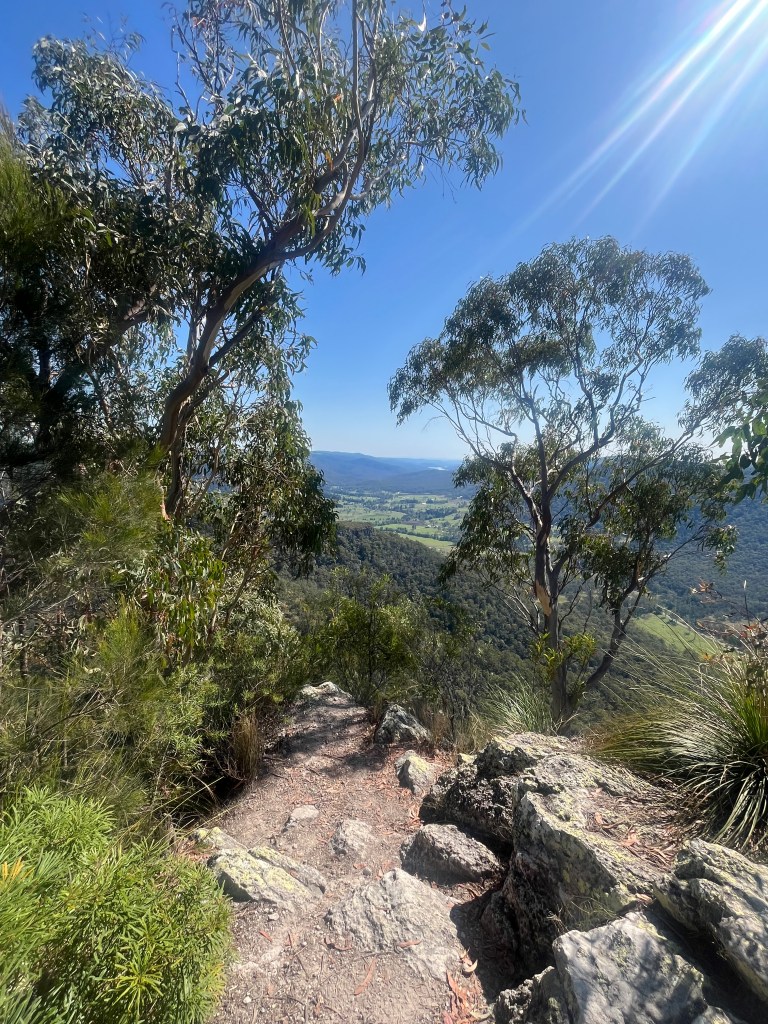
At 8.5km, I arrived at Charraboomba Rock, a stunning rocky outcrop with heart-stopping stairs that cling to the edge of the cliff. Heights aren’t my thing so I skipped this side adventure. Brave souls, you’re on your own for that one! I still had amazing views, so all was well.

Third Stage: Cliff Views and Cliffhangers

At 10km I found a perfect log for my snack break. Just me, my salad wrap, chocolate bar, and the valley stretching out below. I took the opportunity to spray myself liberally with insect repellent, than goodness for that decision as the next part of this tale will reveal!

Feeling refreshed, I set off again, only to find the second stunning lookout just 500m later. Could’ve had my breakfast with an even better view, but oh well! I had a sit and a look, and then continued along the trail, enjoying the breath-taking scenery and the stillness of the morning completely to myself. So far, I had not seen another soul on the trail – a very special experience.

By now I was halfway through the circuit and starting the long trek back. Around the 13km mark, I began the final ascent. I knew that the last 2km would be downhill, but getting there was a sweaty grind – happily the views made it worthwhile.

At 15km I took a breather at Nagarigoon Falls – the only ‘falling’ waterfall I found. Not a huge amount of water, but hey, it was still peaceful and pretty.

Fourth Stage: The Downhill Stretch (And… The Incident)

Finally, I reached the marker for the Border Track and the start of the downhill section, just 2.3km to my car, and more importantly, a flat white at the Binna Burra Café. With gravity on my side, I happily trotted along, oblivious to the horror that awaited me.

With around 1km to go, my backpack strap started to feel…odd. The right hand side was digging in, and no amount of adjusting seemed to help. But I pressed on, keen to finish. It wasn’t until I got back to the car that I discovered the truth.

Fifth Stage: THE TICK (Cue Dramatic Music)

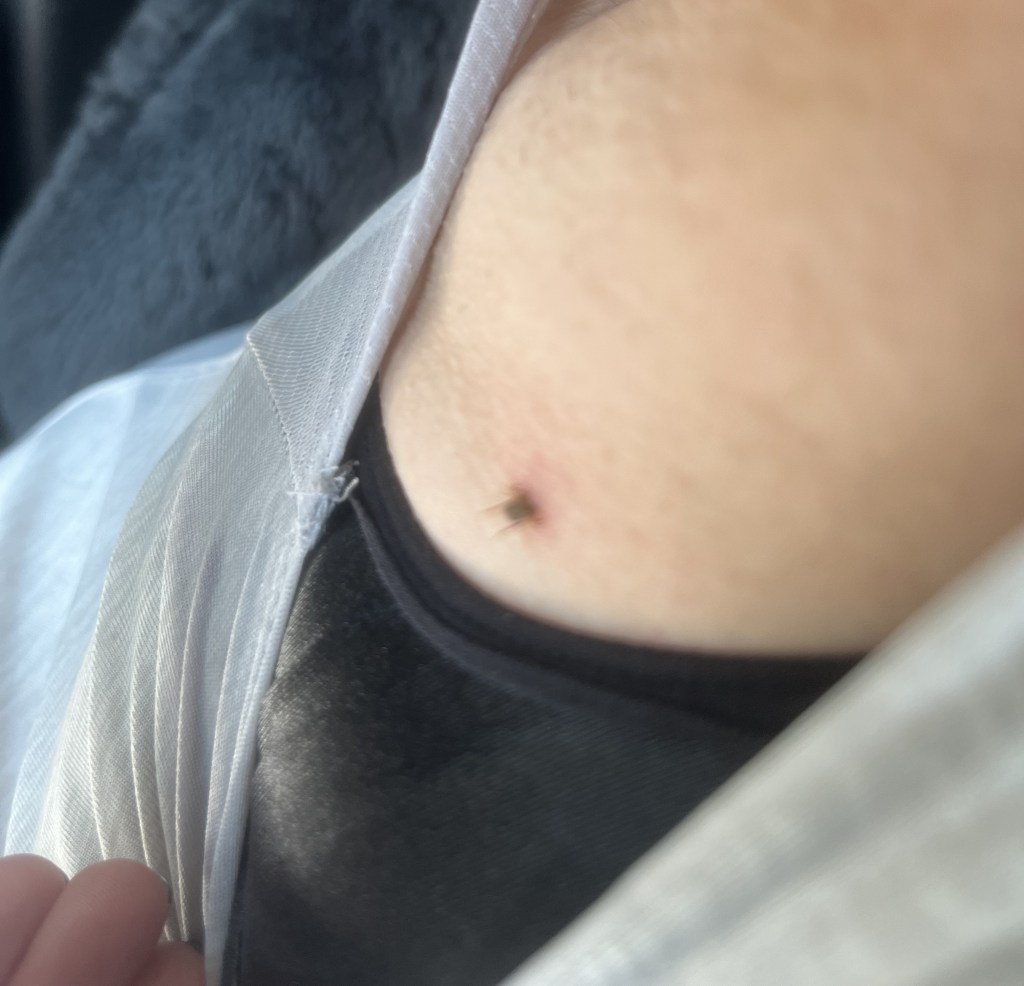
Back at the car, sipping my well earned coffee, the discomfort in the front of my right shoulder was getting worse. What was going on? I checked the area, and there it was. A massive black tick, wriggling happily away like it was at a buffet.

My photographic skills right handed without glasses!

I’ll spare you the gruesome details (yeah nah), but let’s just say that tick had dug in DEEP. With a 70 minute drive home, I had to resist the urge to yank it out, knowing full well you can’t just pull a tick out without risking leaving its head – and its toxins – behind. I emptied a half a can of insect spray on the little bugger and called my sister (a.k.a. tick removal expert). After a tense tweezer-tugging session at her place, the tick was out, intact, and my armpit was back to normal the next day. Crisis averted!

Final Thoughts

Tick drama aside, Ships Stern Circuit was another incredible experience. Stunning views, varied terrain and a good mix of challenge and fun.

Just remember – pack extra insect repellent, watch out for snakes and always, always check for ticks!!

See you out on the trails…

PJ